
luke skywalker's lightsaber
from return of the jedi
This project was a bit of a break from my usual Eldar collection. I have been a fan of Star Wars since my early teens and back in 2002 I purchased a custom-made lightsaber from an eBay seller in Germany. It was incomplete and fresh off the lathe, still bearing machining marks. I hadn't the knowledge or skill to do much with it, but I held onto it for many years. In 2018 I decided to finish it, having gained a lot of experience over the intervening years of working with metal parts through my Eldar conversions.date: 2002 - 2018 (complete)
components: Aluminium & brass lightsaber hilt (custom made), Master Replicas Luke Skywalker lightsaber control box & tri-ring, brass plate (3mm thick), brass stip (0.4mm thick), brass angle (L-shape, 3mm), black ABS plastic (1mm thick), black enamel spray paint, sandpaper (400, 1200 & 2000-grit), superglue, Mother's Mag & Aluminum polish, e-cloths, elbow grease, patience
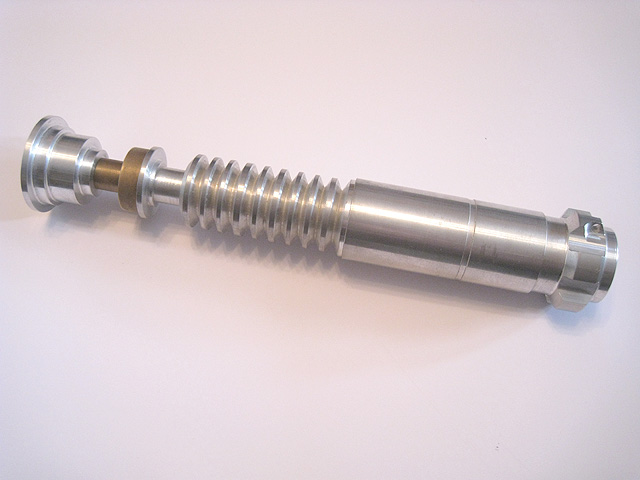
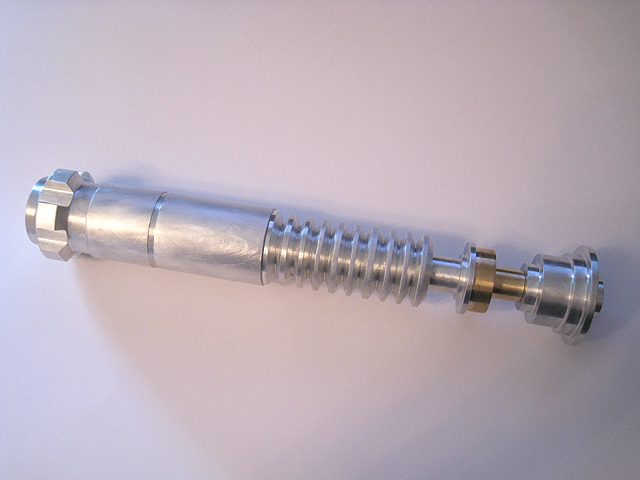
1. The lightsaber, before work commenced on it. It had accumulated nearly 16 years of tarnish and was clearly a very unfinished product at this point. It was machined from solid aluminium and brass and breaks down into five separate threaded pieces that screw together to form the whole piece. It has a lovely weight to it and is a fairly accurate representation of Luke Skwywalker's "hero" lightsaber in Return of the Jedi (it is well-documented that there were several different designs of the prop used in production).
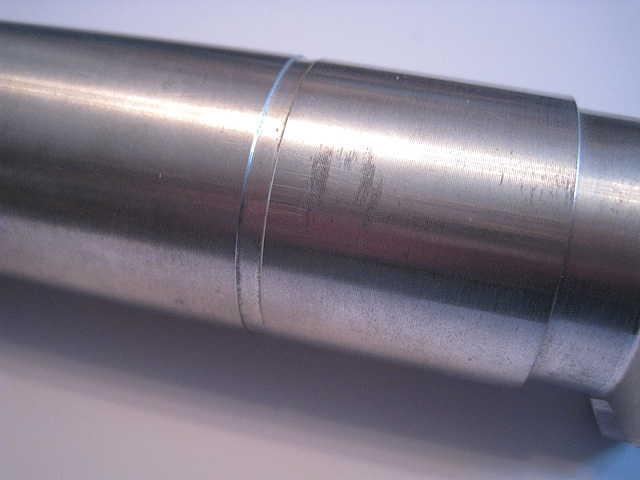
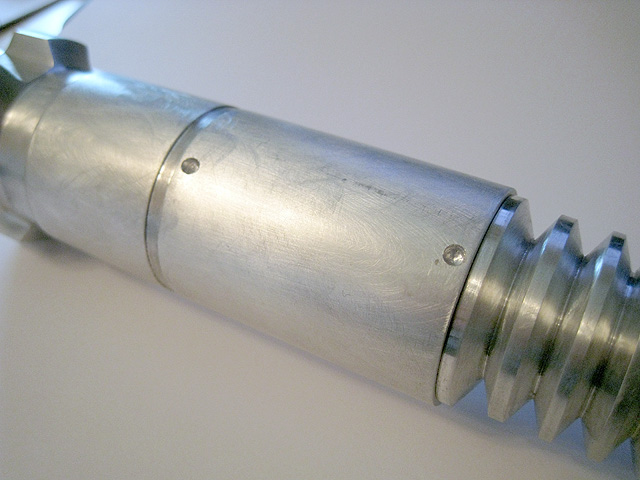
2. This close-up of the handle shows the ridged machining marks from the lathe, as well as some surface damage.

3. Machining marks and tarnish can also be seen on the brass "neck" of the lightsaber, which has discoloured over the years.
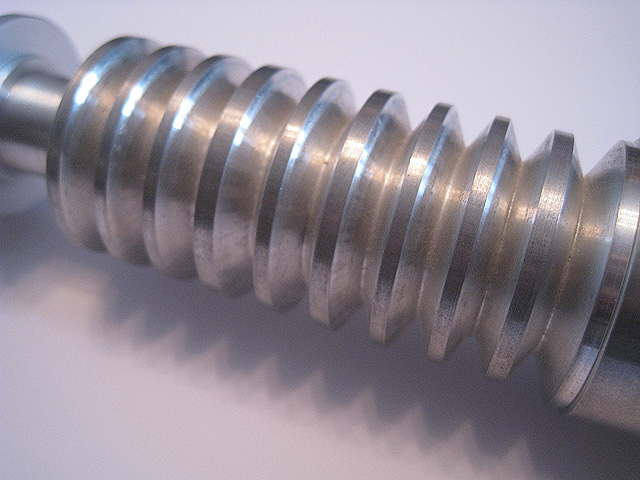
4. The ridged section of the lightsaber also bore machining marks.
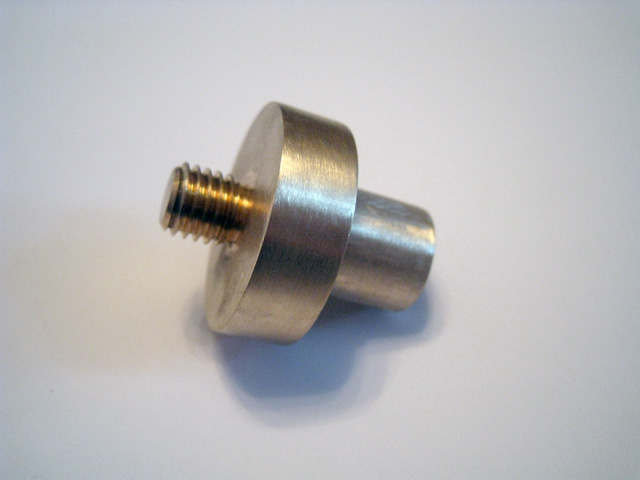
The most glaring (albeit minor) inaccuracy in the lightsaber's construction is the shape of this raised section where the trinagular belt ring attaches - this should be shaped the same as the others.
These sections were quite heavily tarnished.
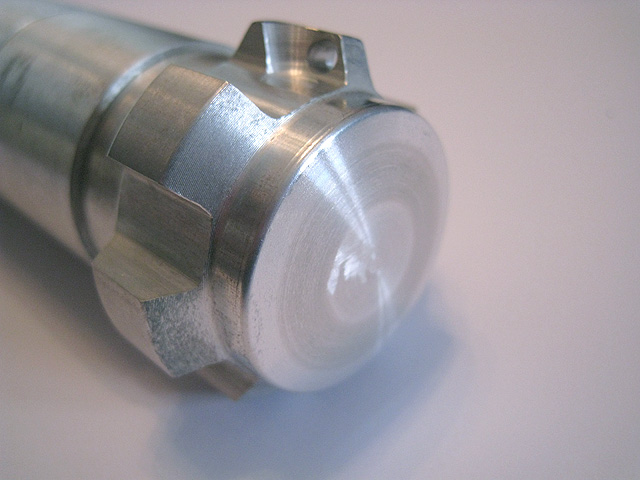
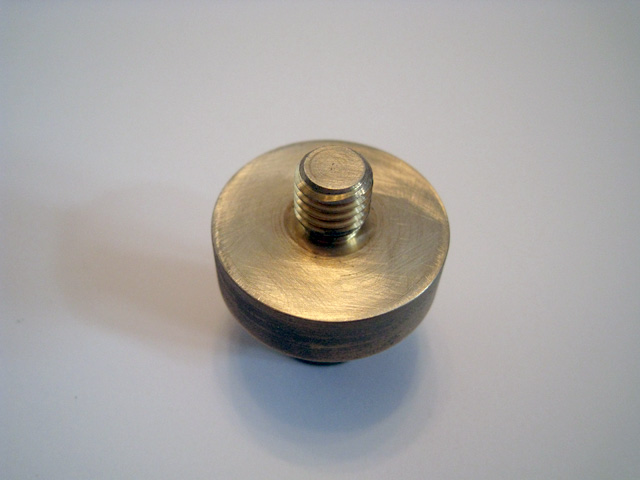
5. A close-up of the pommel.
6. First, every part of the lightsaber was given a rough sanding with 400-grit sandpaper. This removed the tarnish and the subtle machining marks and ridges.
7. A close-up of the brass neck, after the first pass with the 400-grit sandpaper.
8. The brass piece was then sanded with 1200-grit sandpaper, removing a lot of the scratches left from the first pass with the coarser one.
9. The brass piece, nearly finished. This is after several passes with 2000-grit sandpaper and polishing using Mother's Mag and Aluminum (yes, that is the "correct" spelling as it's an American product) polish. The result surprised me; I'd not imagined that I would be able to get such a reflective, smooth finish!
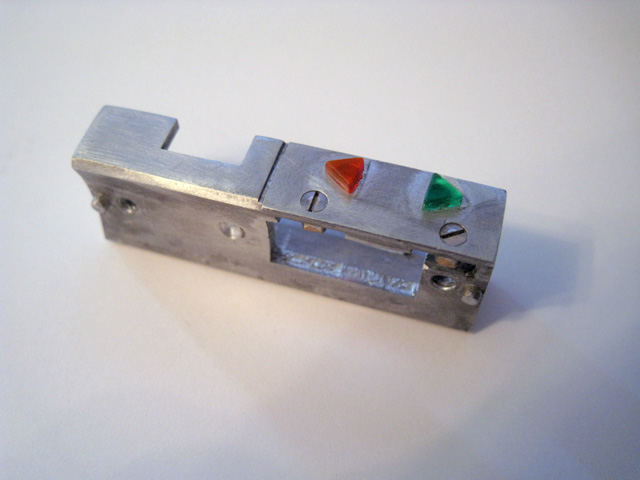
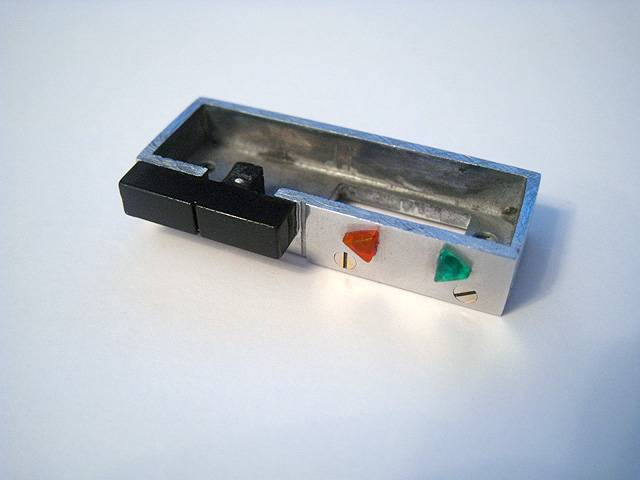
10. The control box was sourced from a seller on Etsy and originally came from a disassembled Master Replicas lightsaber. The transparent arrows were glued in place so I had to sand around them, which wasn't ideal. The aluminium piece also had some machining marks so those were sanded away.
11. I decided that the best way to attach the control box to the handle was to simply glue it in place. I drilled two shallow indentations to match the protruding pegs on the bottom of the control box. This would provide additional strength and an increased surface area for the glue to bond with.
The ring had some minor damage that needed sanding down, dulling it along one edge.
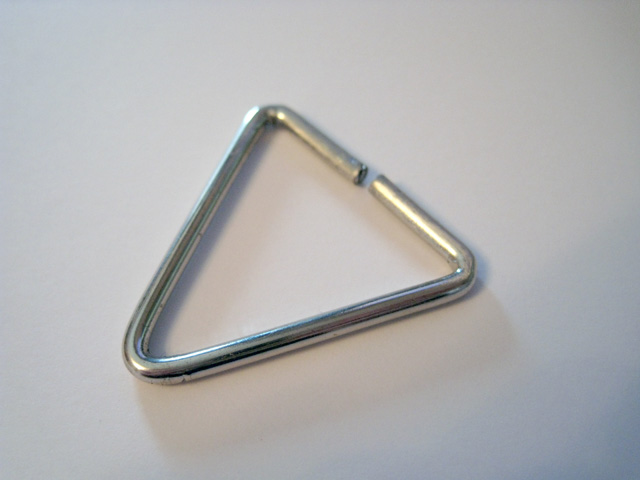
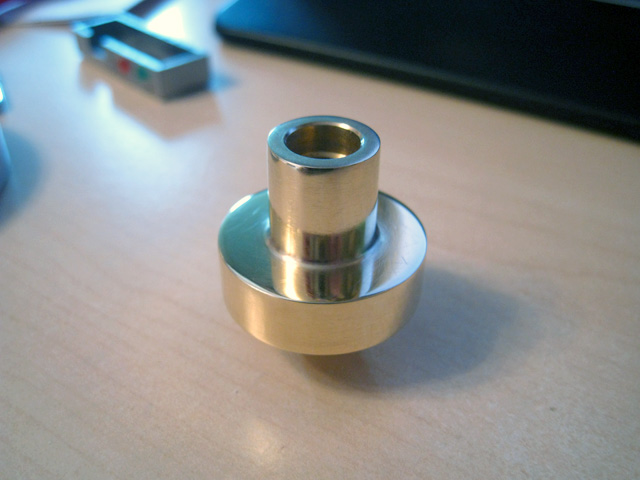
12. The "tri-ring" also came from a Master Replicas lightsaber, by way of Etsy.

13. In order to stop the tri-ring from slewing around in the hole in the pommel, I inserted a short piece of metal rod.
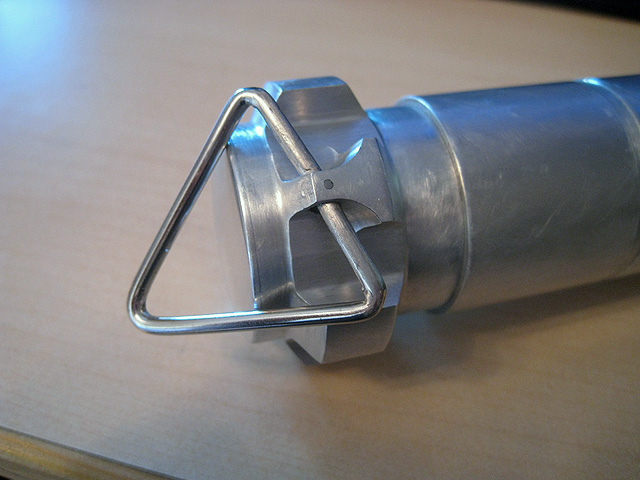
14. The tri-ring now sits with the raised section of pommel aligned halfway along one edge, but still has some play and full rotation.

15. The ridged section of the lightsaber was spray-painted with a gloss black enamel paint. I masked off the threaded sections so that these would still fit snugly together.
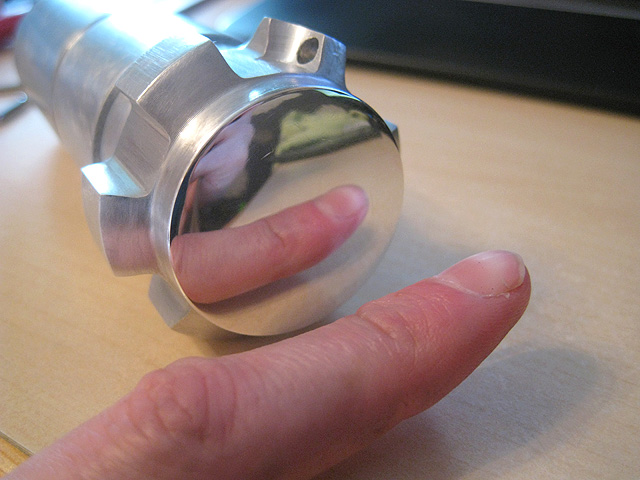
16. The butt of the pommel was one of the first areas to be completely sanded and polished, producing a mirror-like finish.
17. The raised sections on the ridged part were caefully sanded to remove the paint and reveal the original aluminium beneath.
Sanding and polishing restored the tri-ring's sheen on the damaged edge.
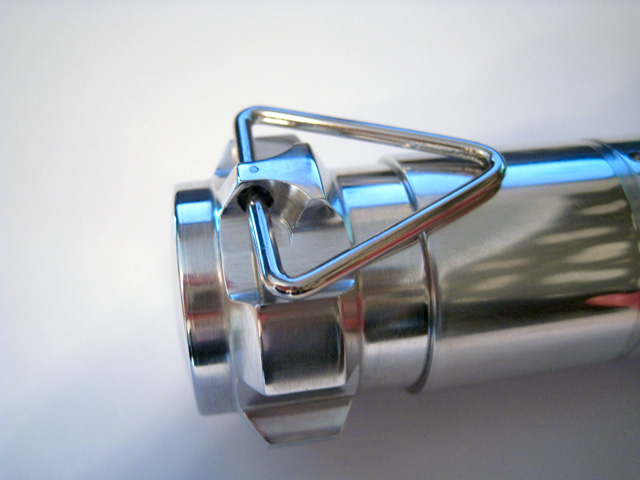
18. A close-up of the polished pommel and tri-ring.
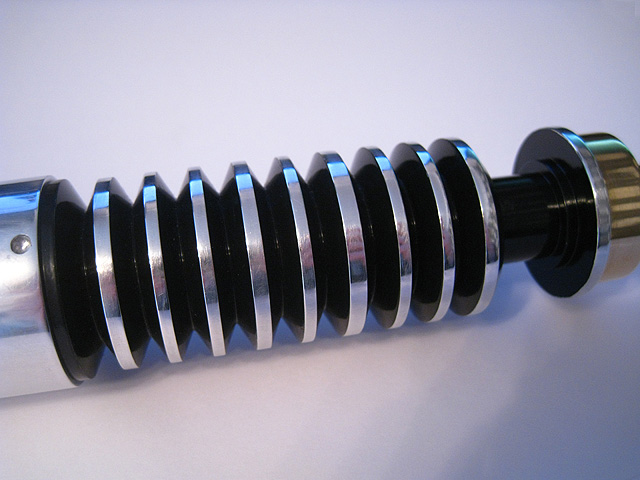
19. The lightsaber, fully polished and nearly completed.
I pinned the switches to the aluminium control box for extra strength.
20. The control box, after sanding and polishing, with the original Master Replicas switches now glued in place.
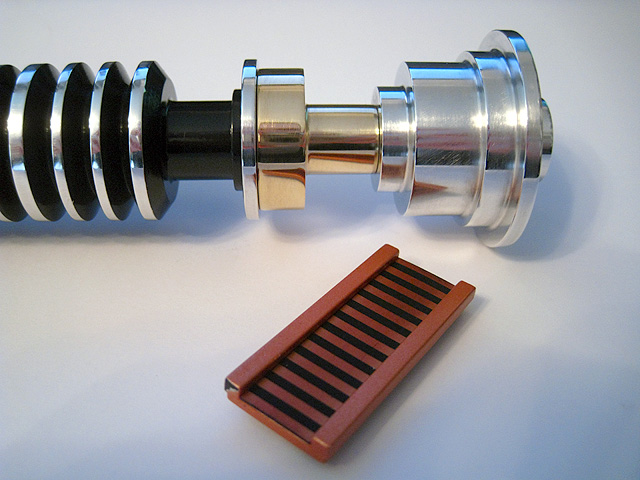
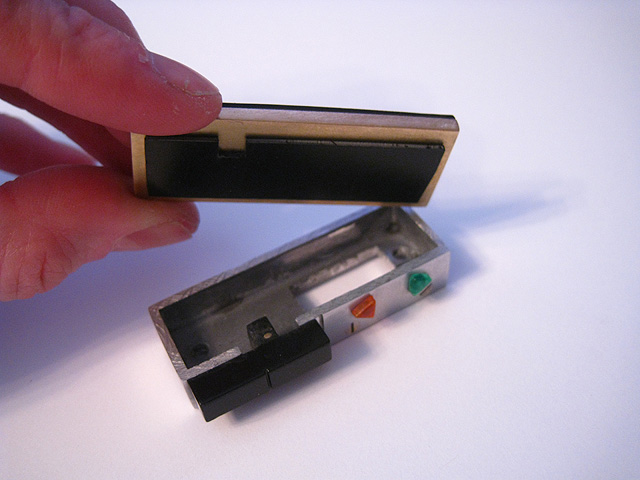
21. The activation plate from the Master Replicas lightsaber is a cheap-looking piece of moulded plastic that has been sprayed a coppery colour (which had started to wear away). I wanted this to match the brilliant gold of the brass neck, so I elected to construct a replacement myself using brass parts.
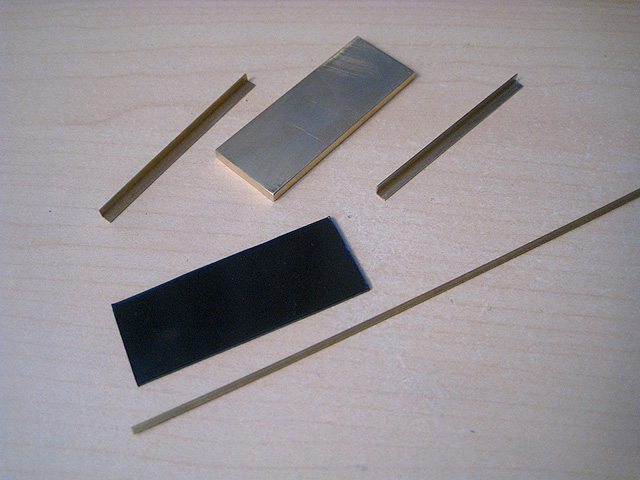
22. These were the components that I used to construct the replacement activation plate.
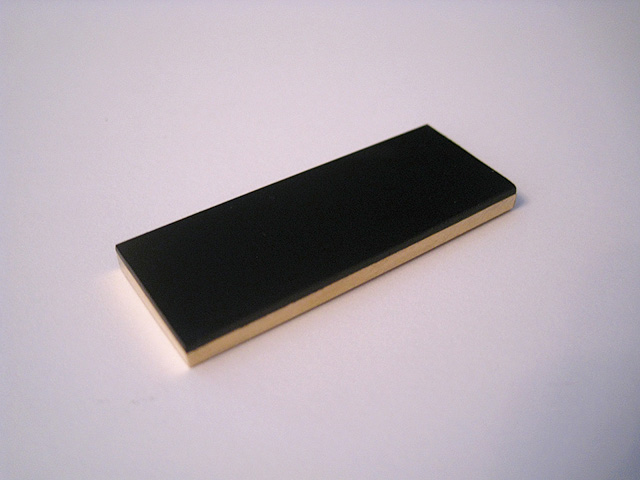
23. The first step was to cut two identically-sized sections of brass plate and black ABS plastic, which were glued together.
24. I also glued a shaped piece of plastic to the underside of the brass plate so that it would increase the contact area for the glue to adhere to.
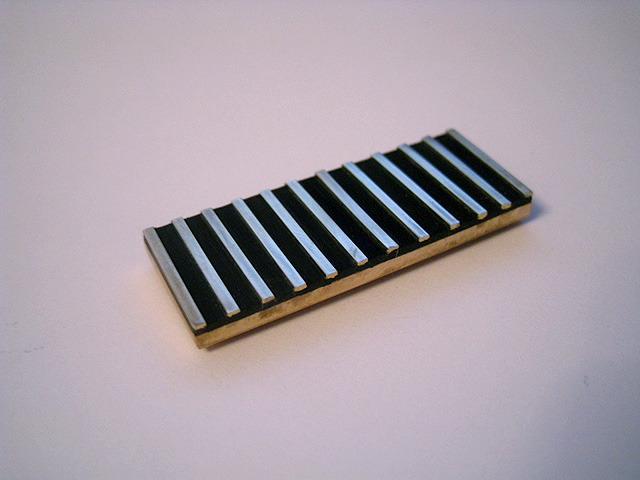
25. The activation plate takes shape. I used strips of brass rod to create a ridged plate. The original lightsaber props have a flat plate with a different number of stripes, but these minor differences don't bother me particularly and the raised strips make for a more tactile design.
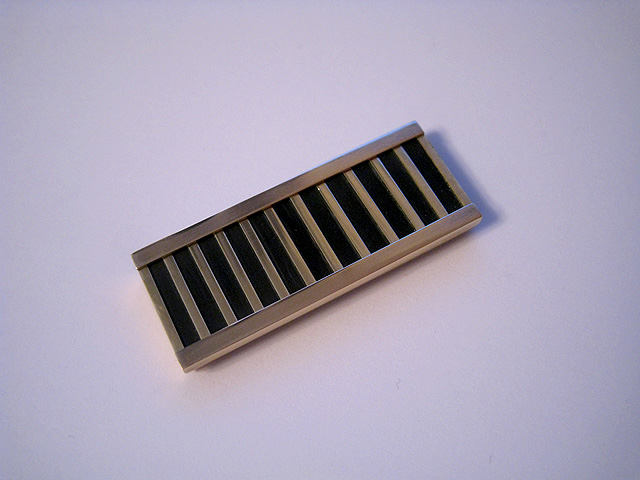
26. The activation plate is basically complete at this point - I glued two lengths of L-shaped brass angles to the sides of the plate and then sanded and polished the whole thing.
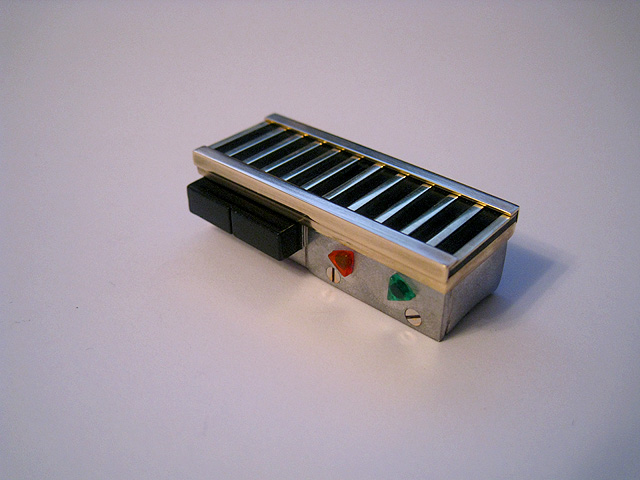
27. The activation plate, glued in place on top of the Master Replicas control box.
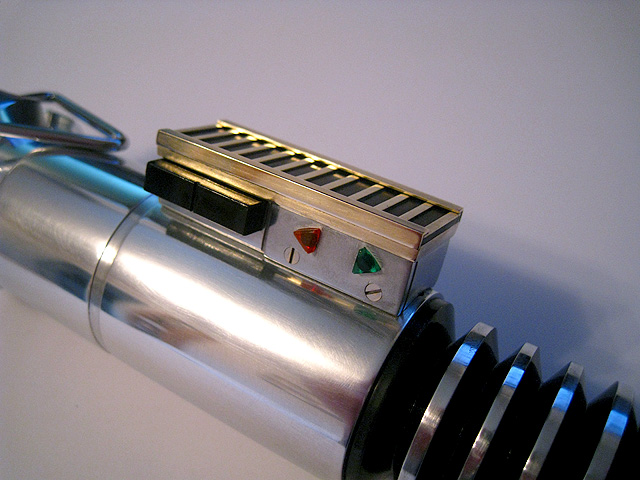
28. The completed control box, after being glued to the handle. The large surface area means that the bond is very strong.
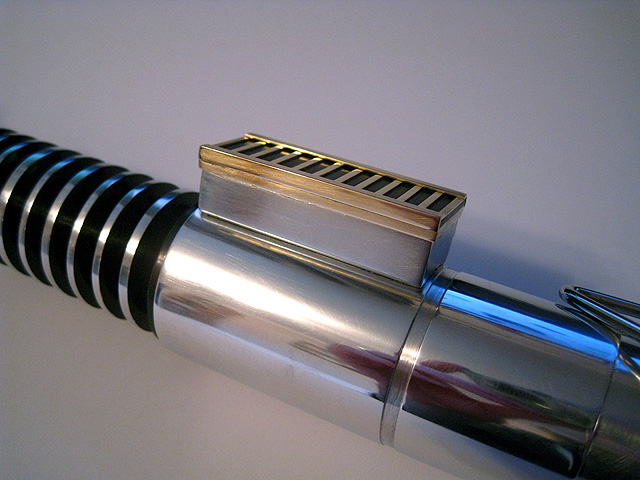
29. Reverse angle of the completed control box.

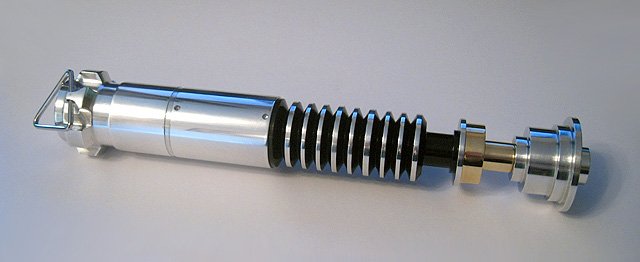
30. The completed lightsaber. I am very pleased with the end result; it isn't 100% screen accurate but is clearly recognisable as Luke's iconic lightsaber. The results are better than I'd hoped for and worth a 15-year wait!
comments powered by Disqus