
Eldar Warp Spiders
Shrine of the Web of Fate
The Warp Spiders are one of my favourite Eldar Aspects and have been ever since I first laid eyes on the 2nd edition Eldar codex. I previously attempted to add warp portals to the old metal models, but I wasn't happy with the results. I shelved the idea for many years, until the new plastic kit was released. The models have taken a lot of effort to convert and assemble, but I think the results will be well worth it.Date: 2025 - present (work-in-progress)
Components: Eldar Warp Spiders, 2x Swooping Hawk scenic base elements, 1x Maugan Ra scenic base, brass rod, Green Stuff
Colour scheme: Basing colour scheme (PDF)-->
Related:
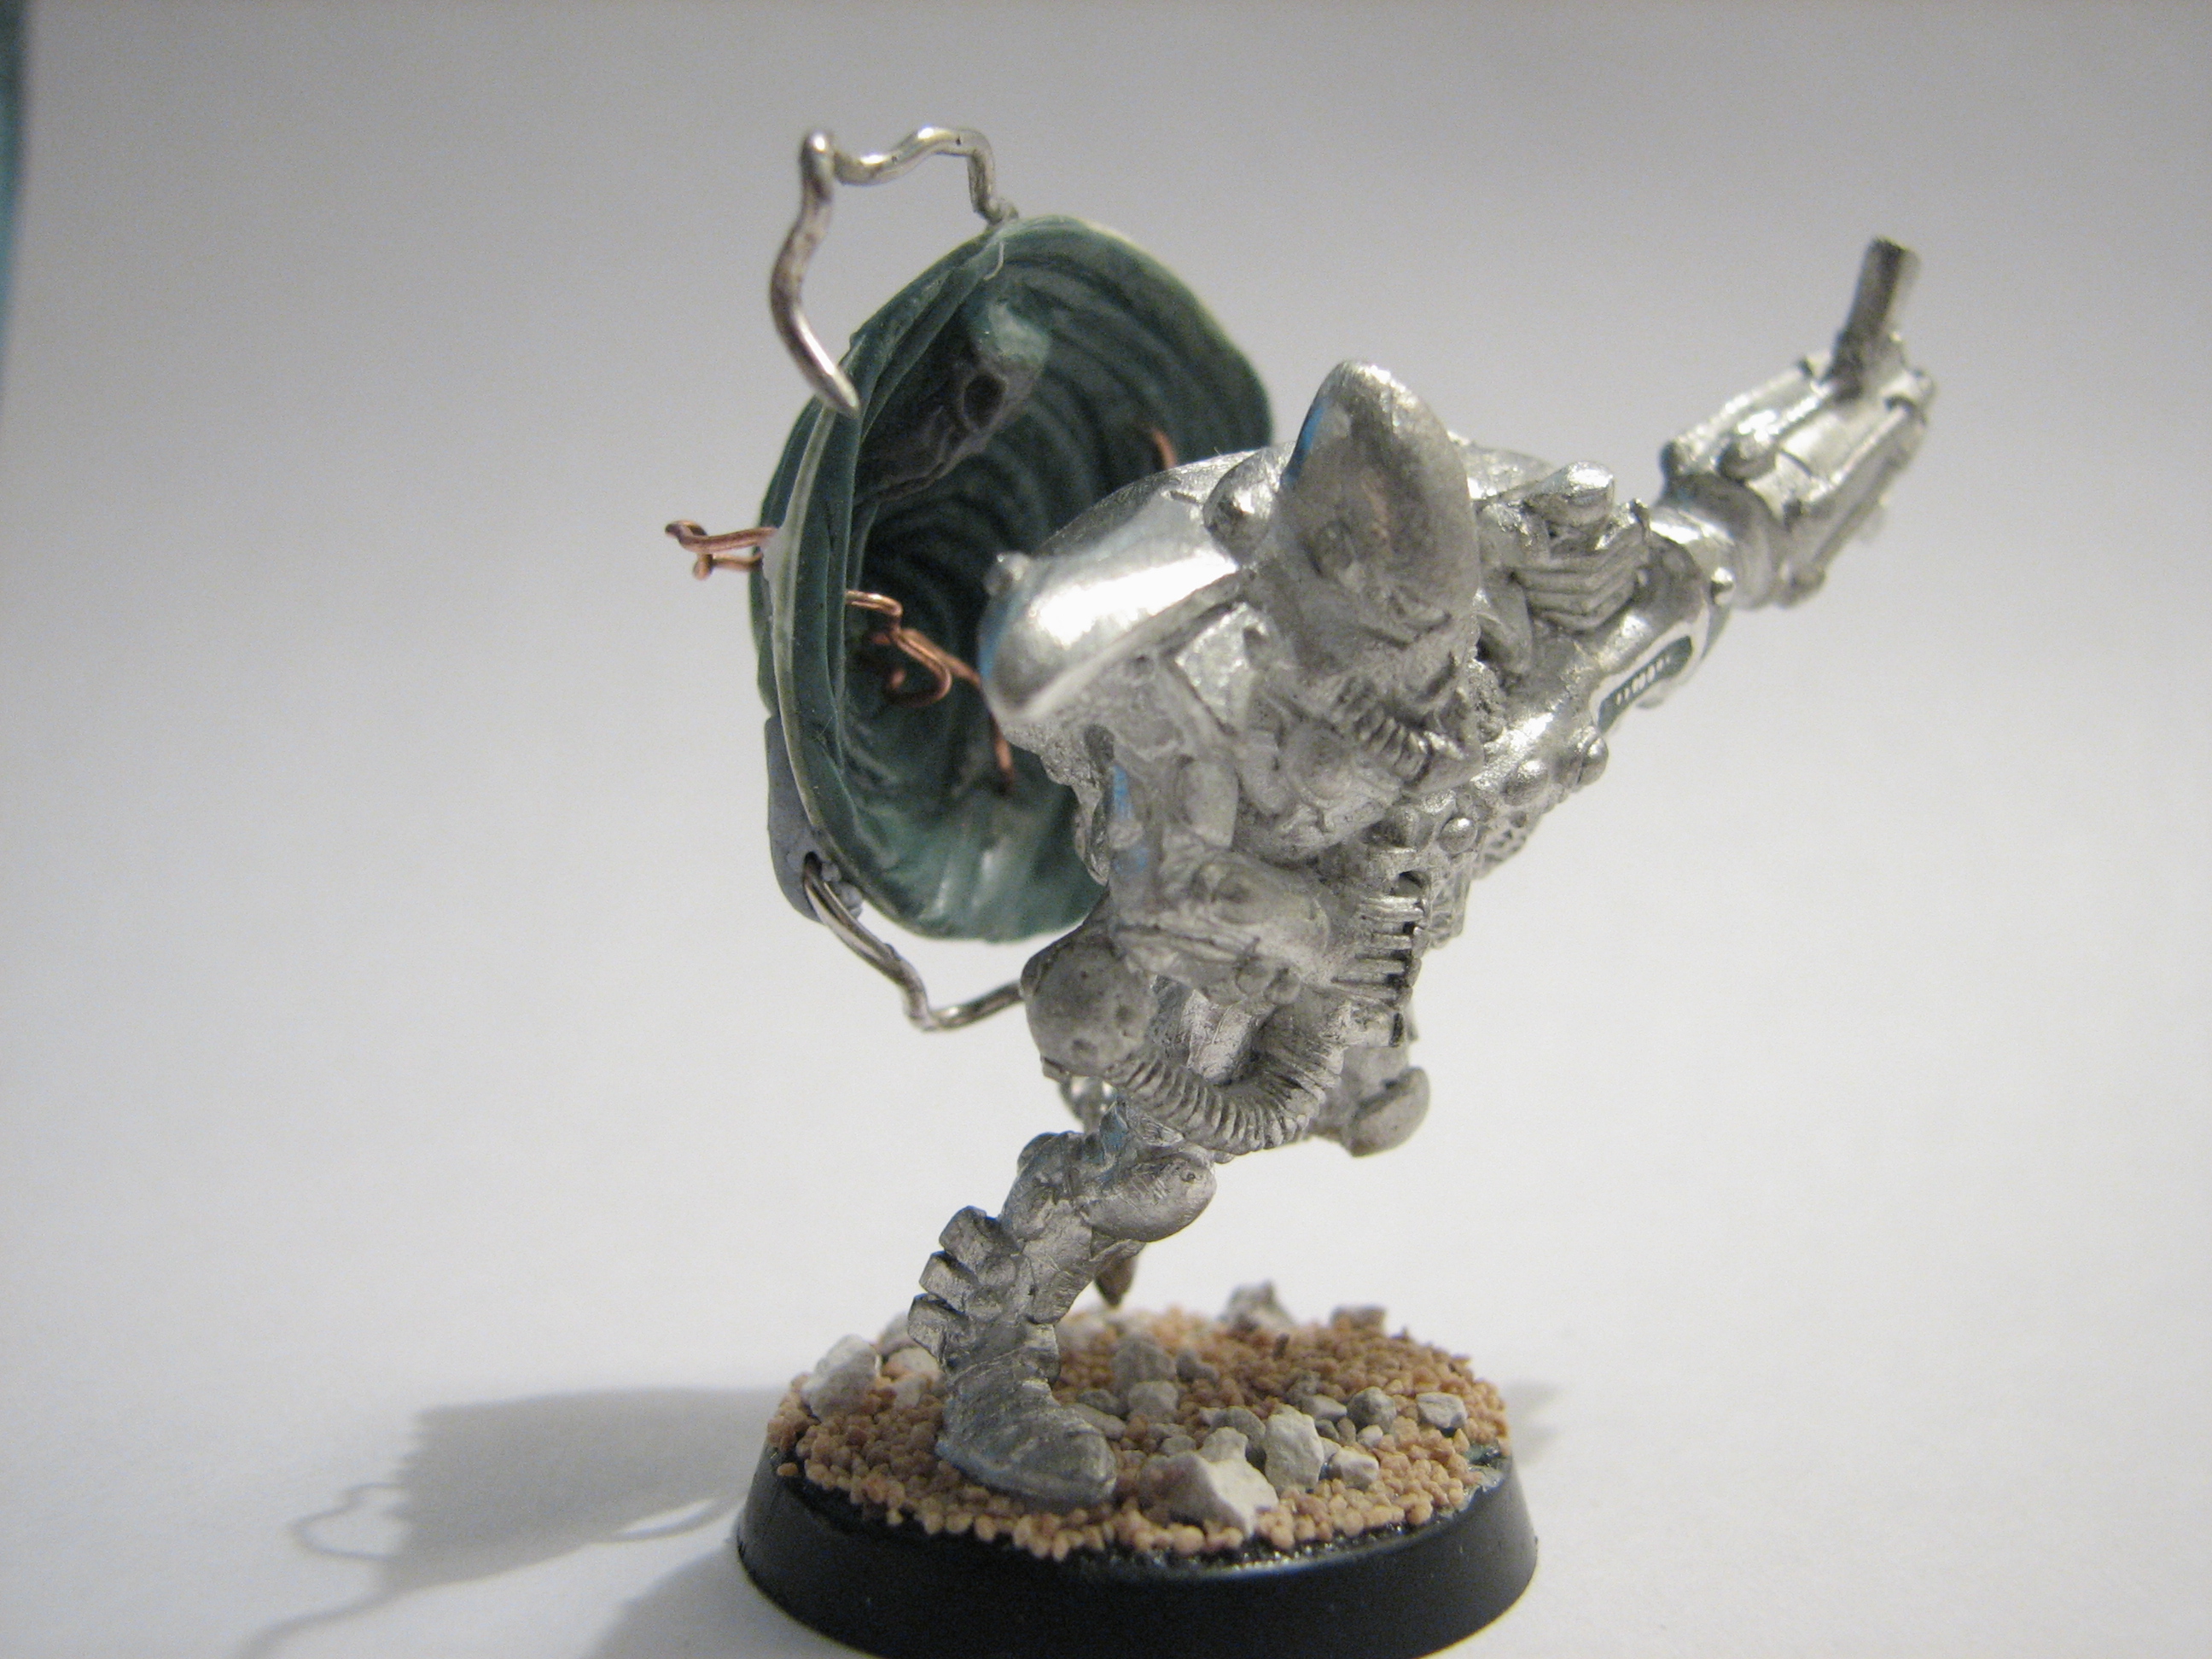
1. Many years ago, before the plastic kit was released, I had attempted to add a warp portal effect to a metal Warp Spider model.
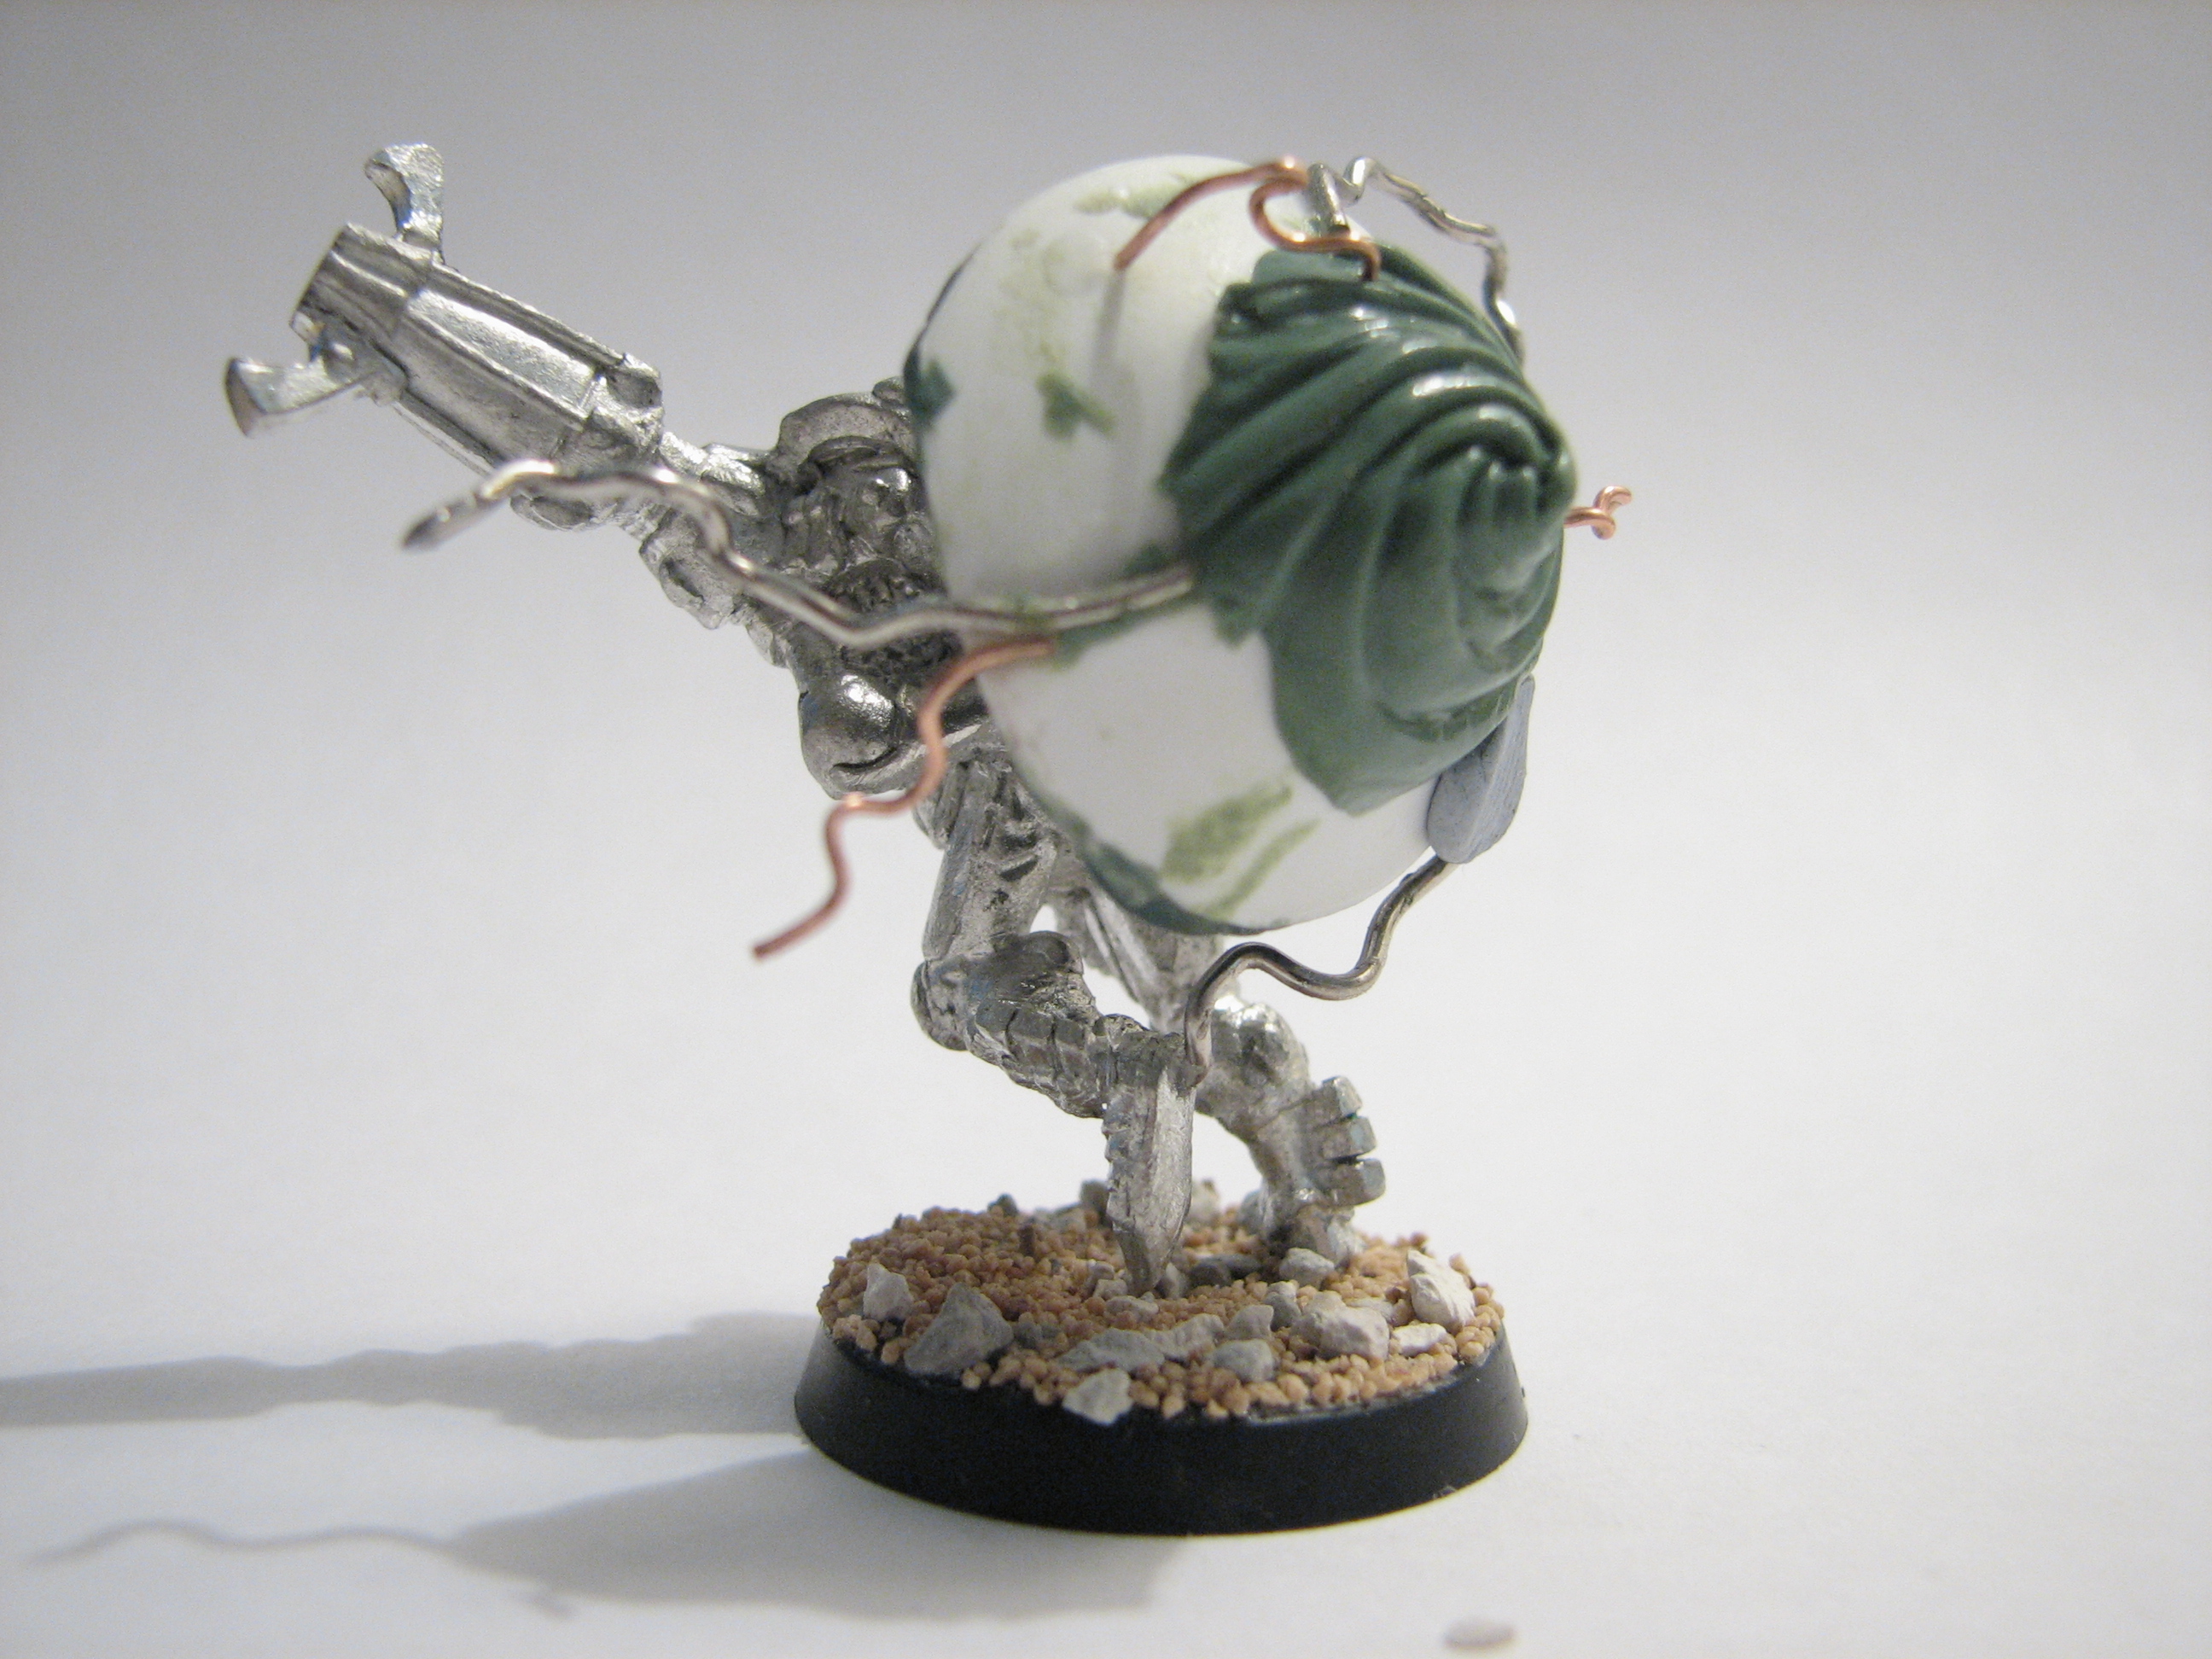
2. Rear view of the original conversion attempt.

3. The warp portal was never completed as I wasn't entirely happy with it, but I never let go of the concept....
The first step in making the portal was to create the spiderweb design in Green Stuff. This was sculpted flat on a piece of plastic, which it could be peeled away from later.
Once the Green Stuff had cured, I bent short lengths of brass rod and then superglued them to the back of the spiderweb design, to make it concave. Further Green Stuff was then added to cover the wire supports and blend them in.

4. After the release of the new, plastic Warp Spider kit and the kit for their Phoenix Lord, Lhykhis, I decided that I wanted to revisit my original concept. My updated design for the warp portals was based on the spiderweb design seen on the Lhykhis model instead. This works much better and with years of additional modelling/sculpting experience, I was able to better execute my idea.
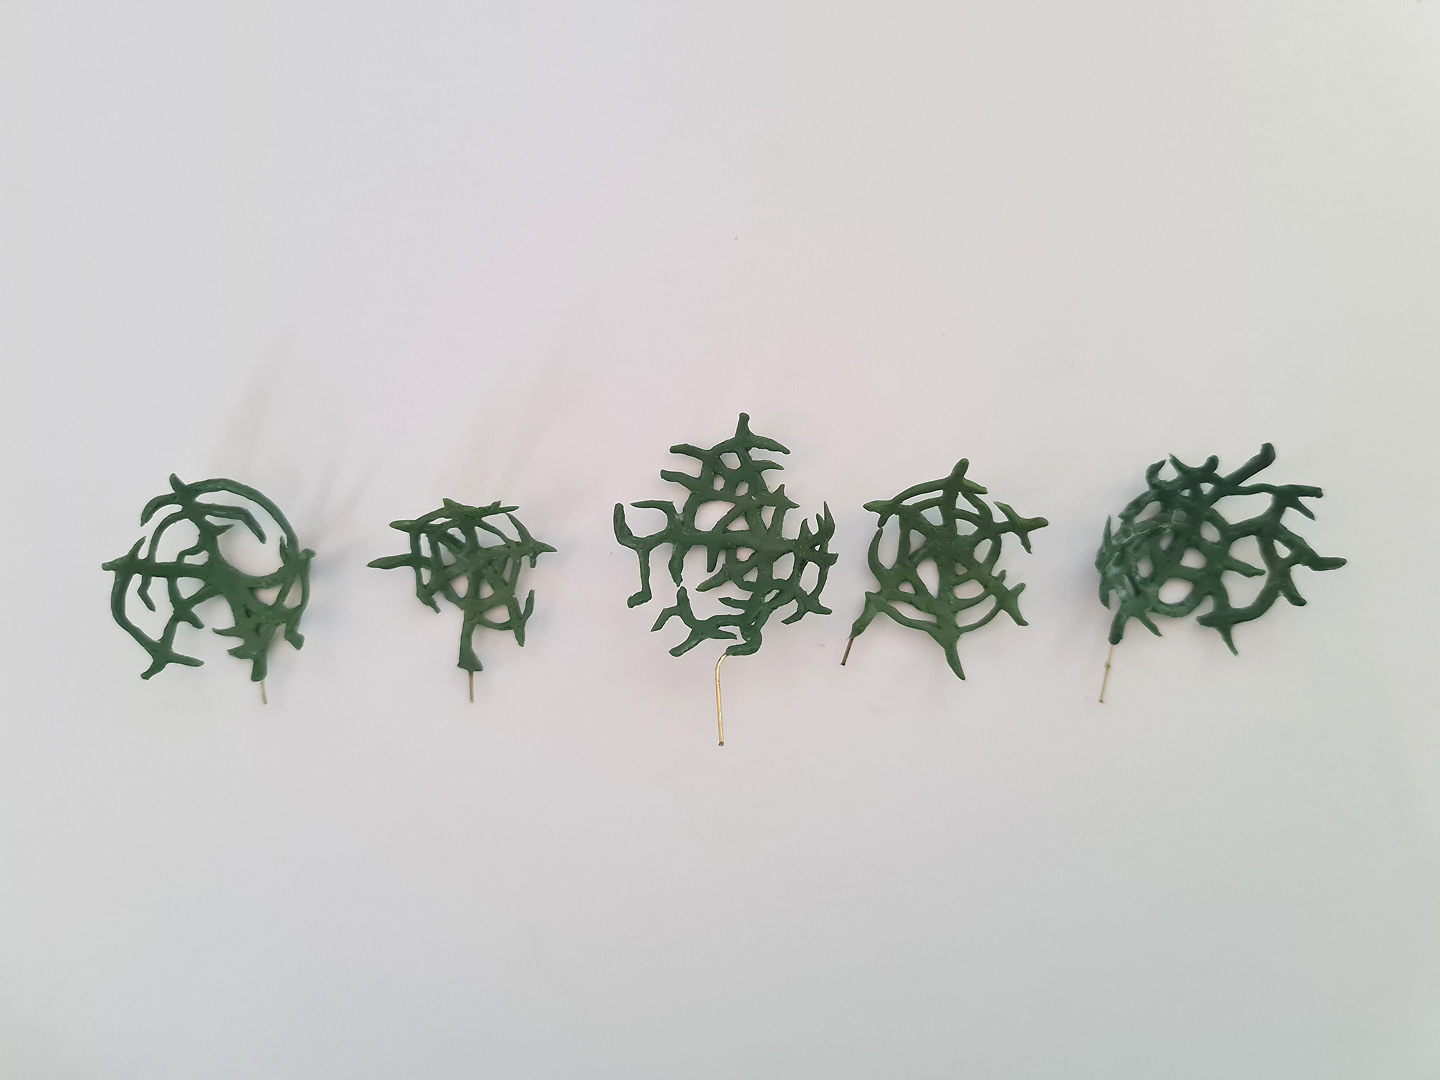
5. The five completed portals for the squad and their Exarch.

6. The reverse side of the five portals.
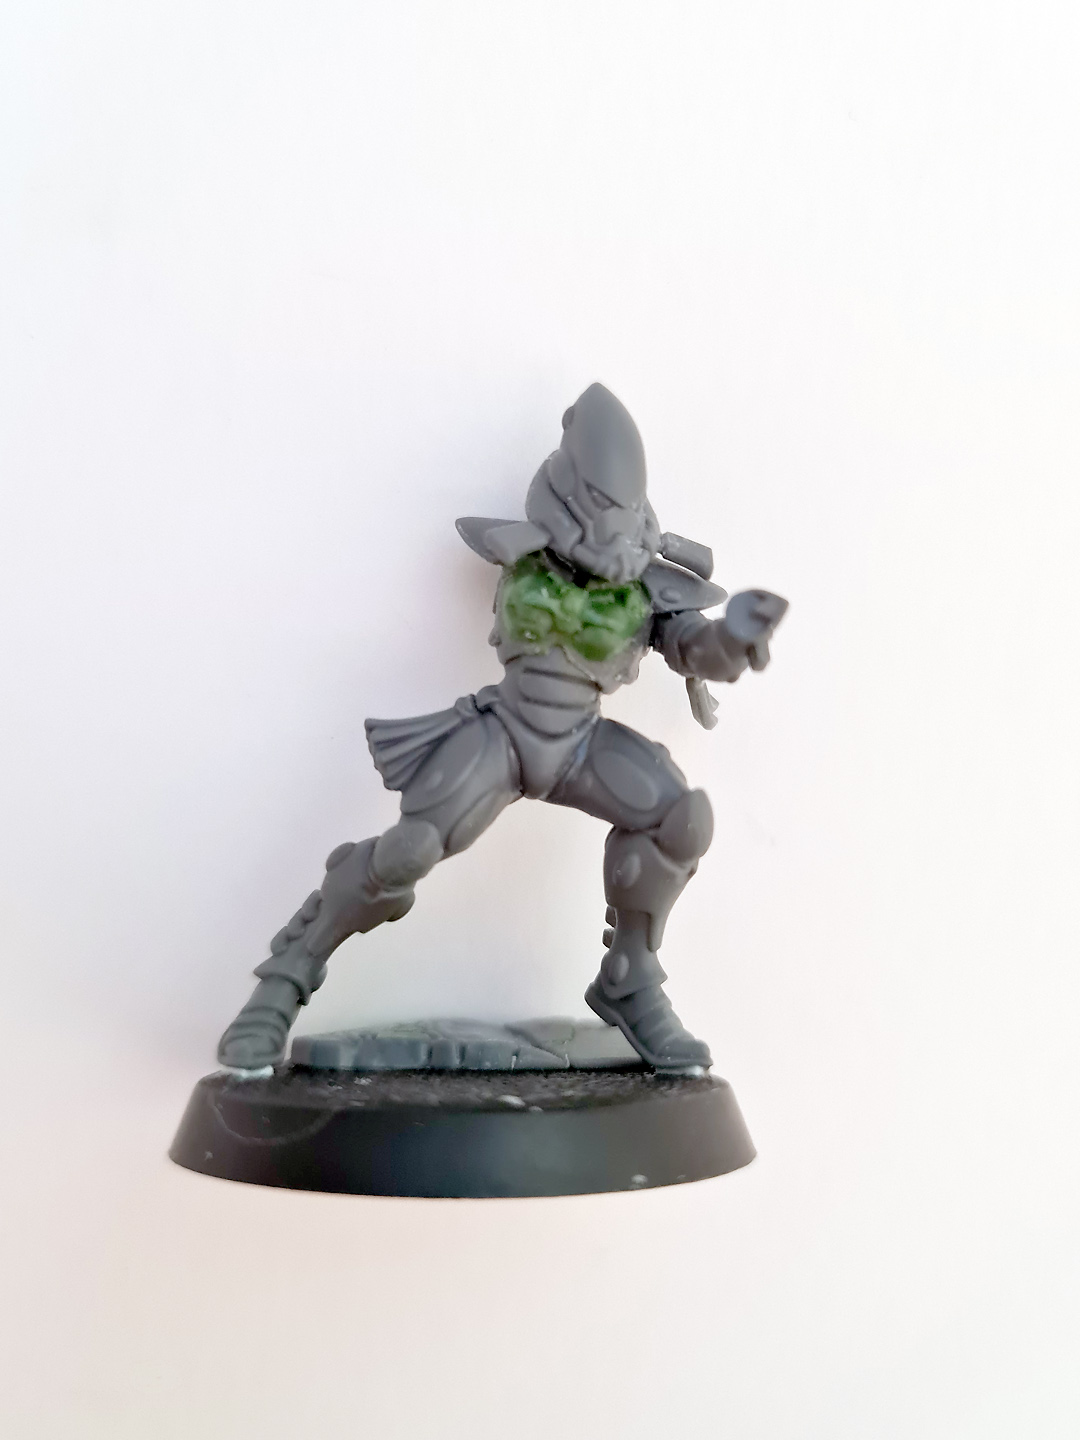
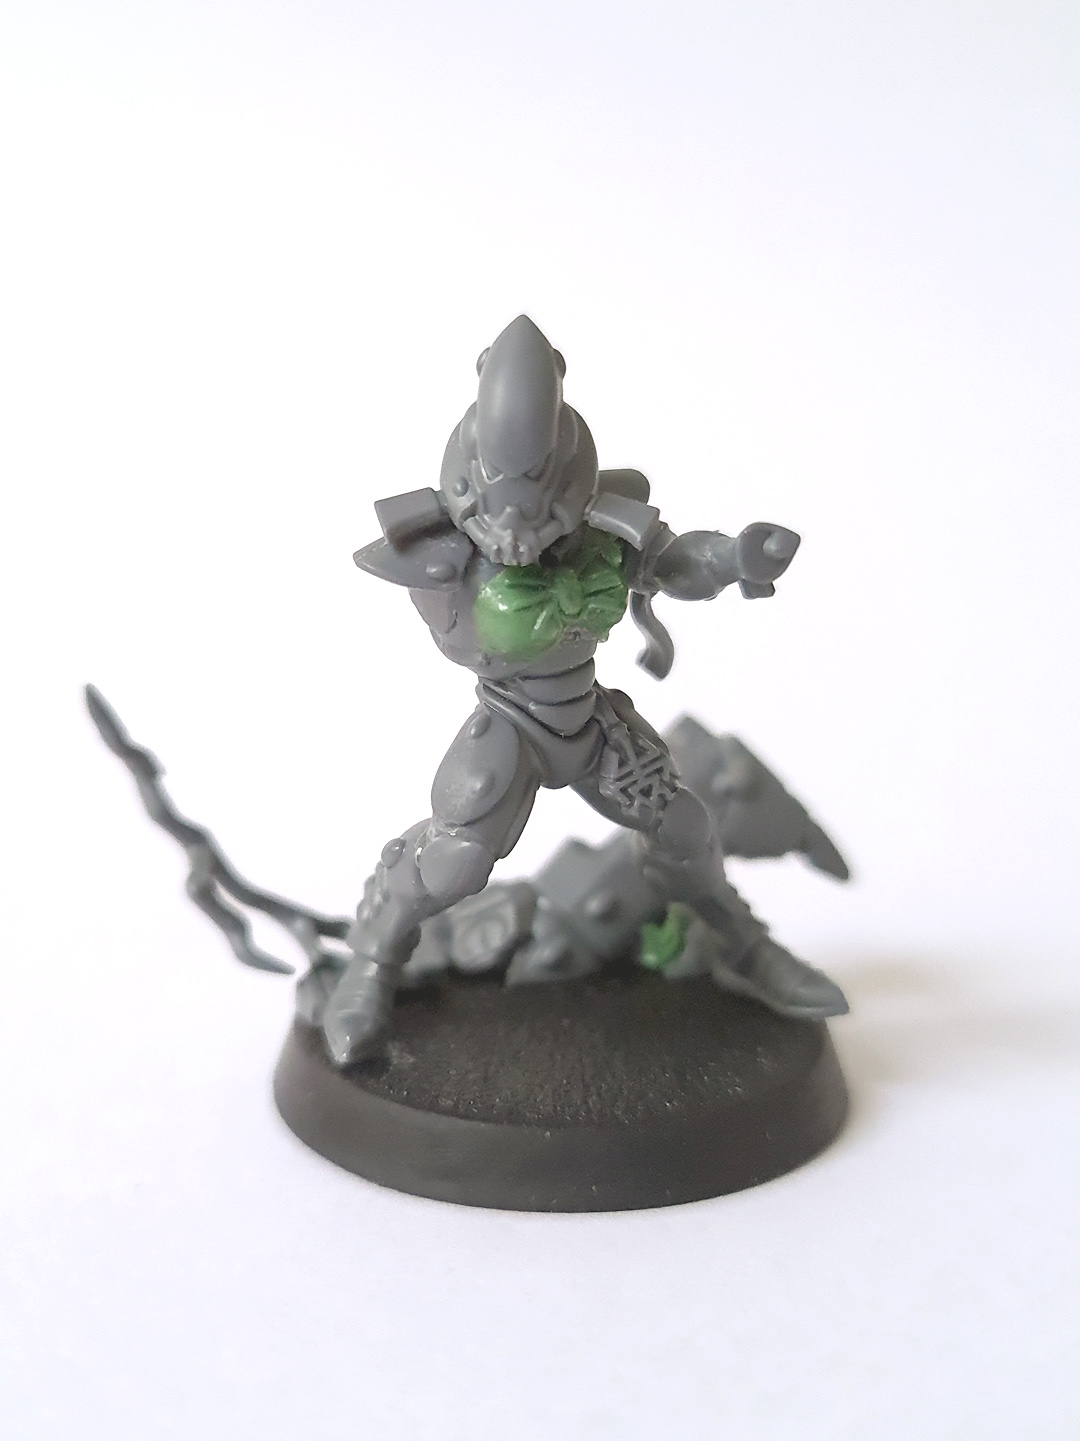
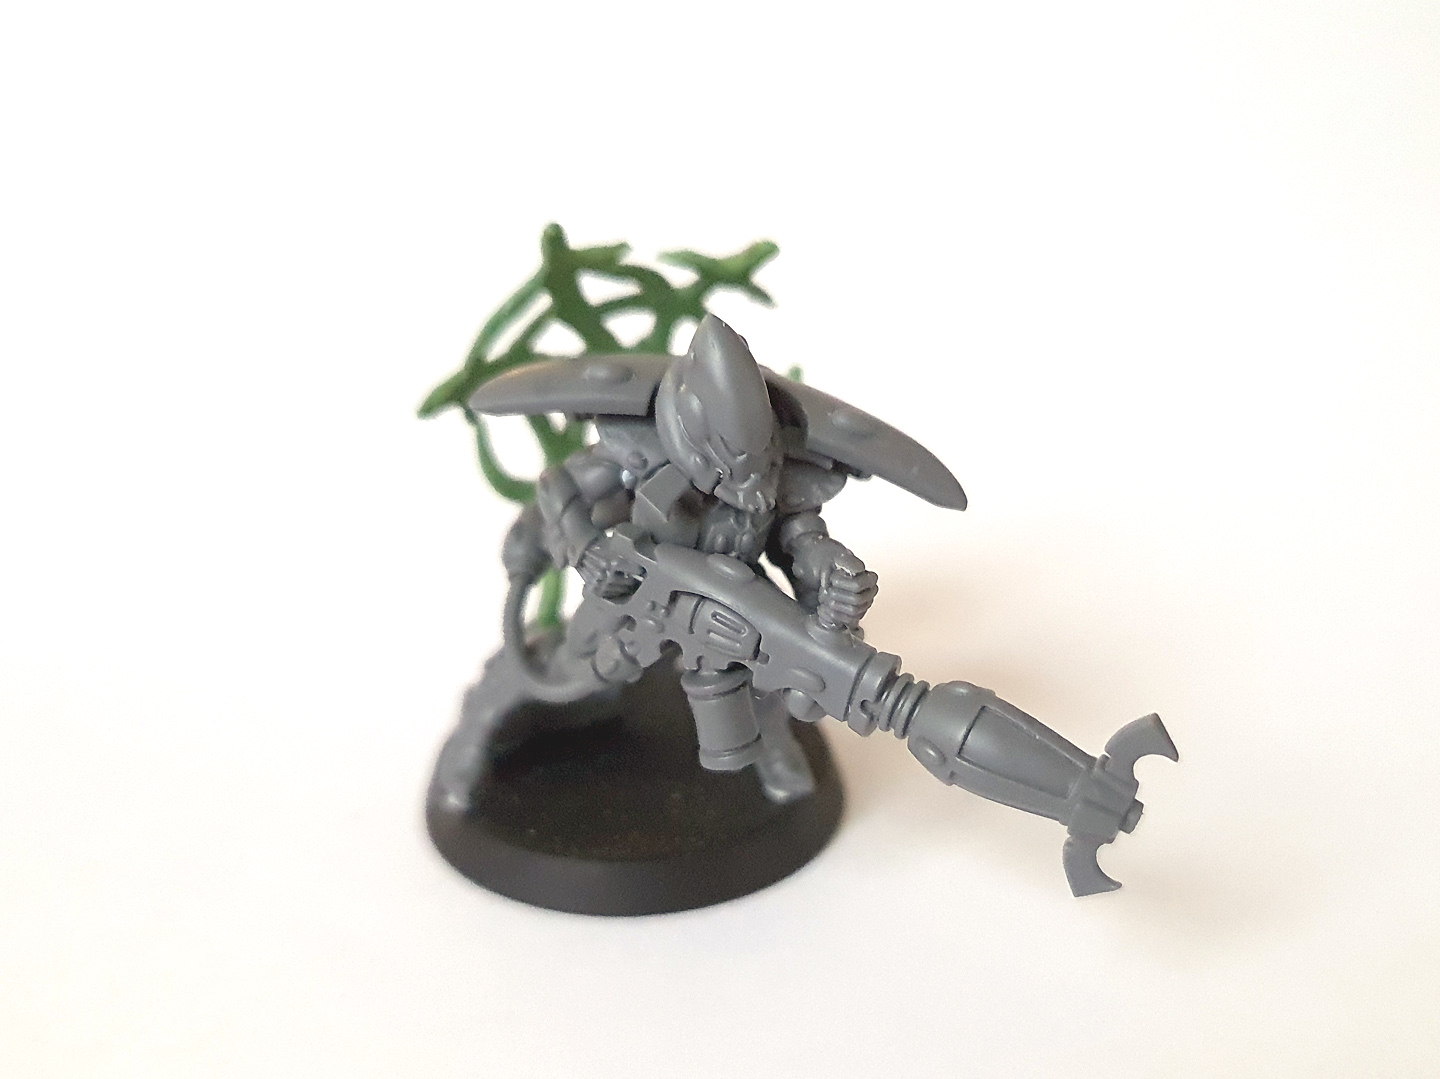
7. My squad includes two female Warp Spiders, which required some resculpting of the chest armour using Green Stuff.
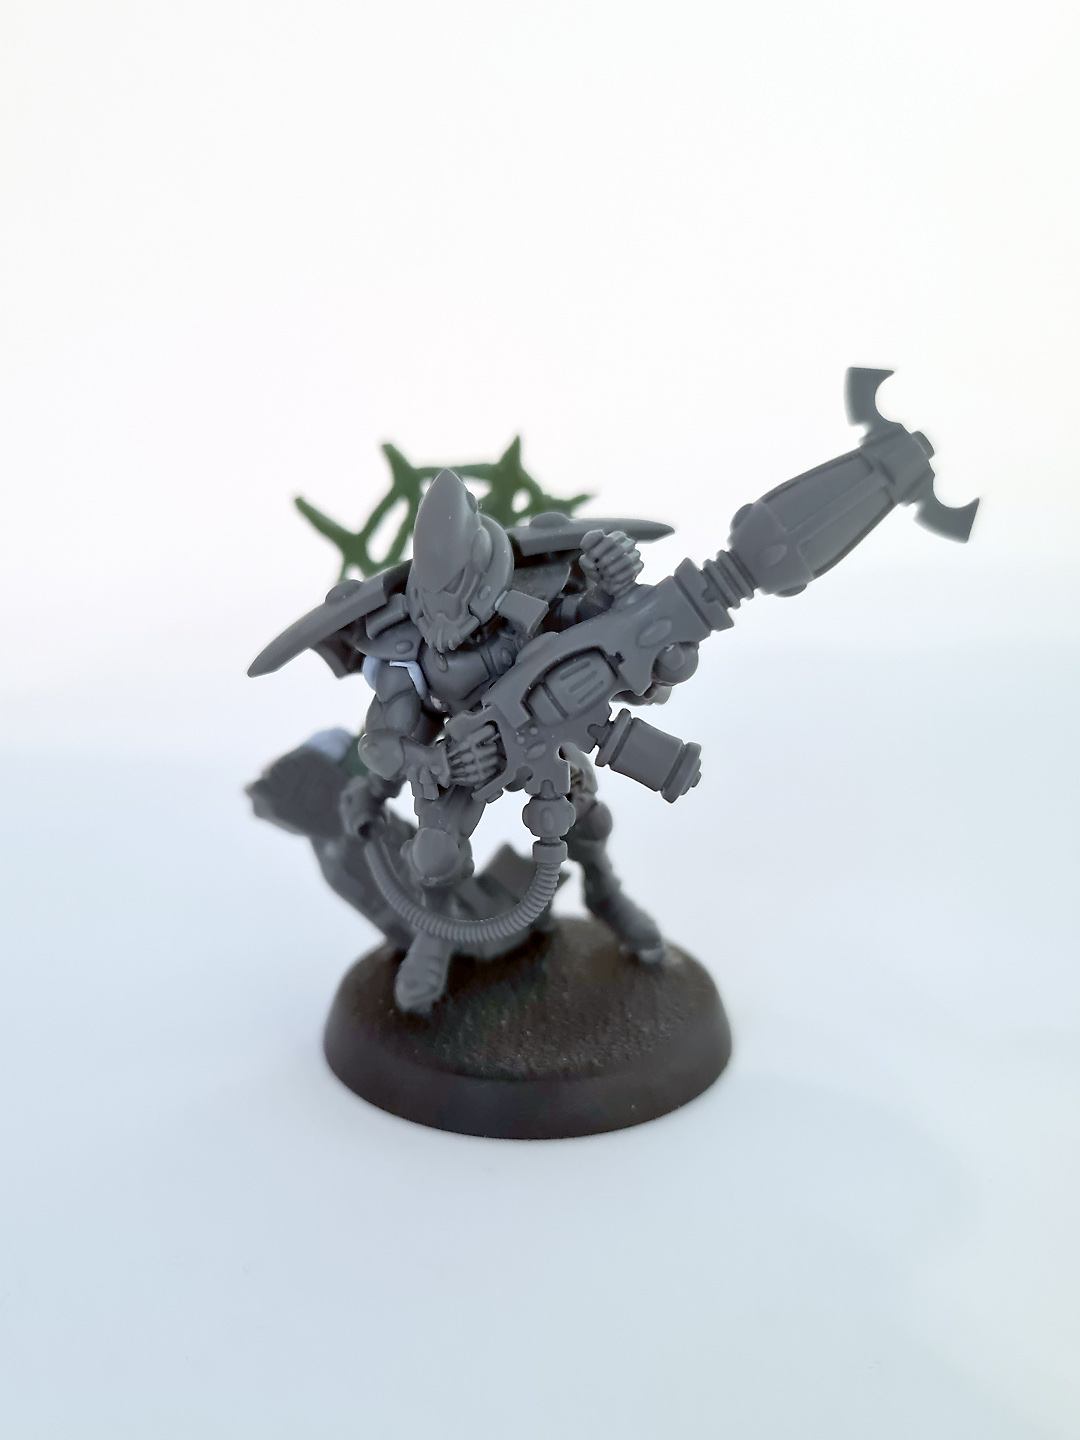
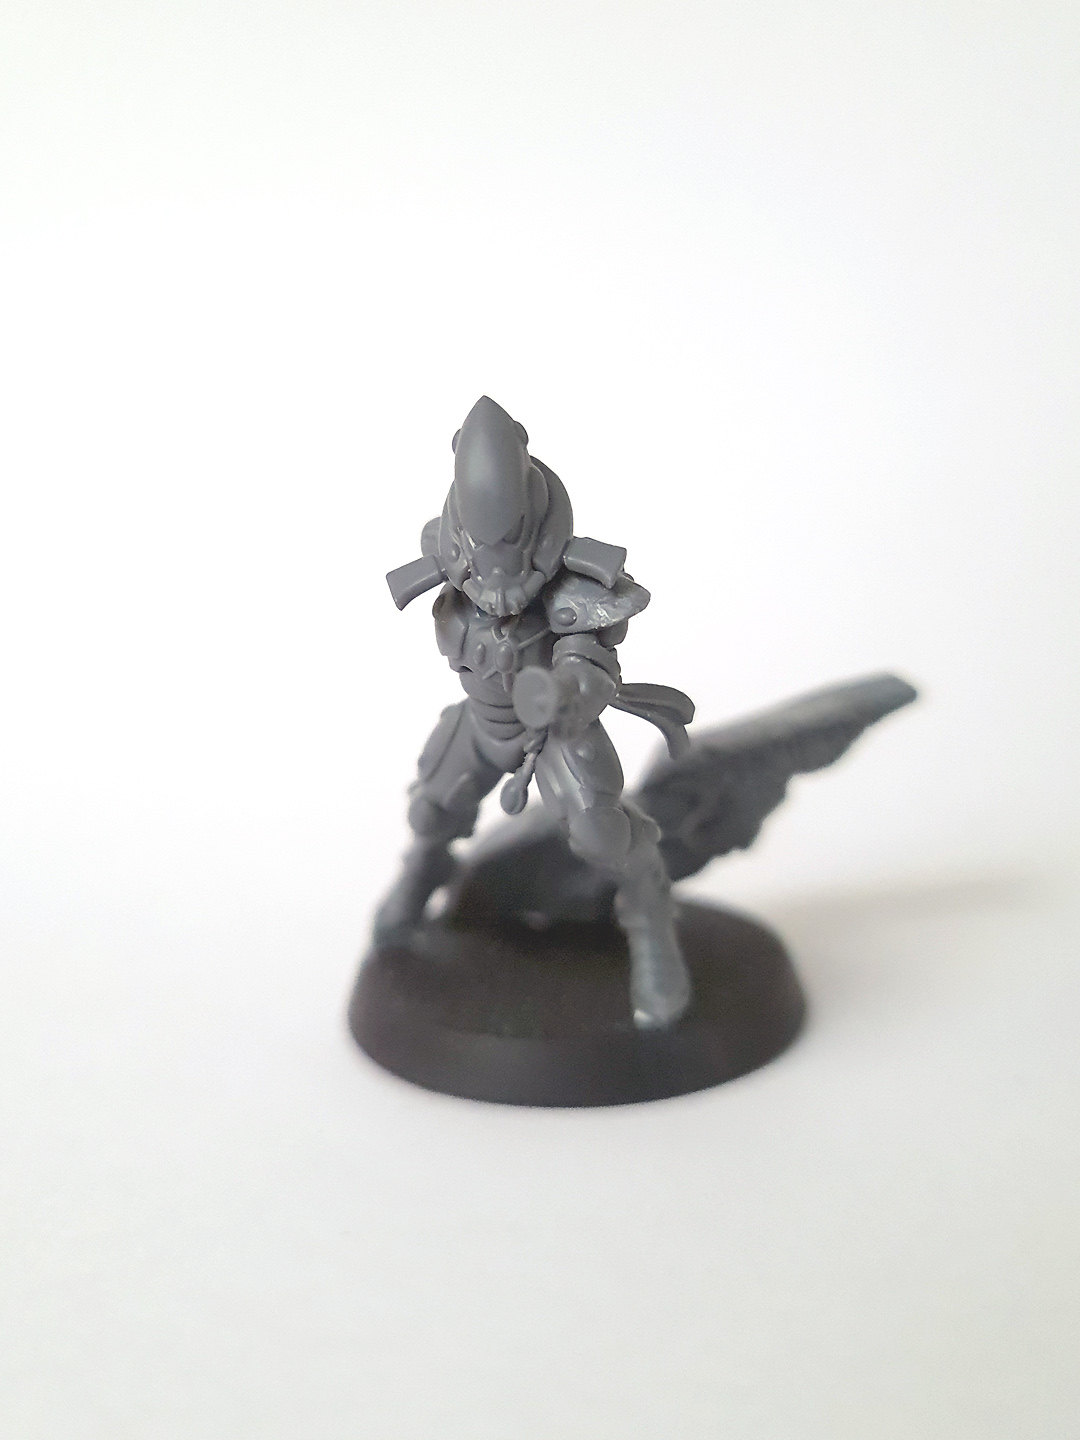
8. A mock-up of the first Warp Spider. Due to the complexity of the models and the positioning of the warp portals behind each of them, I will be painting all of the squad in sub-assemblies so that all of the difficult-to-reach areas can be painted more easily.
9. Alternate view of the first miniature in the squad.
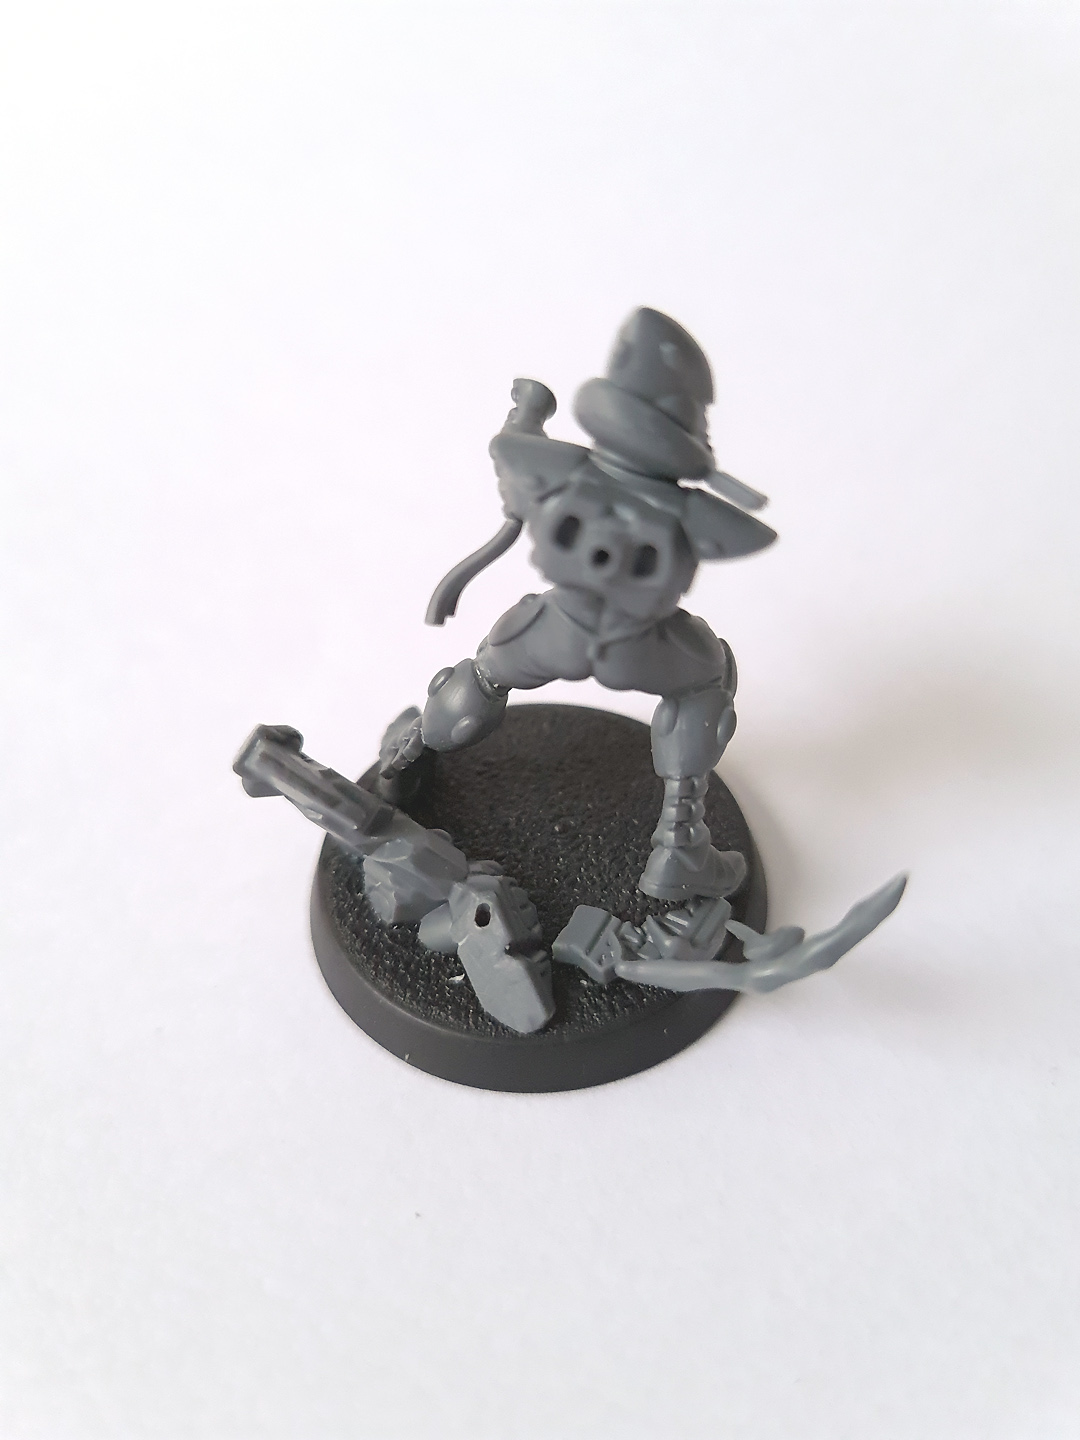
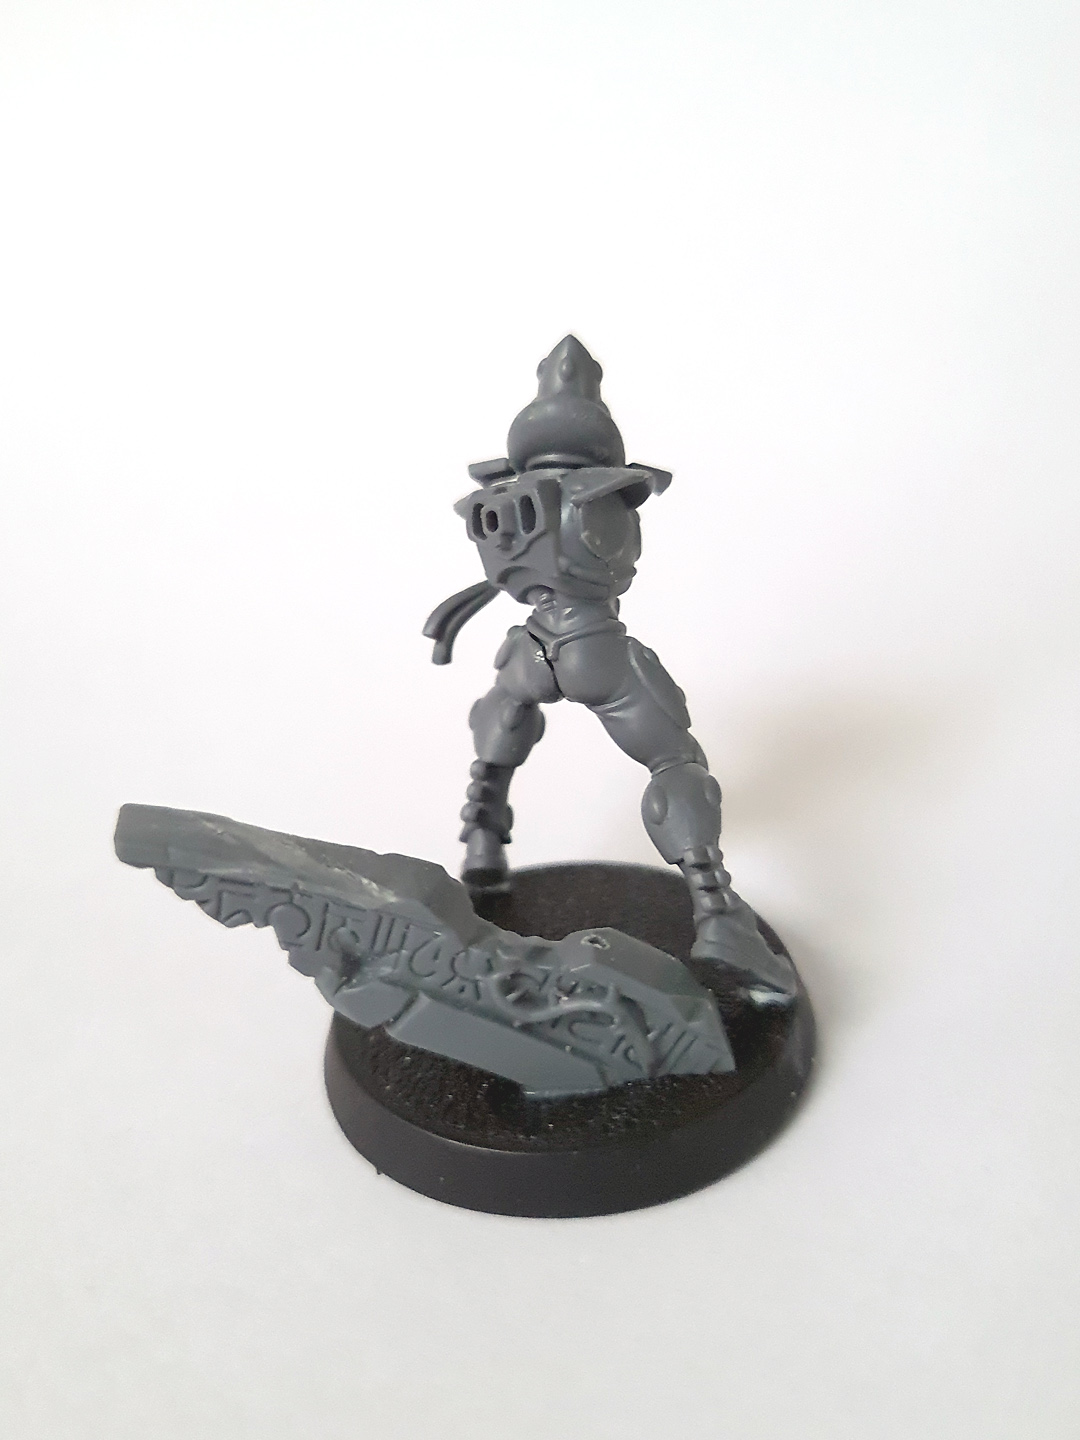
10. Rear view of the first Warp Spider conversion.
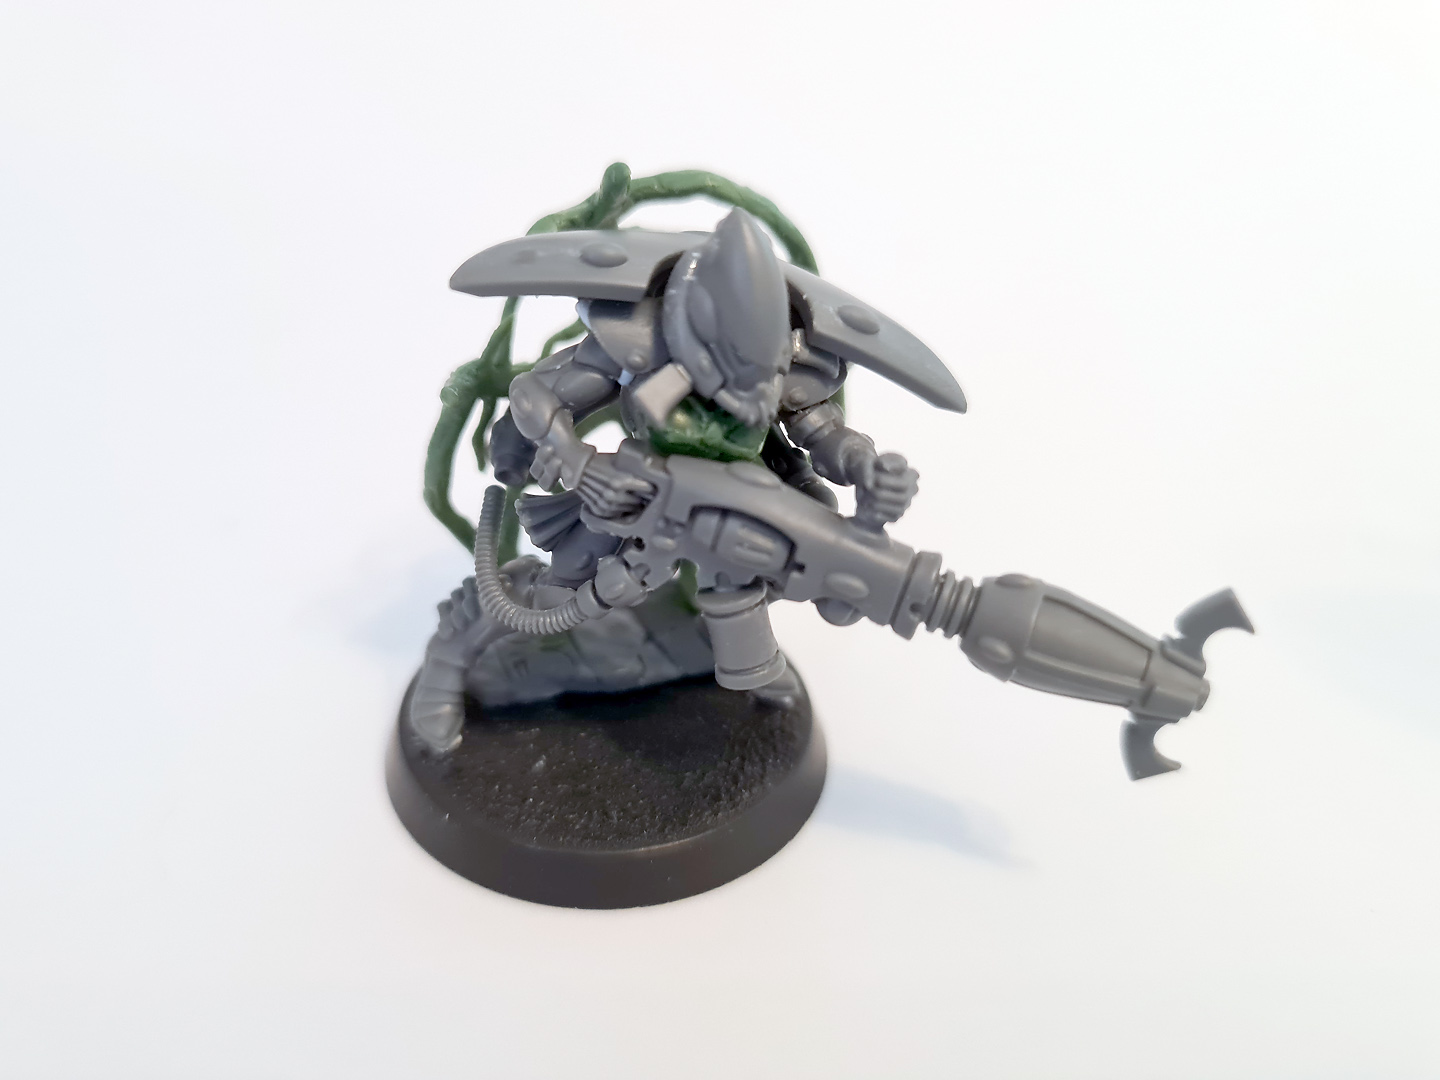
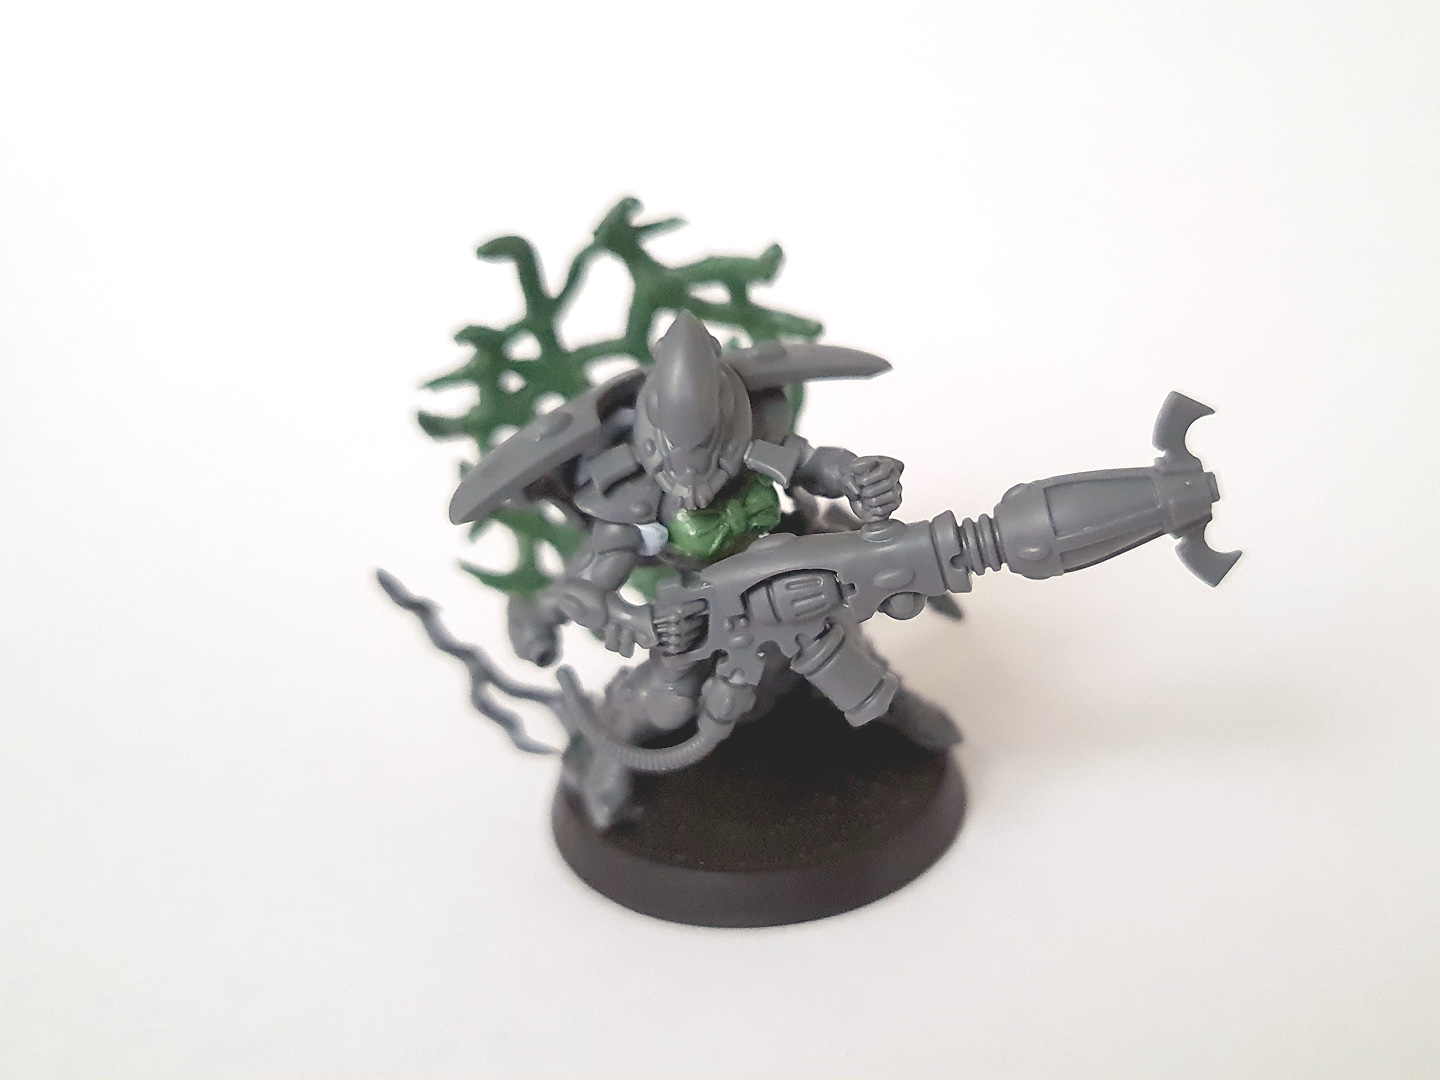
11. The second model wasn't changed much, except on the base. Because of the size and shape of the warp portal, I used scenery from the Swooping Hawk kit to add some verticality.
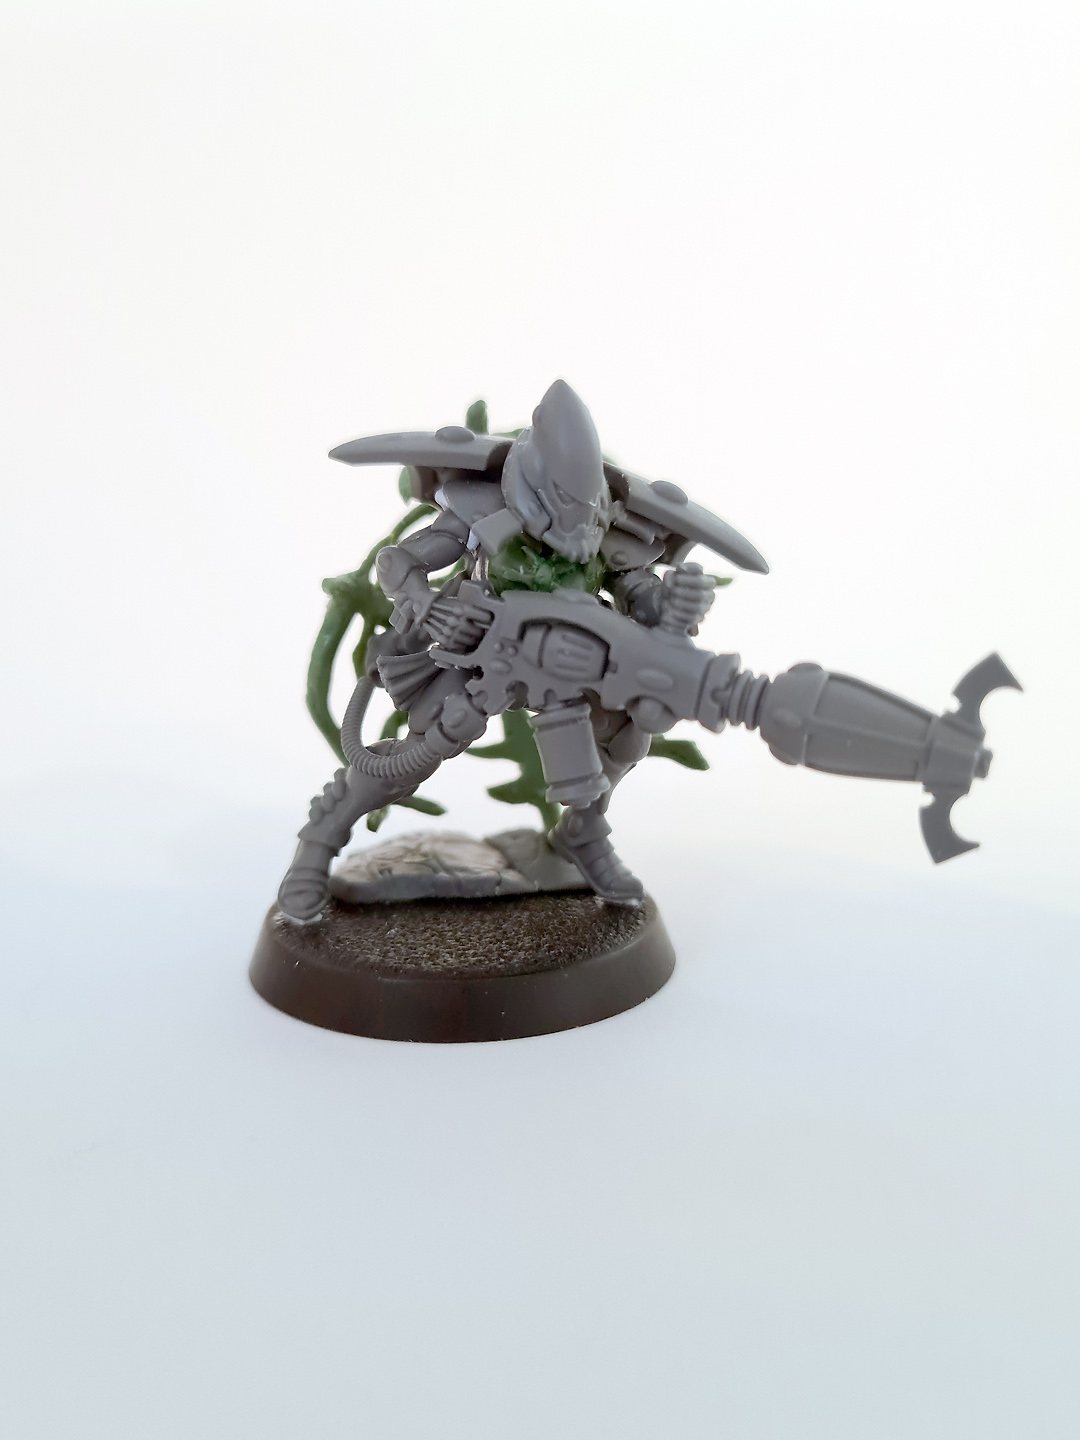
12. Mock-up of the second Warp Spider.
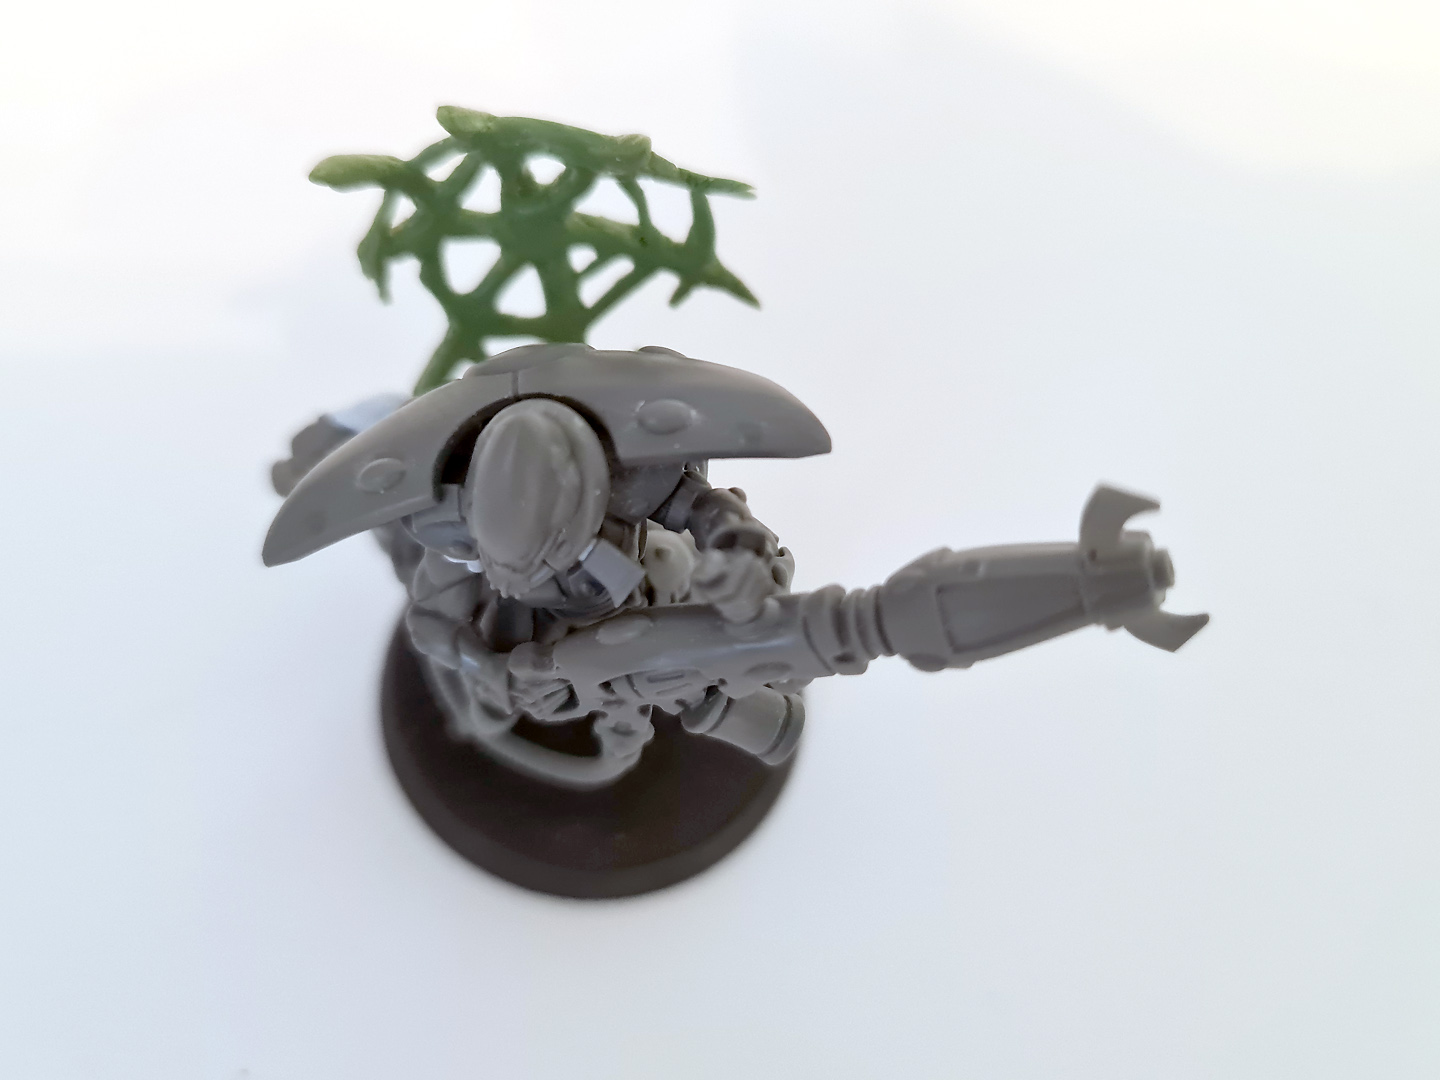
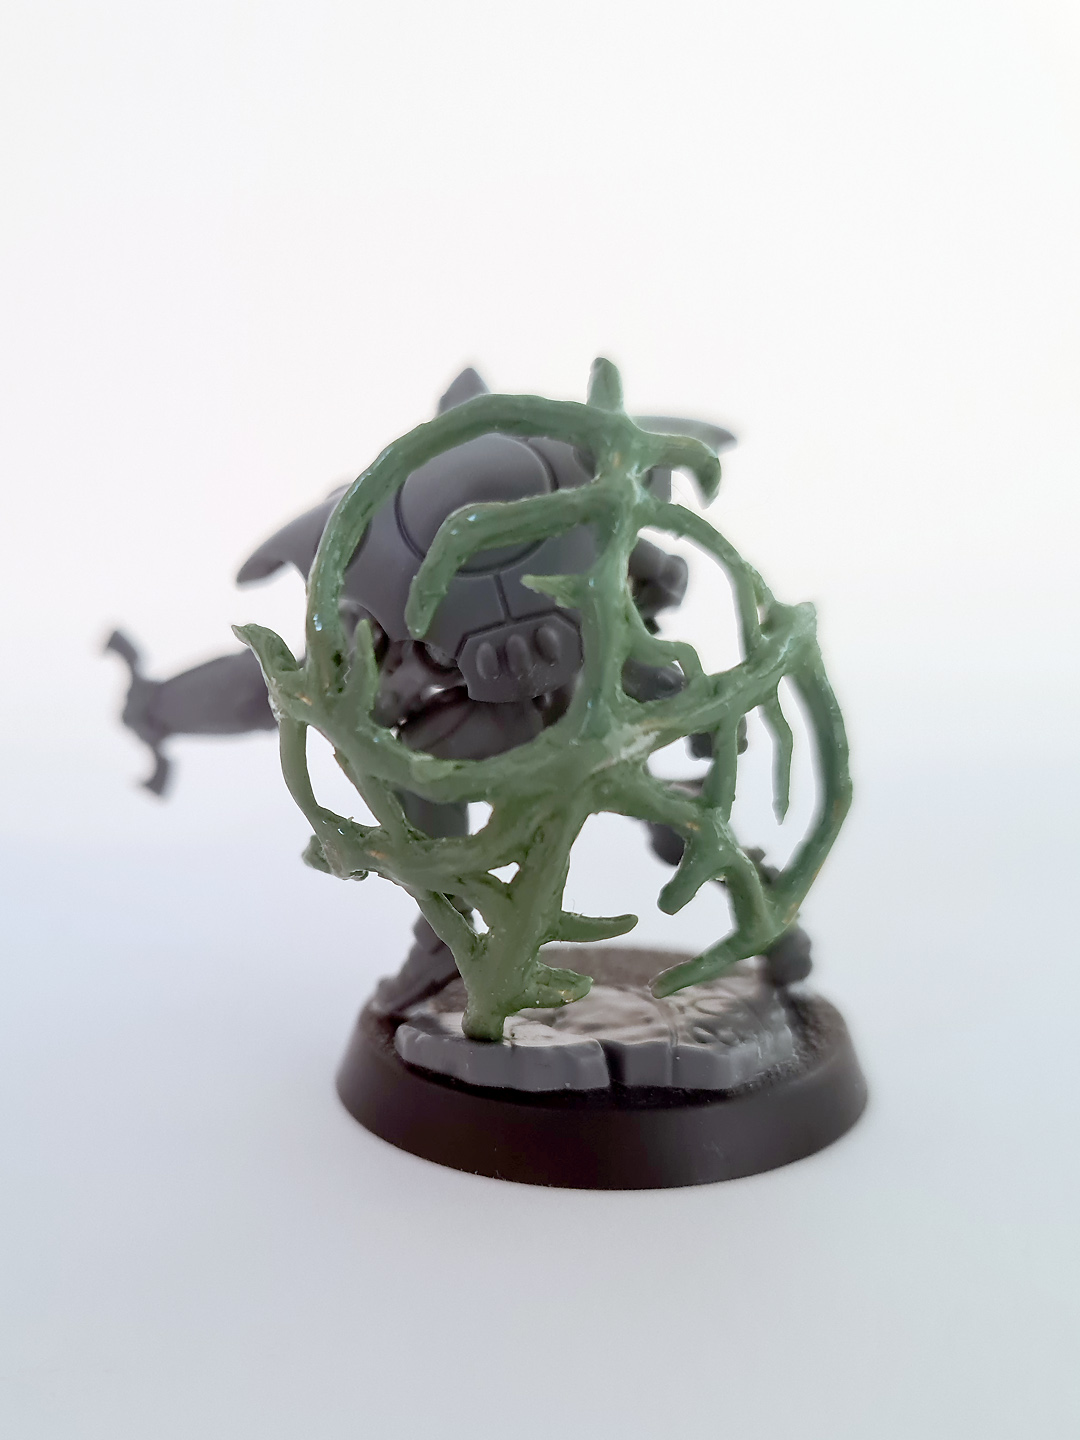
13. Top-down view of the second Warp Spider, showing the positioning of the warp portal.
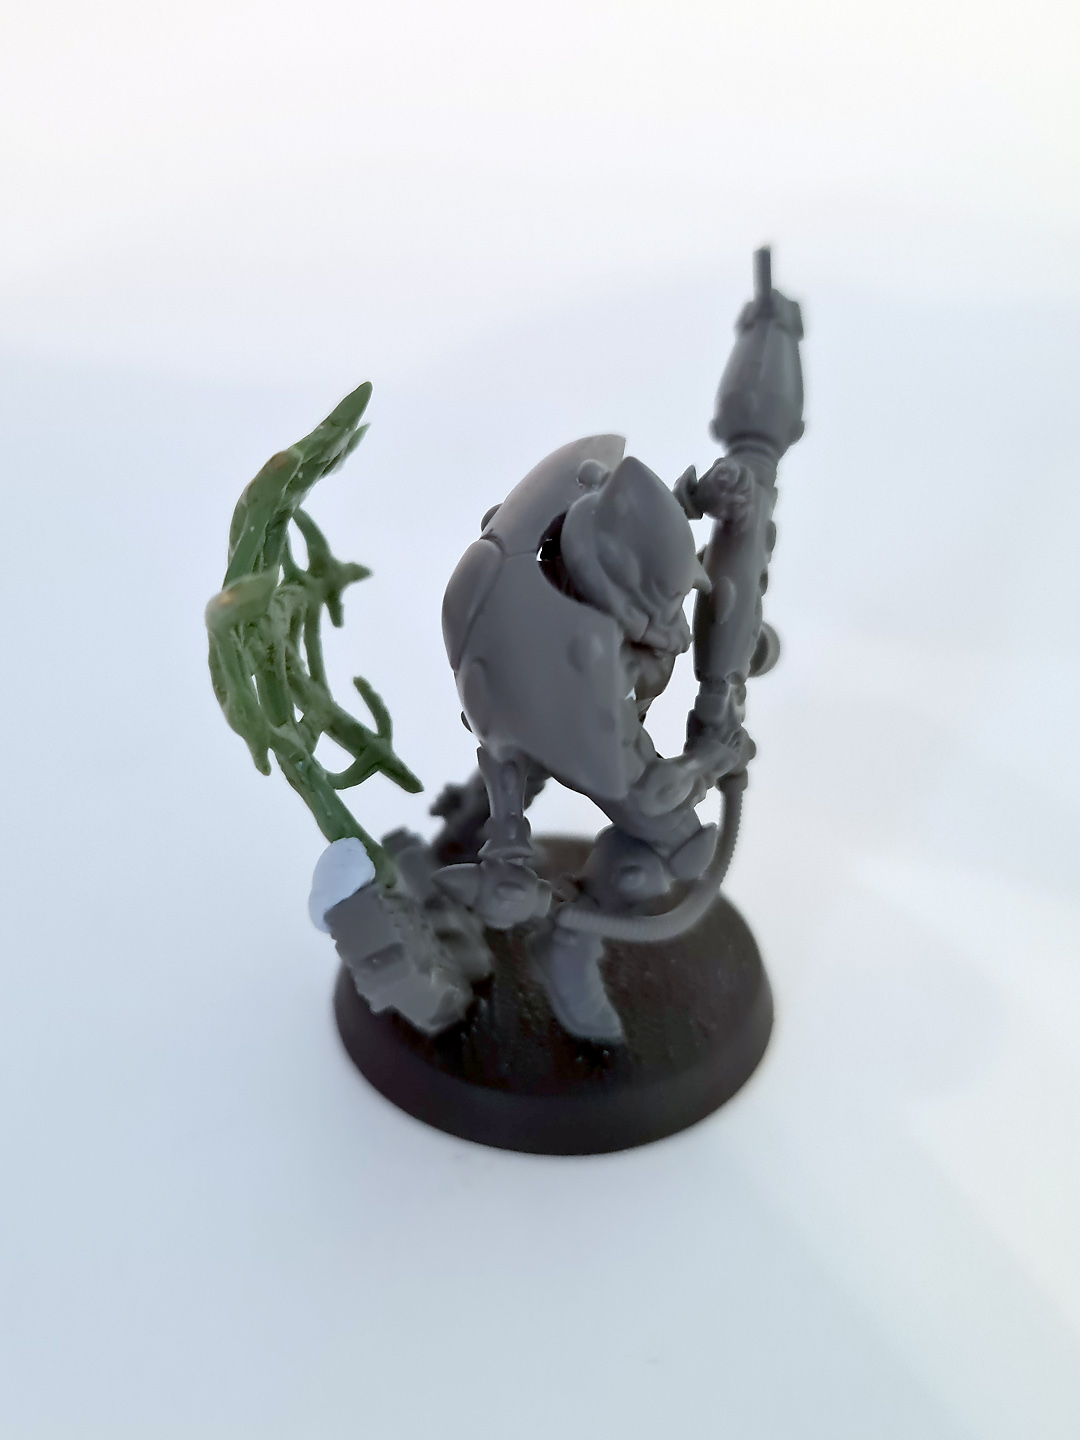
14. This side view of the second Warp Spider demonstrates how the portal will be connected to the base.
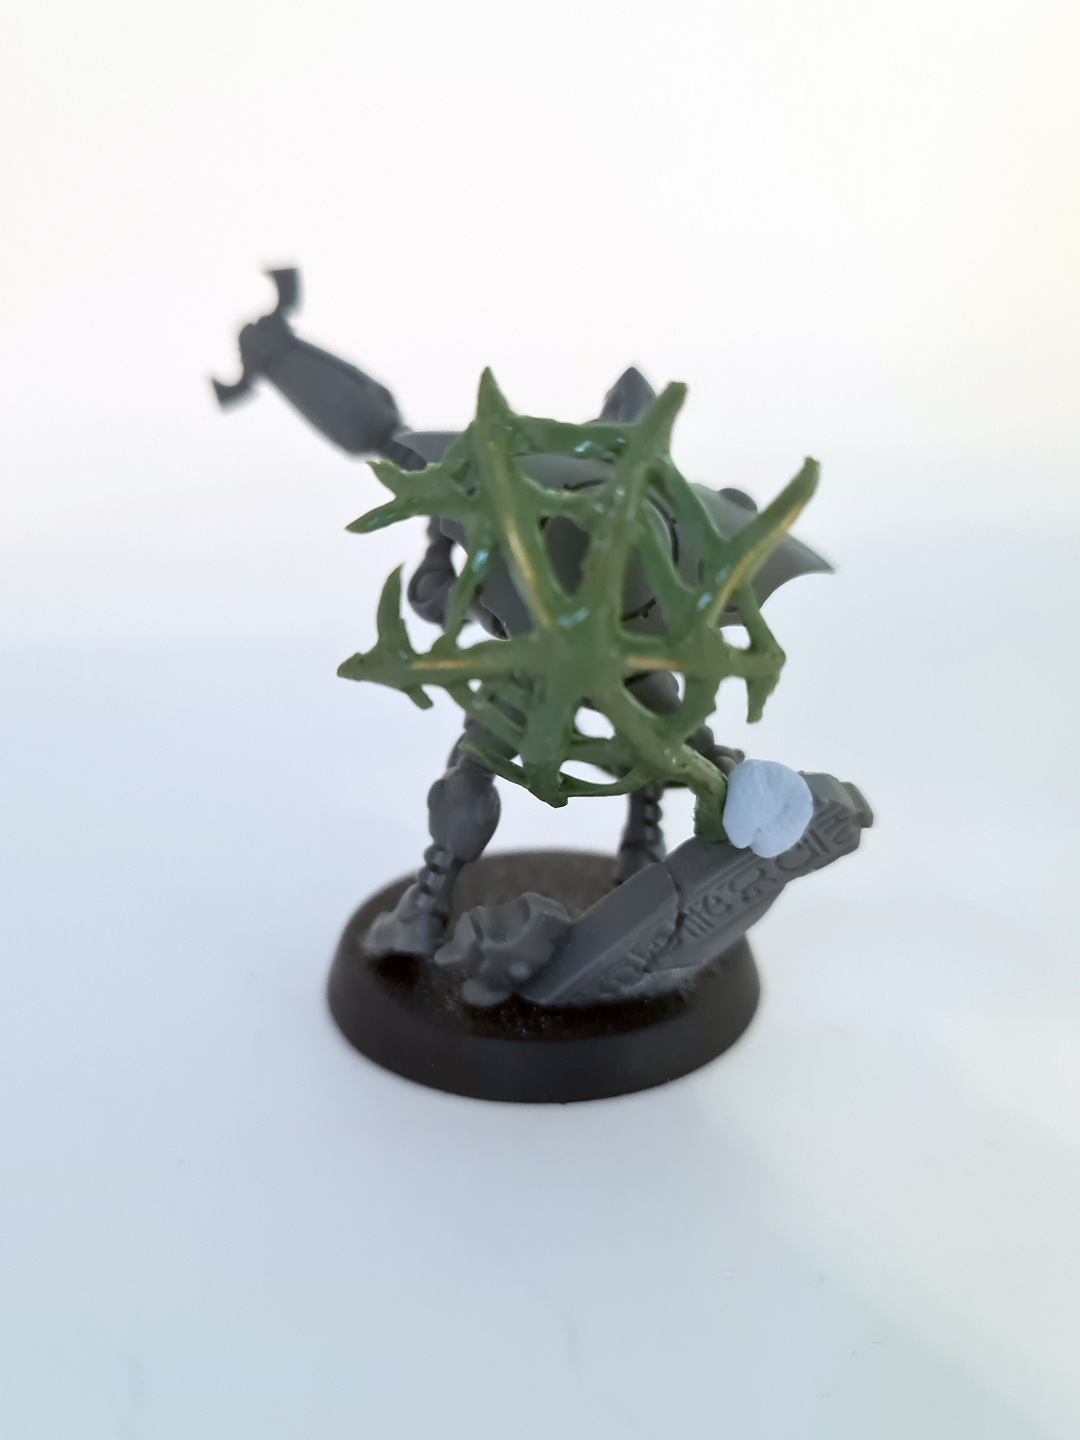
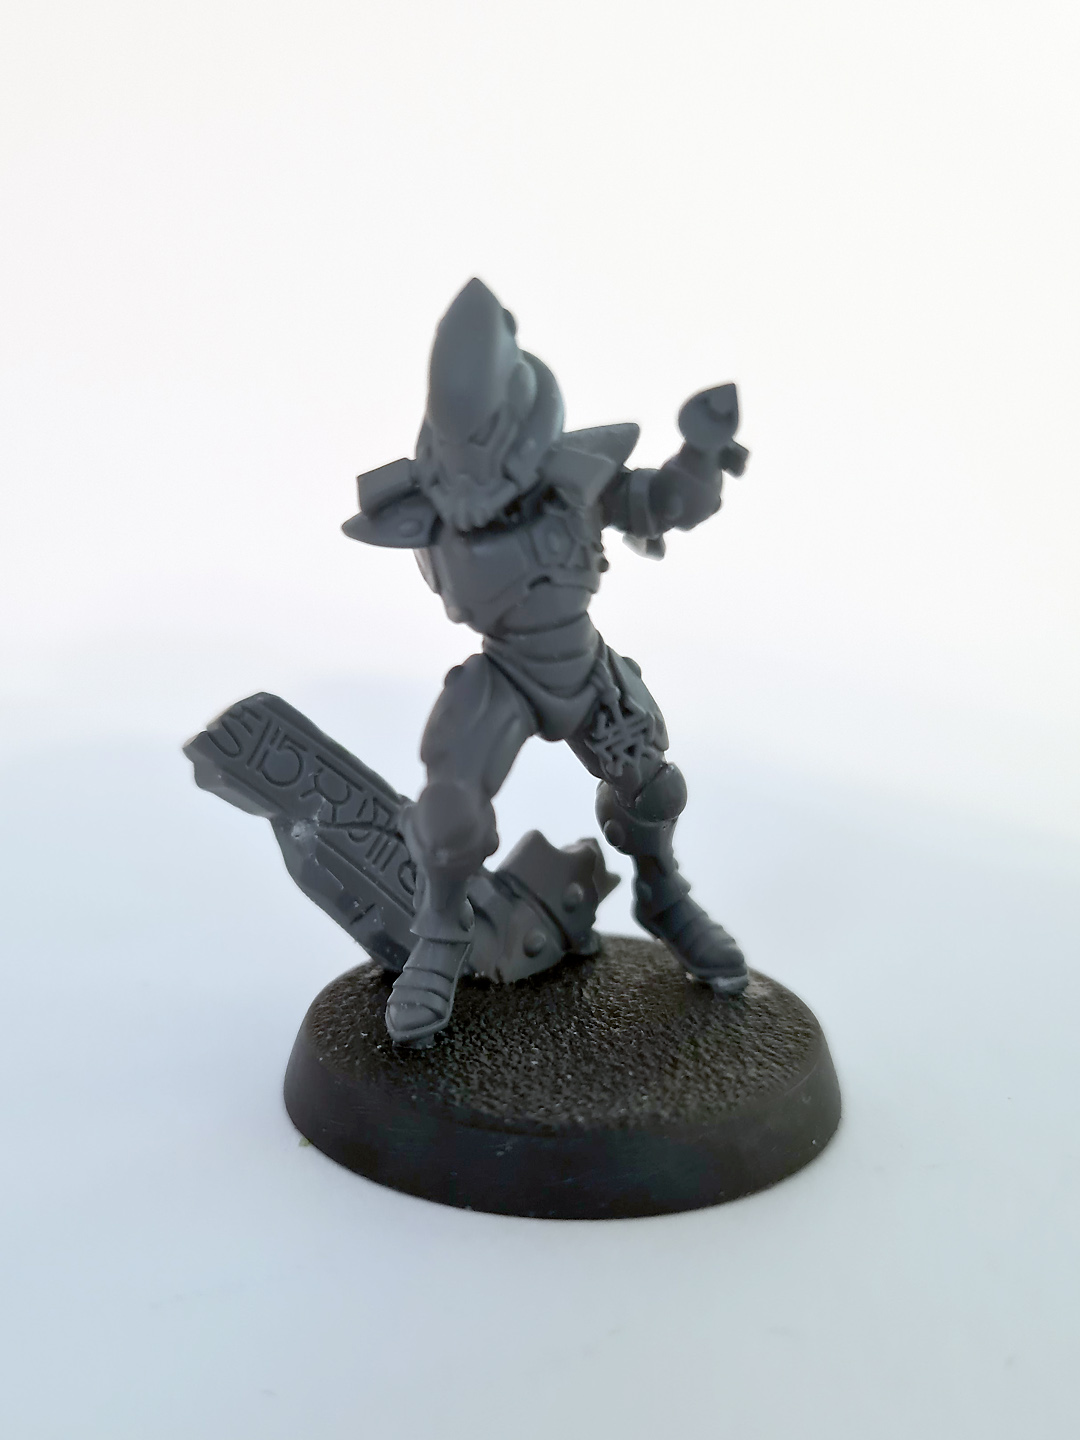
15. Rear view of the second squad member.
16. The second female Warp Spider in the squad.
17. Rear view of the second female Warp Spider.
18. Mock-up of the second female Warp Spider.
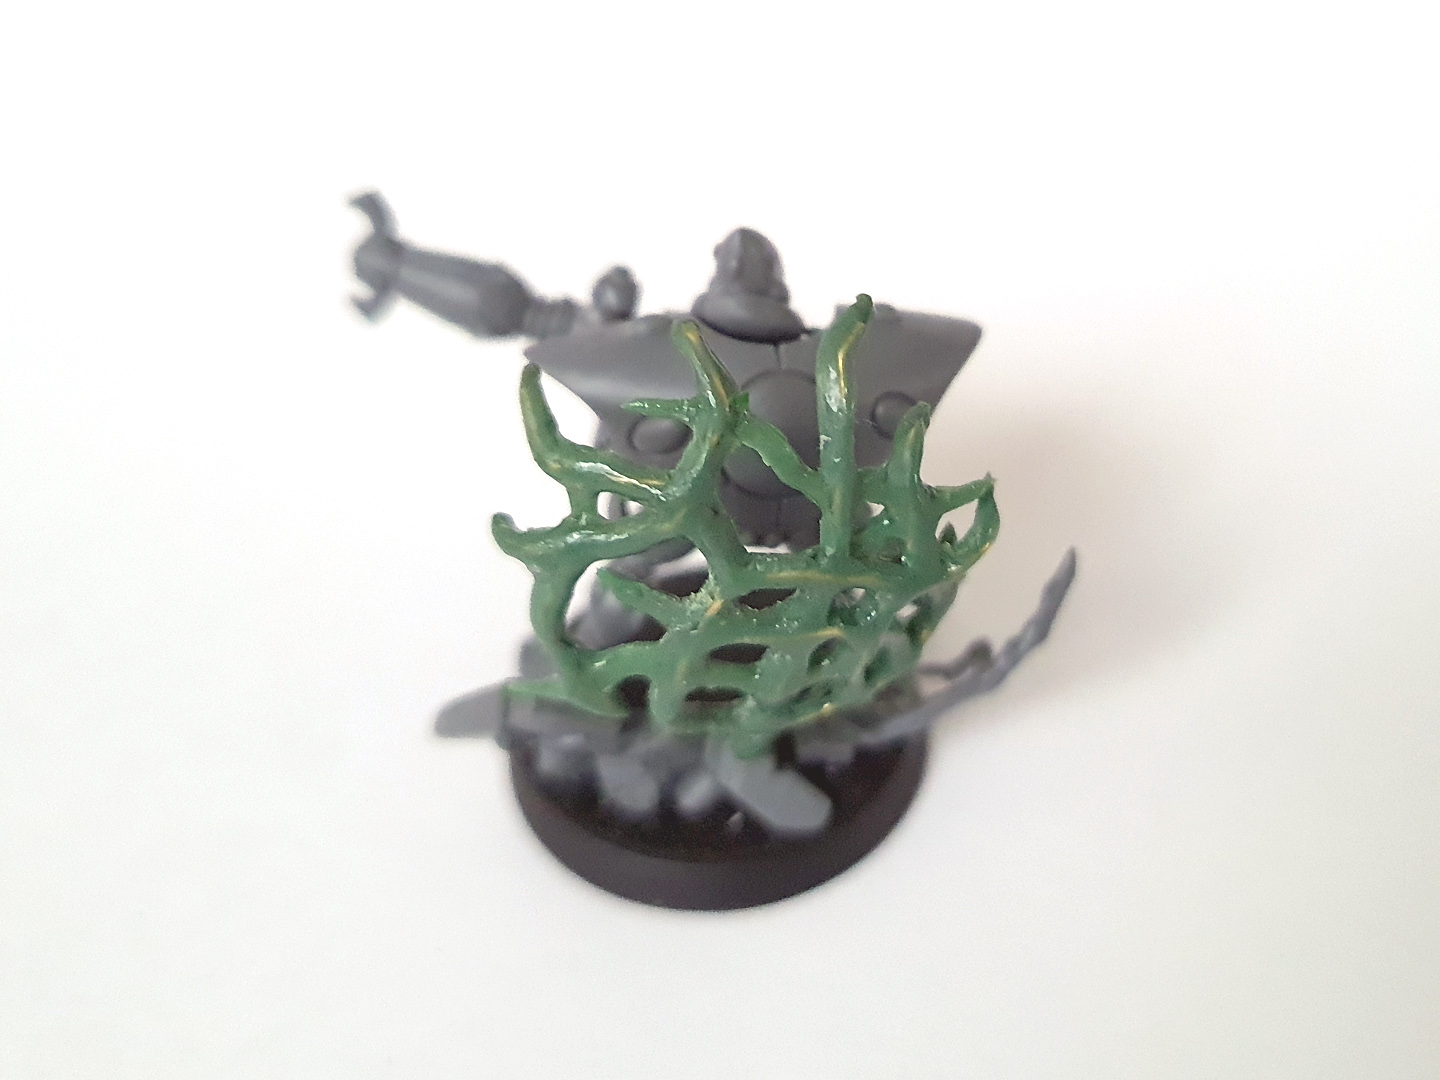
19. This rear view shows the warp portal.
20. The fourth Warp Spider.
21. Rear view of the fourth Warp Spider.
22. The fourth and final Warp Spider.

23. Rear view of the last Warp Spider.
comments powered by Disqus