
Eldar Warp Spider Exarch
Shrine of the Web of Fate
My Warp Spider Exarch is armed with Power Blades and twin Death Spinners. I reposed him to look more dynamic, as if he is bursting out of a portal.Date: 2025 - 2026 (complete)
Components: 1x Eldar Warp Spider Exarch, 1x Eldar Dark Reaper Exarch head, 1x Swooping Hawk scenic base element, brass rod, Green Stuff
Colour scheme: Warp Spider colour scheme (PDF), Basing colour scheme (PDF)
Related:

1. I much prefer the pointed blades from the Power Blade array to the square ends of the twin Power Blades, so I swapped them over.

2. Close-up of the converted Power Blades.

3. I changed the pose of the Exarch by altering the position of the left leg.

4. Rear view of the conversion.

5. The assembled model. The carapace will be painted separately.

6. The Warp Spider Exarch from the back.

7. A close-up of one of the converted Power Blades.

8. Detail shot of the head.

9. The completed model, waiting for basing.
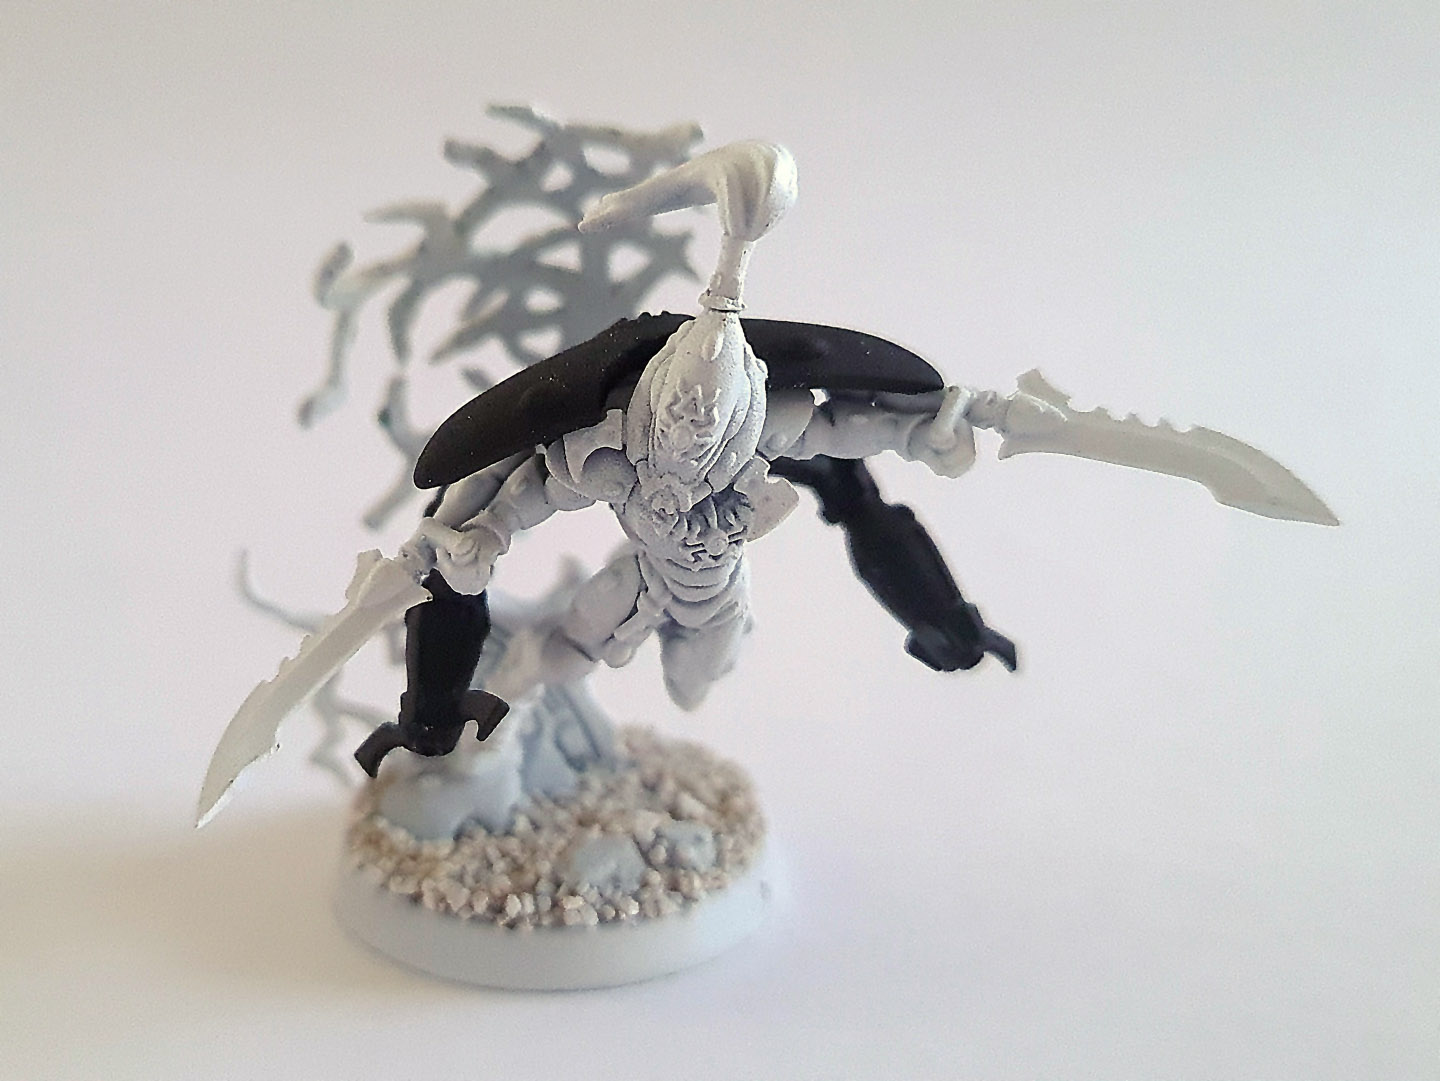
10. The model has now been based and undercoated and is ready for painting.
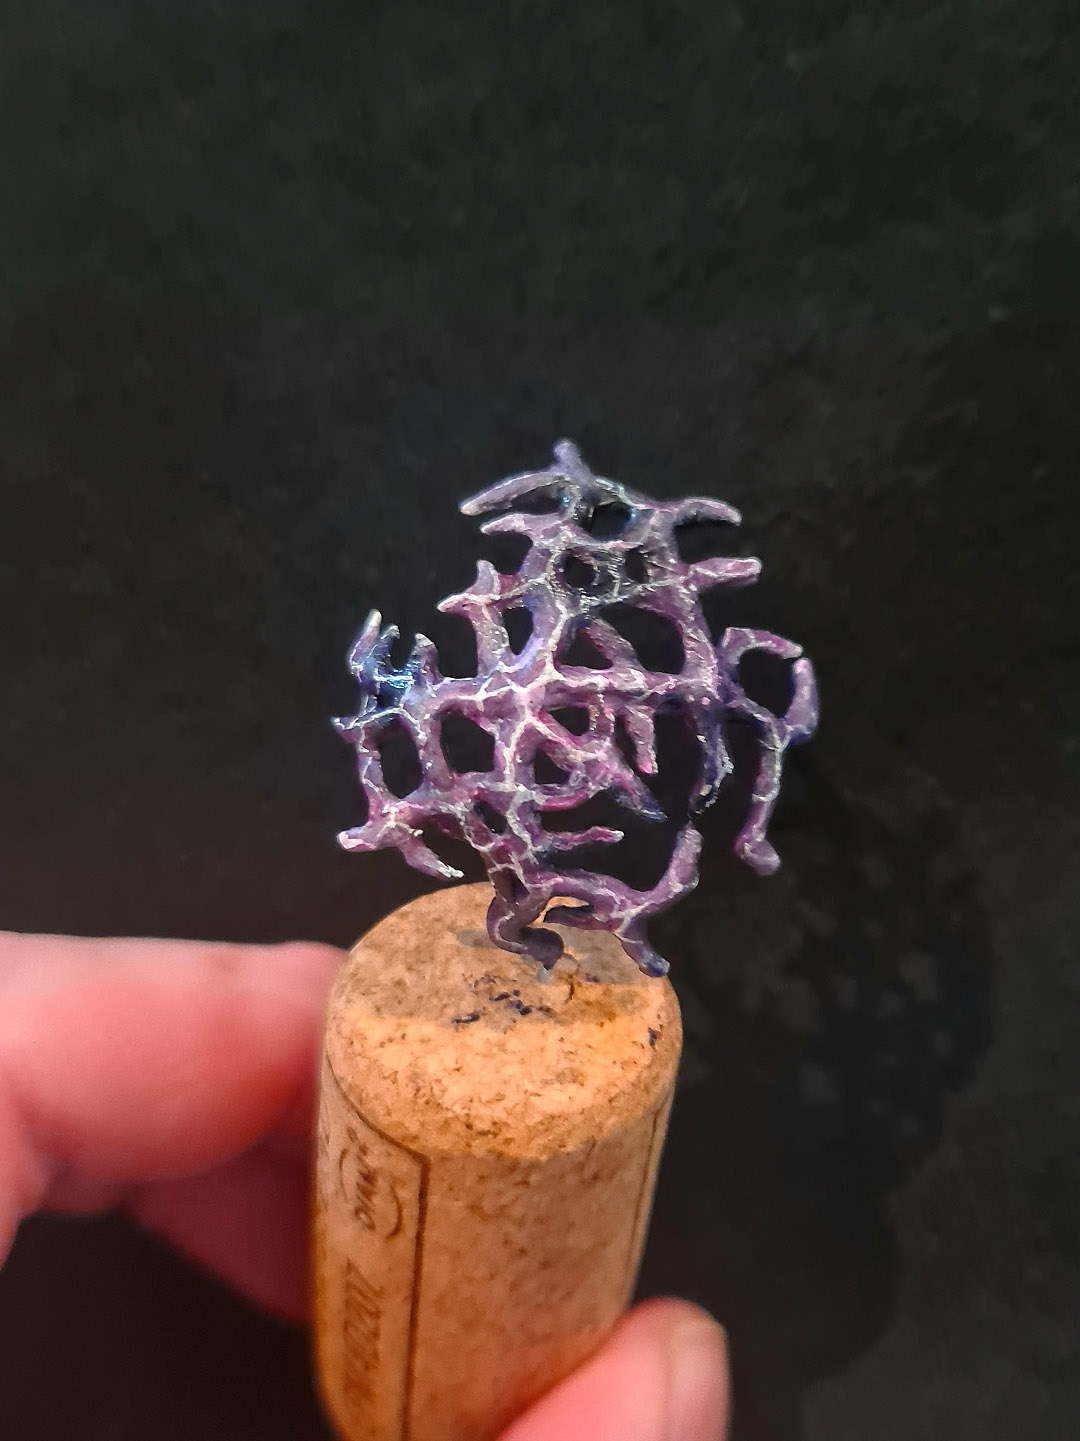
11. The Exarch's warp portal was the first to be painted and I used it as a test of my colour scheme idea. Rather than going for a cool, blue lightning effect (which is what the 'Eavy Metal studio model uses for the portal beneath Lhykhis), I wanted to convey the tempestuous, threatening and dangerous nature of the Warp. To that end, I've opted for shades of purple, with lightning effects overlaid on top. It's meant to look quite organic, like the shades of a deep bruise.
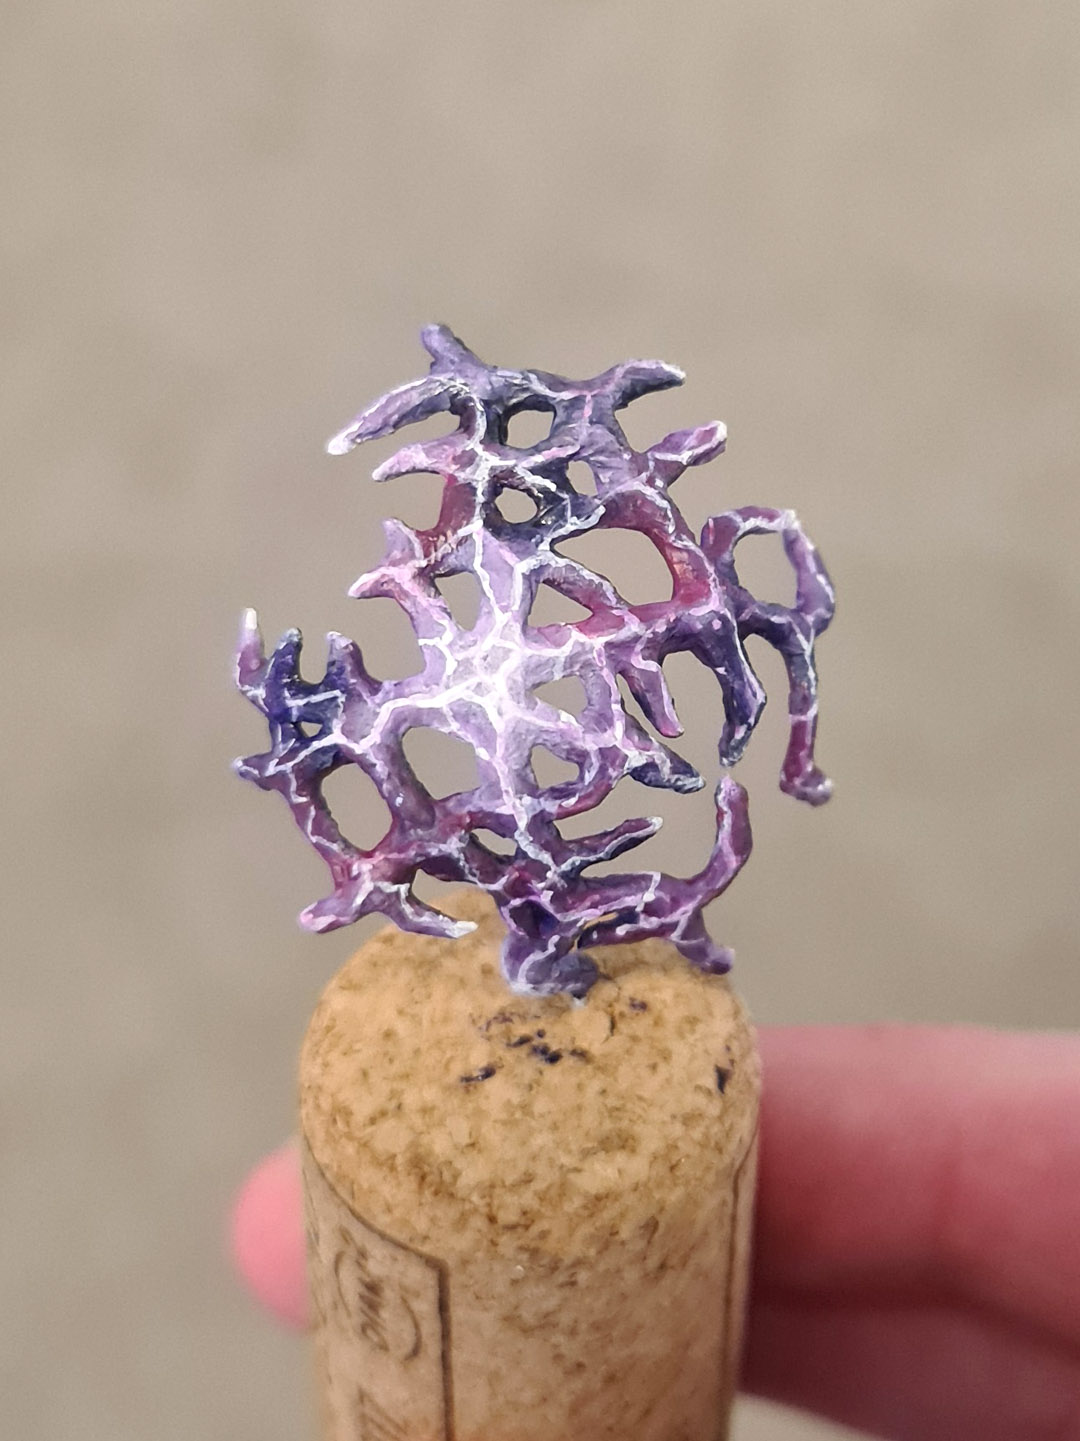
12. The finished warp portal - the addition of a glow to the centre of the portal really makes a difference.
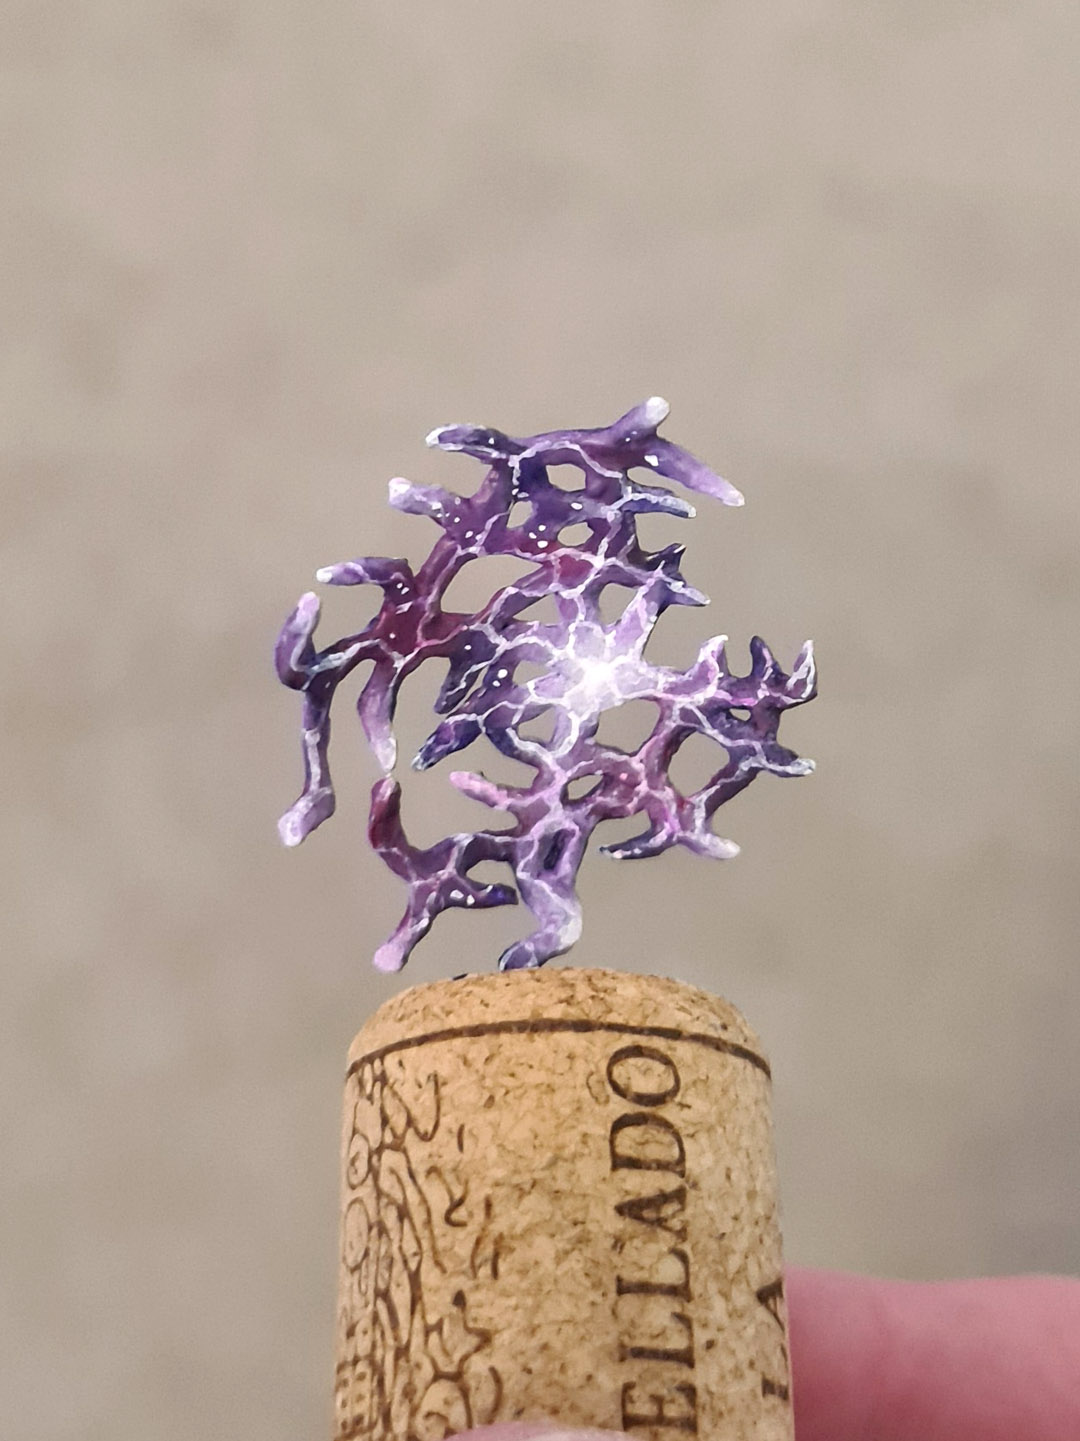
13. The reverse side of the portal. I added small pinpricks of light - these could be stars or random fluctuations in the warp.
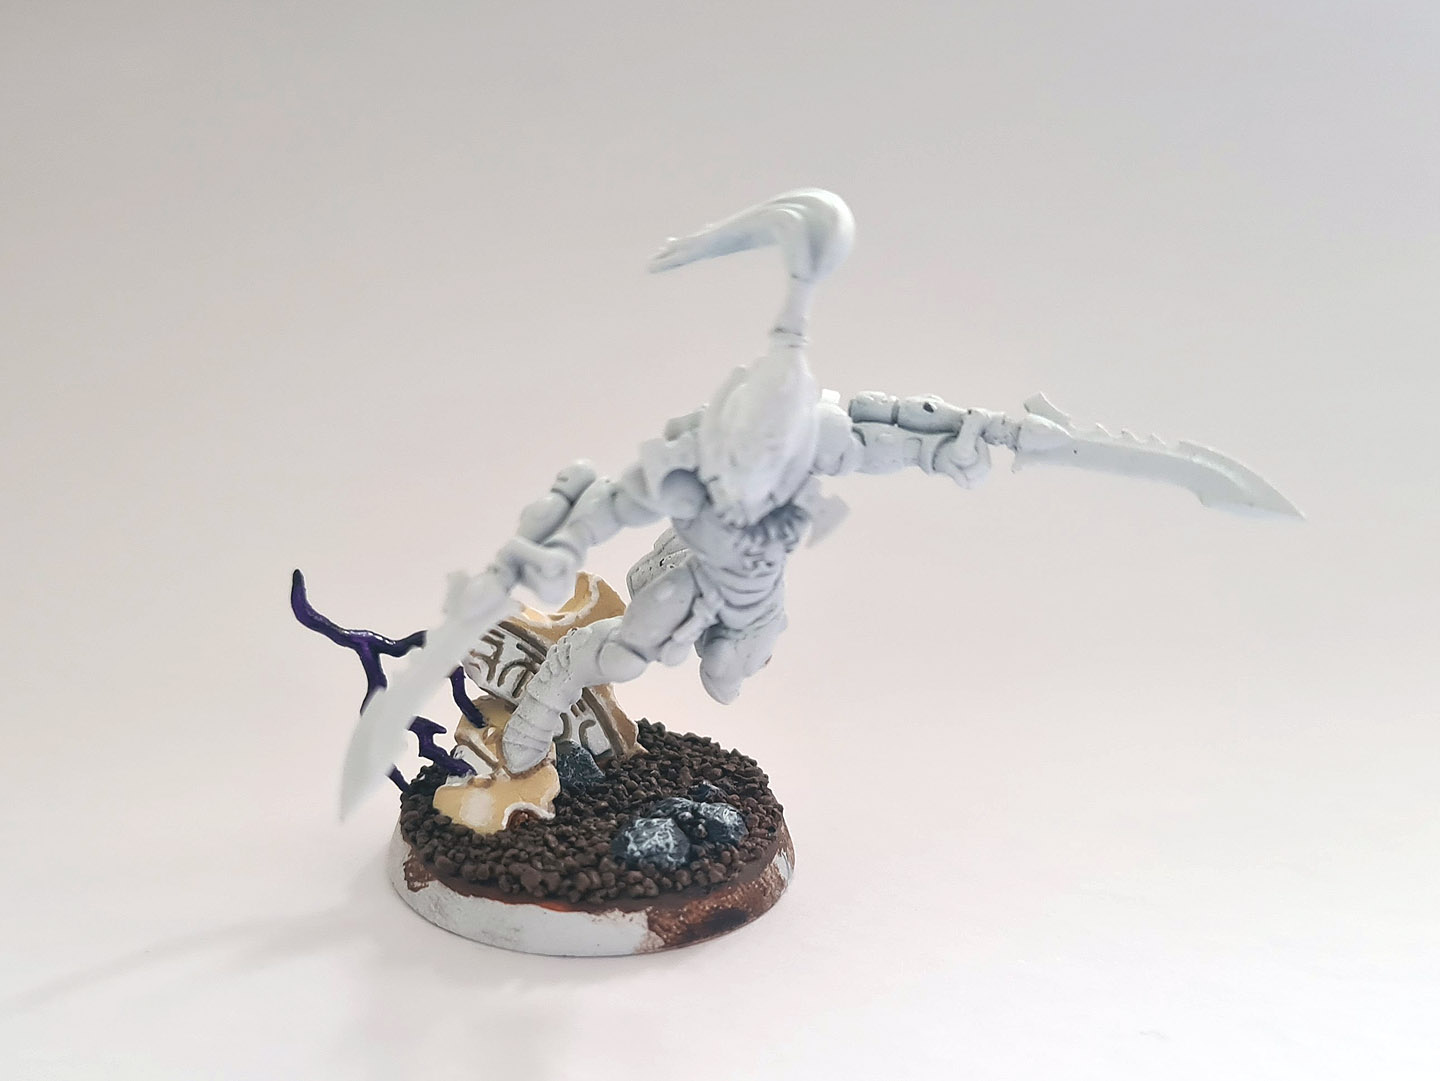
14. An early work-in-progress shot of the painting of the Exarch.
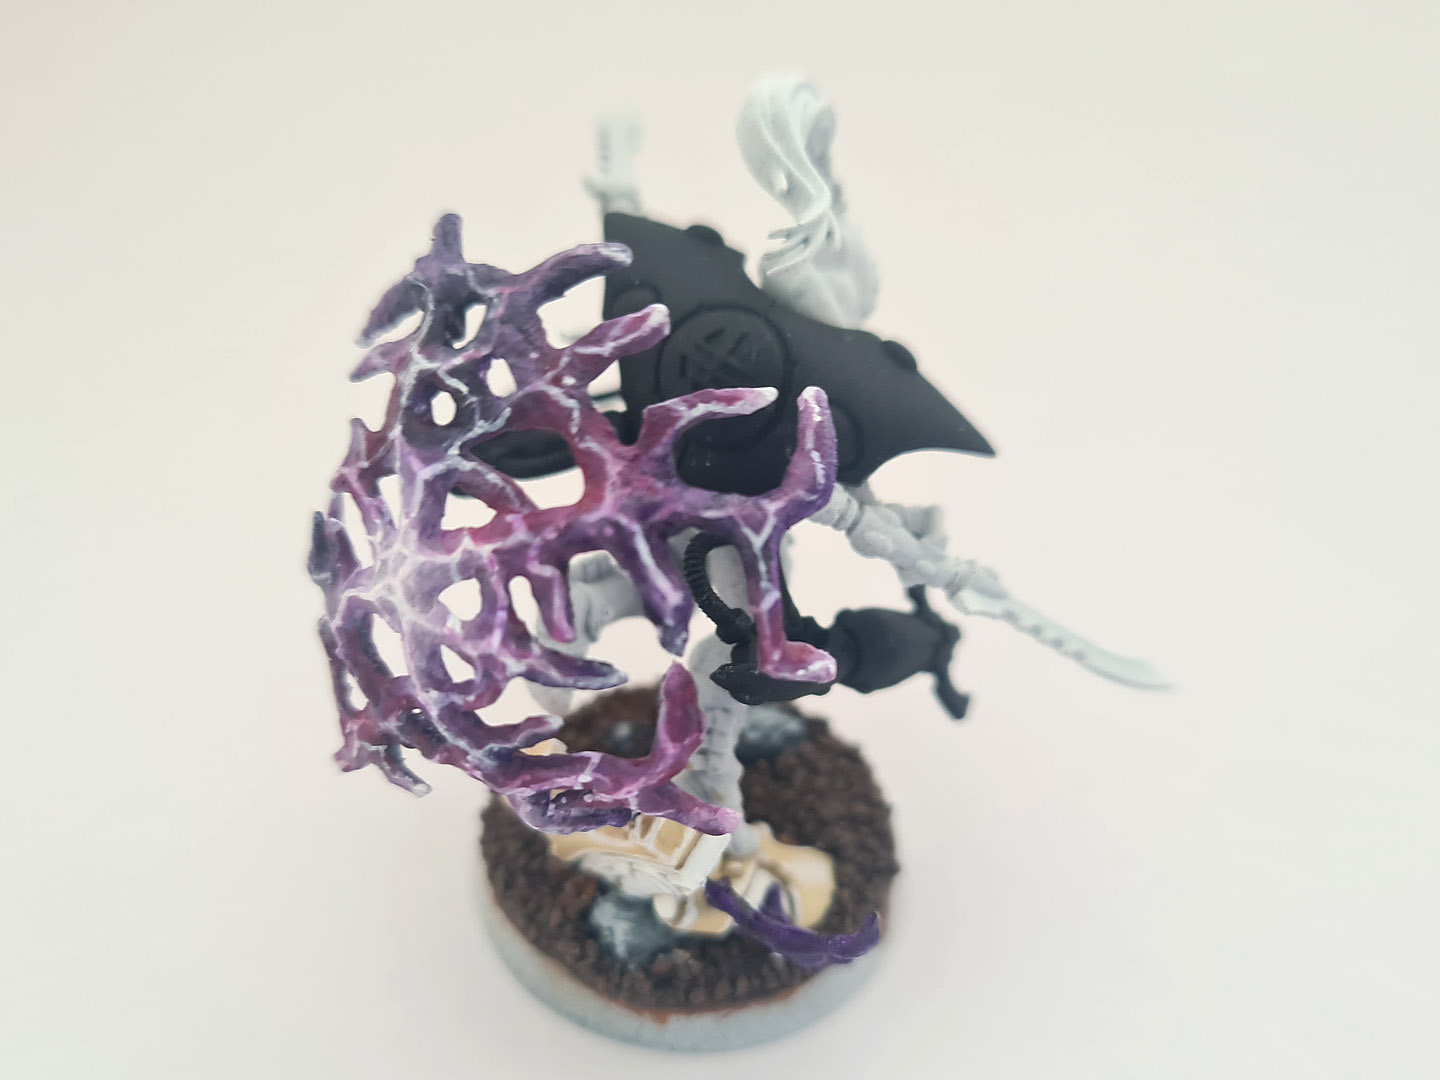
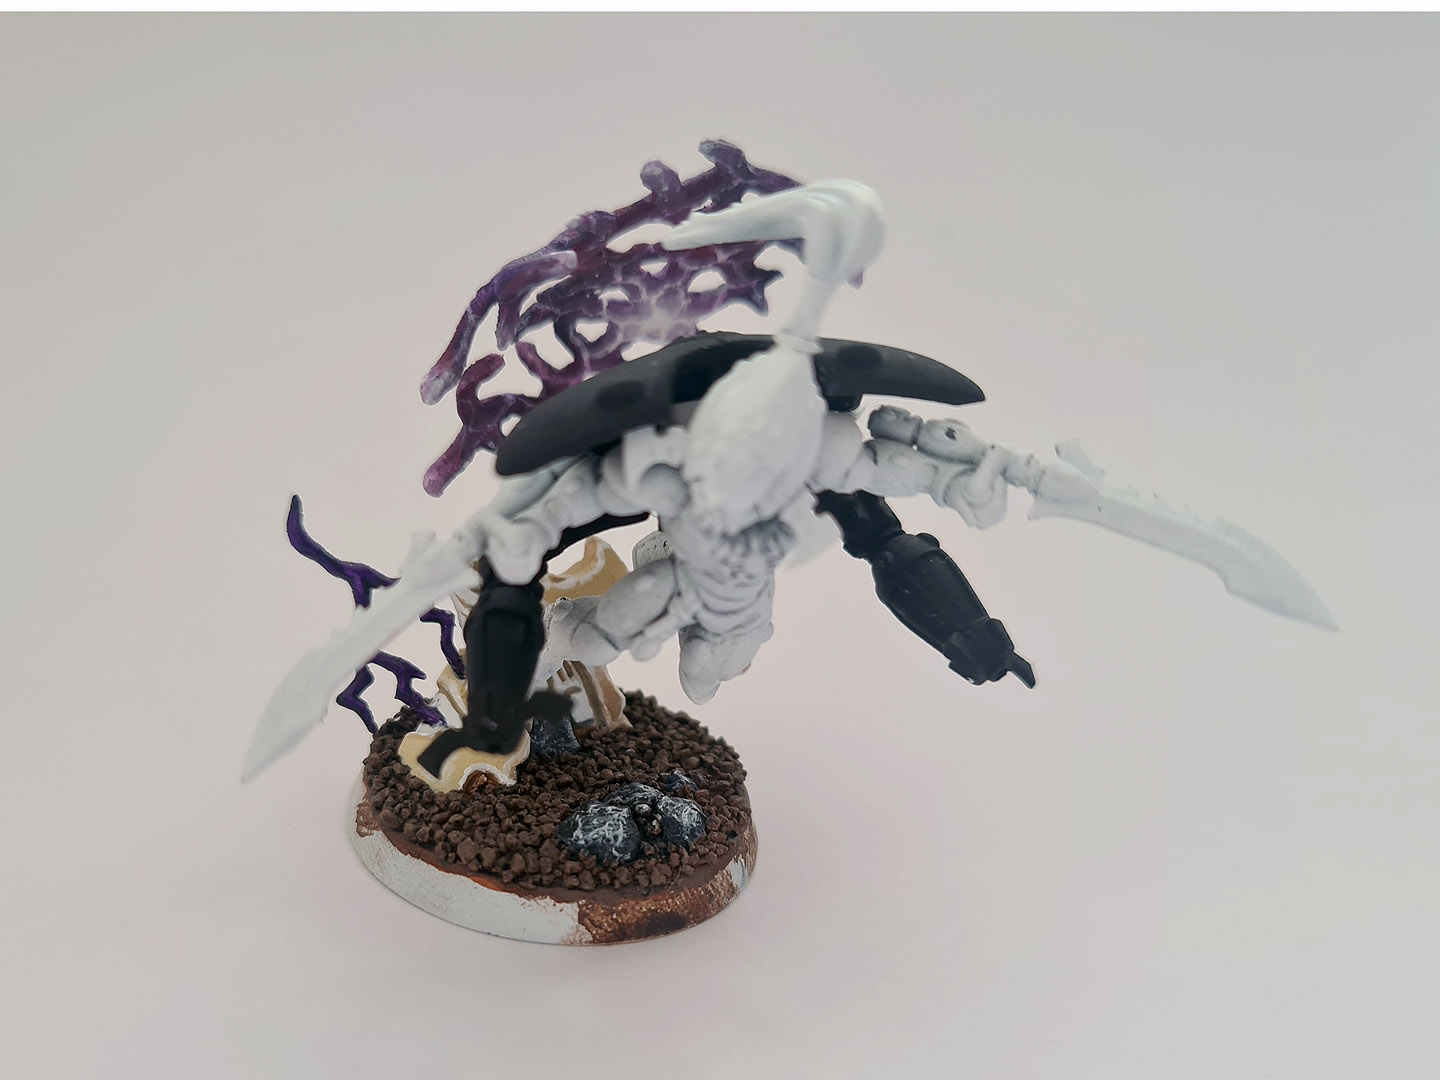
15. A test fit of the warp portal and warp jump generator during painting.
16. View of the model from the front.
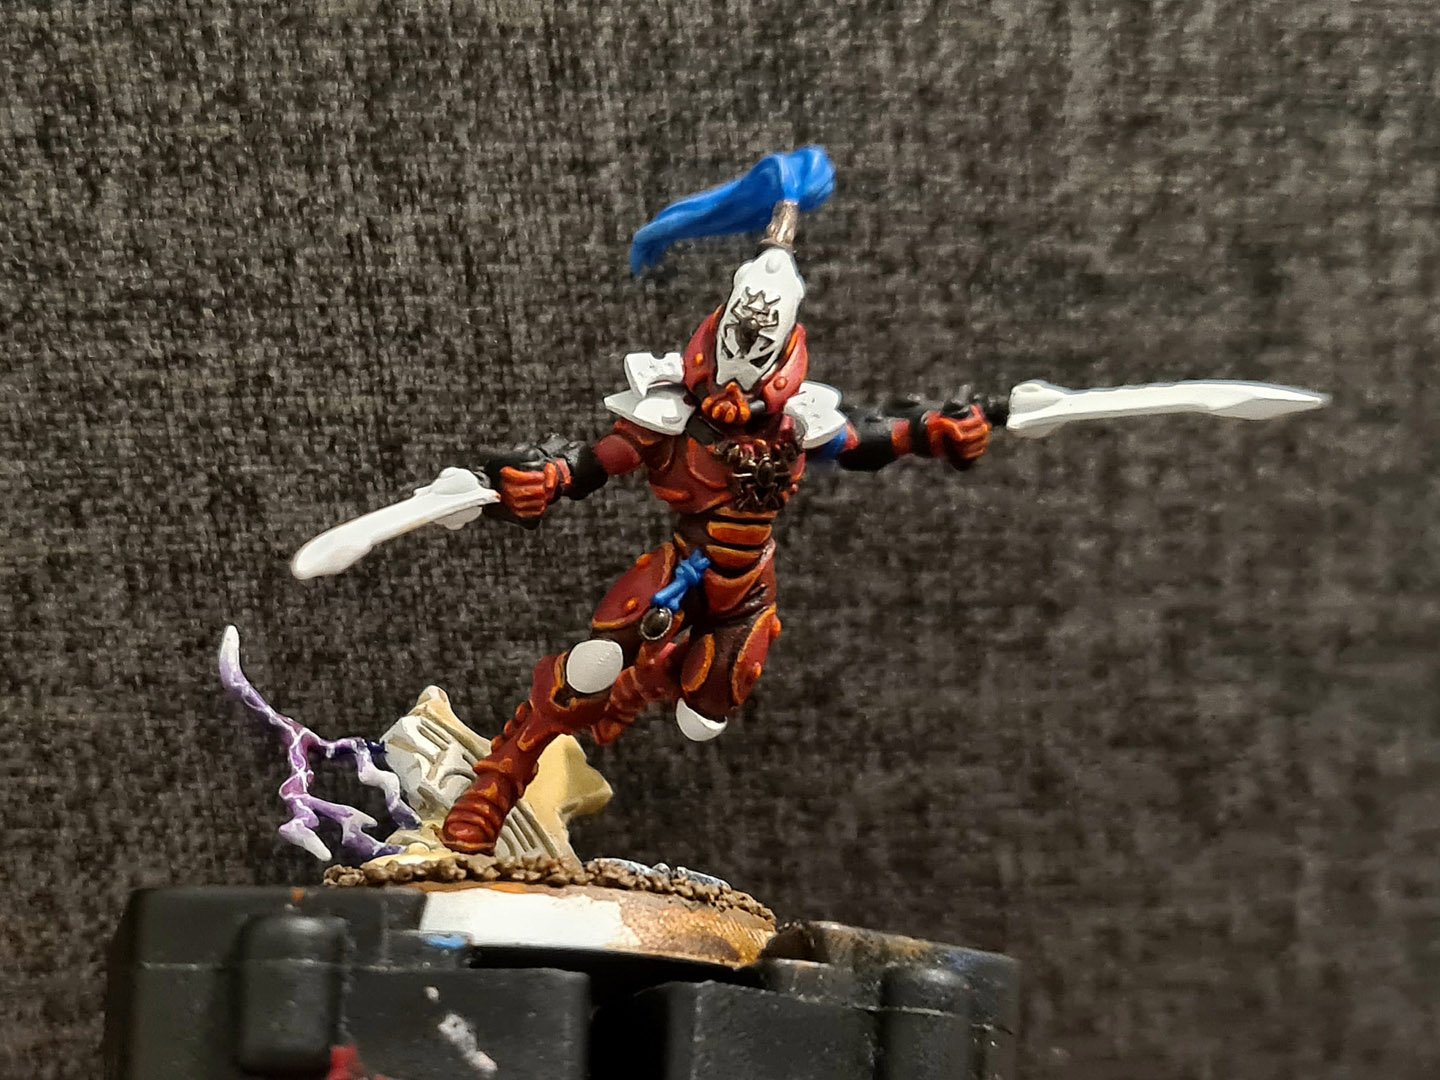
17. The painting of the body of the Warp Spider Exarch starts to come together.
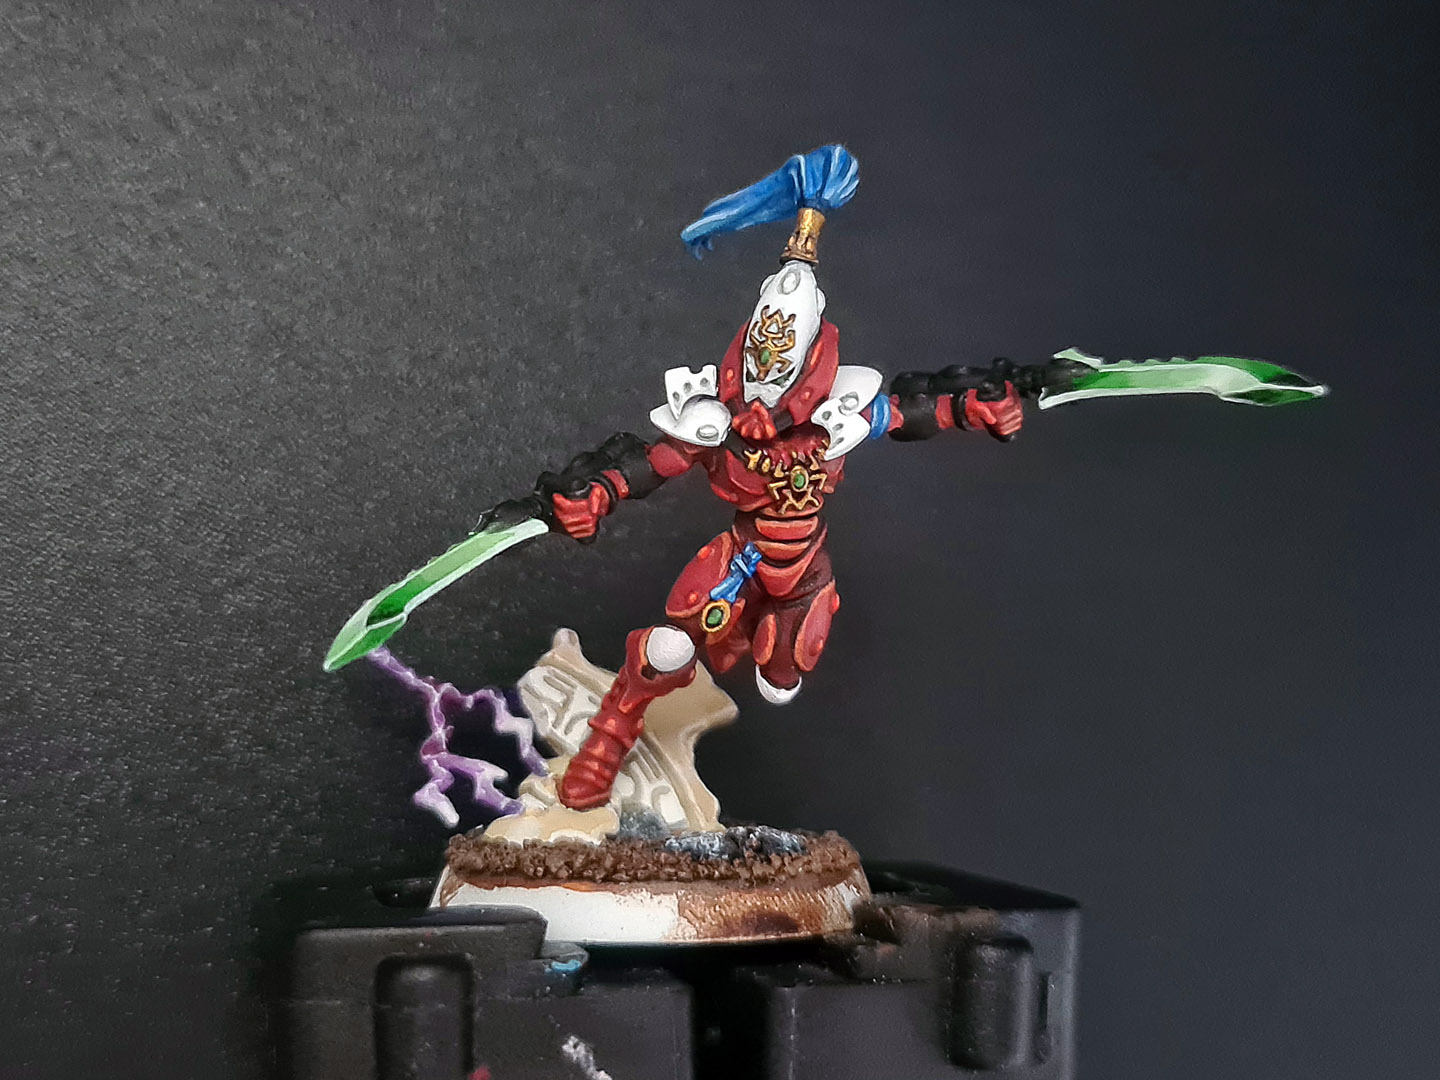
18. I chose green as a spot colour for the powerblades, eye lens and gems.
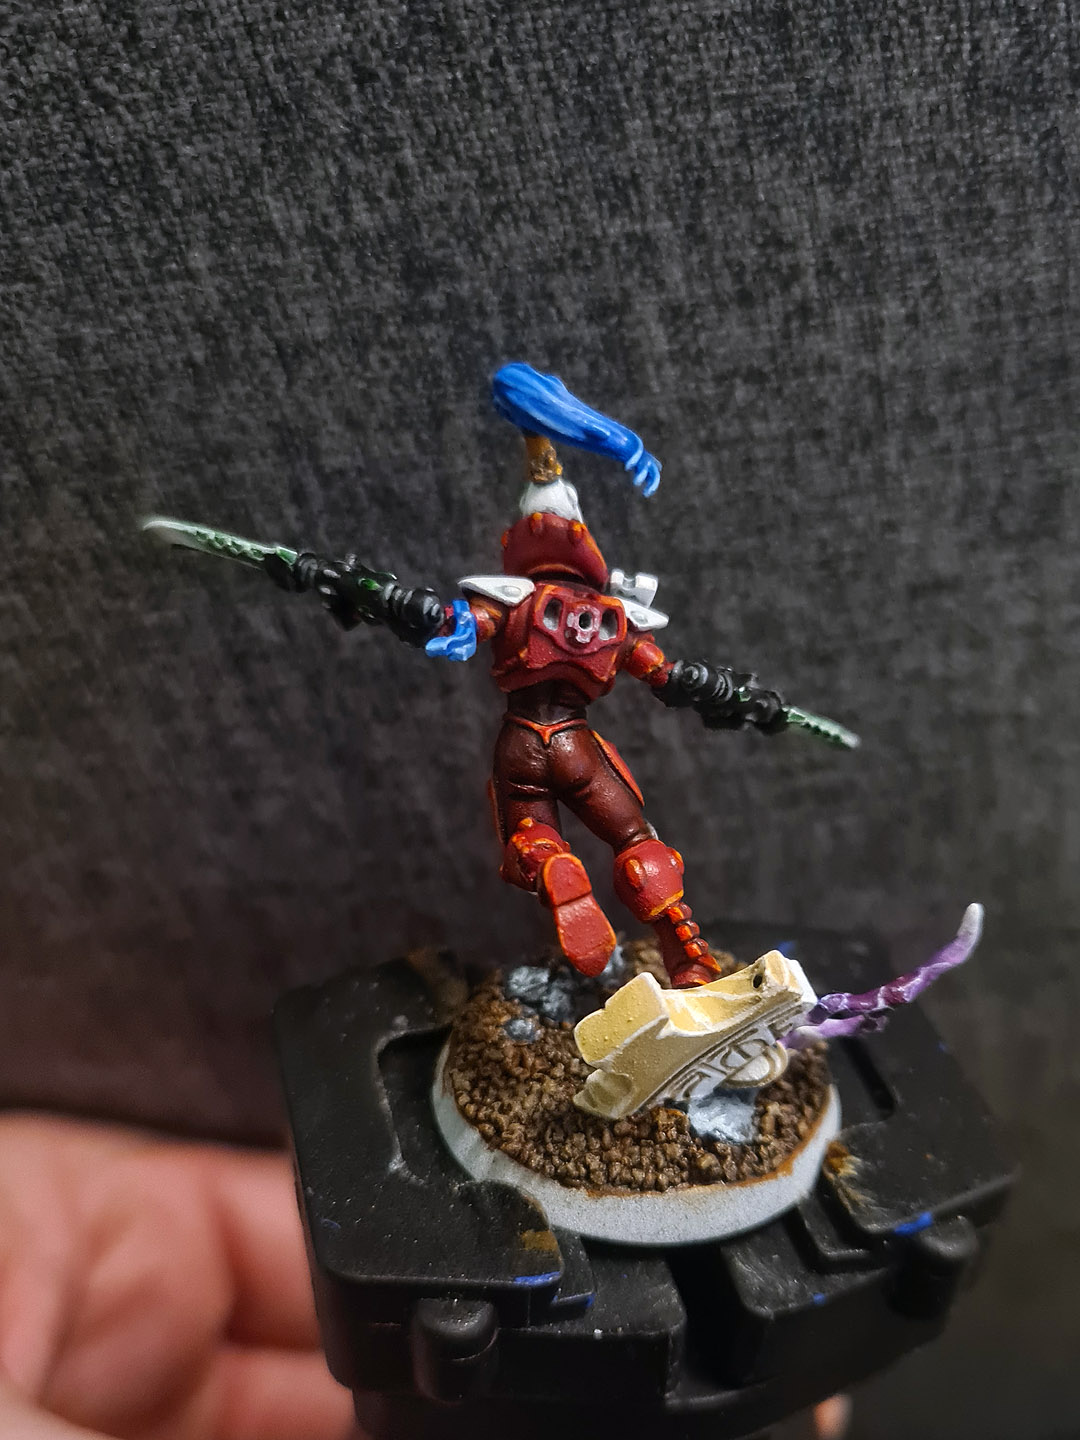
19. Rear view of the model during painting.
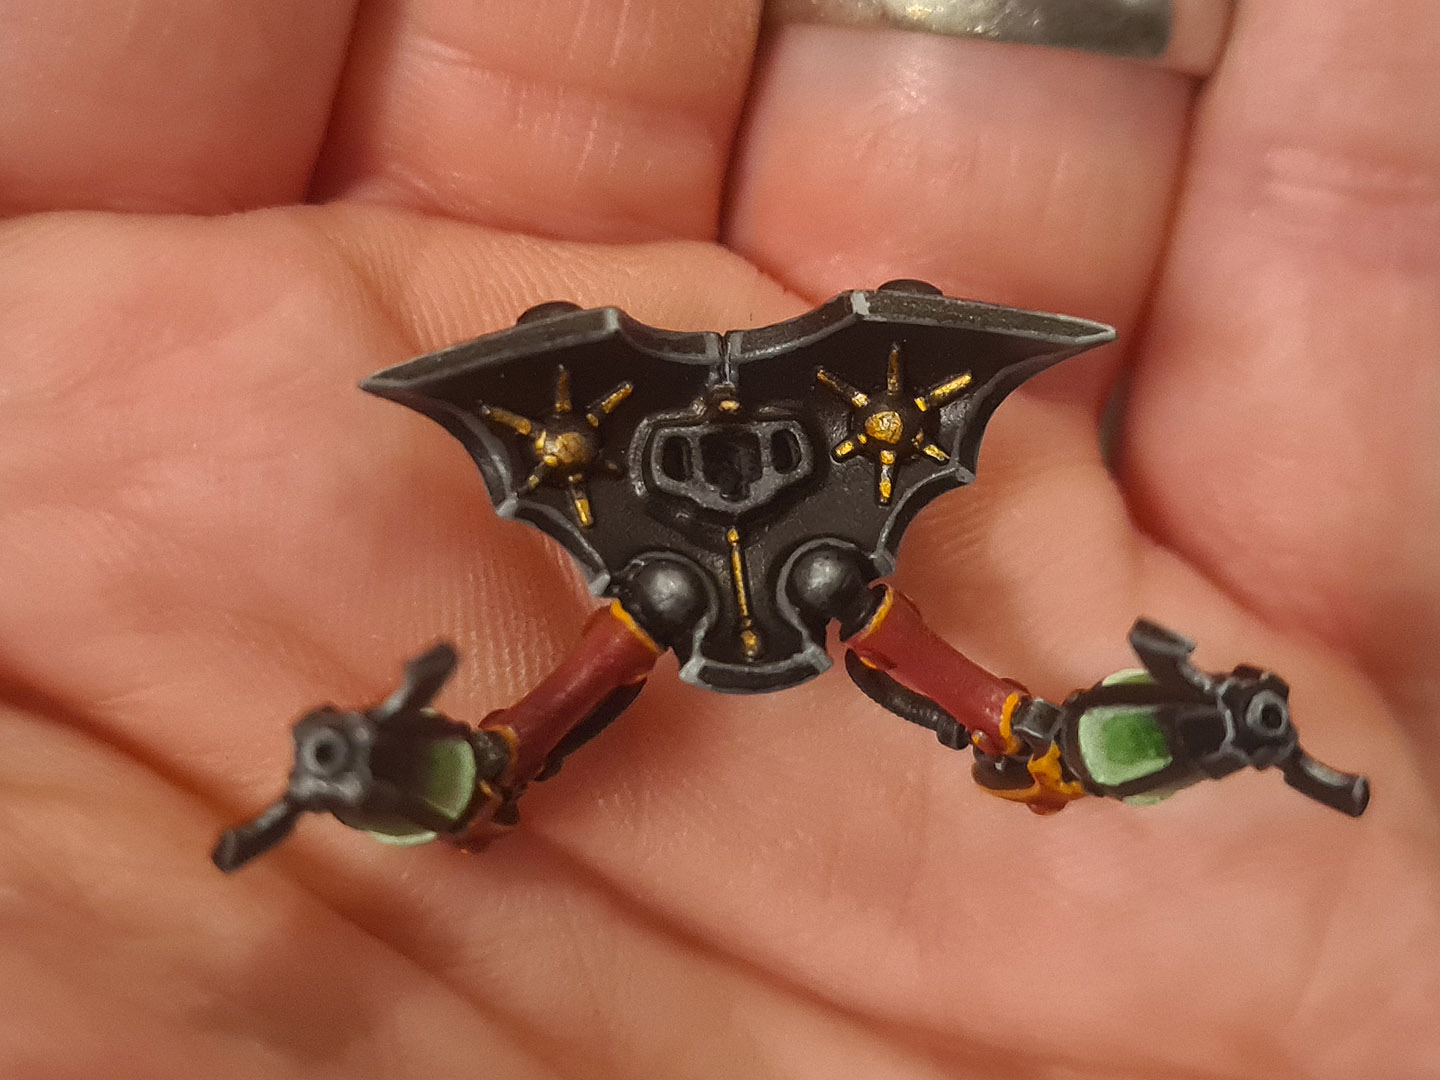
20. The inside of the warp jump generator. This will be mostly hidden when it's attached to the model but painting it separately was definitely the right decision.
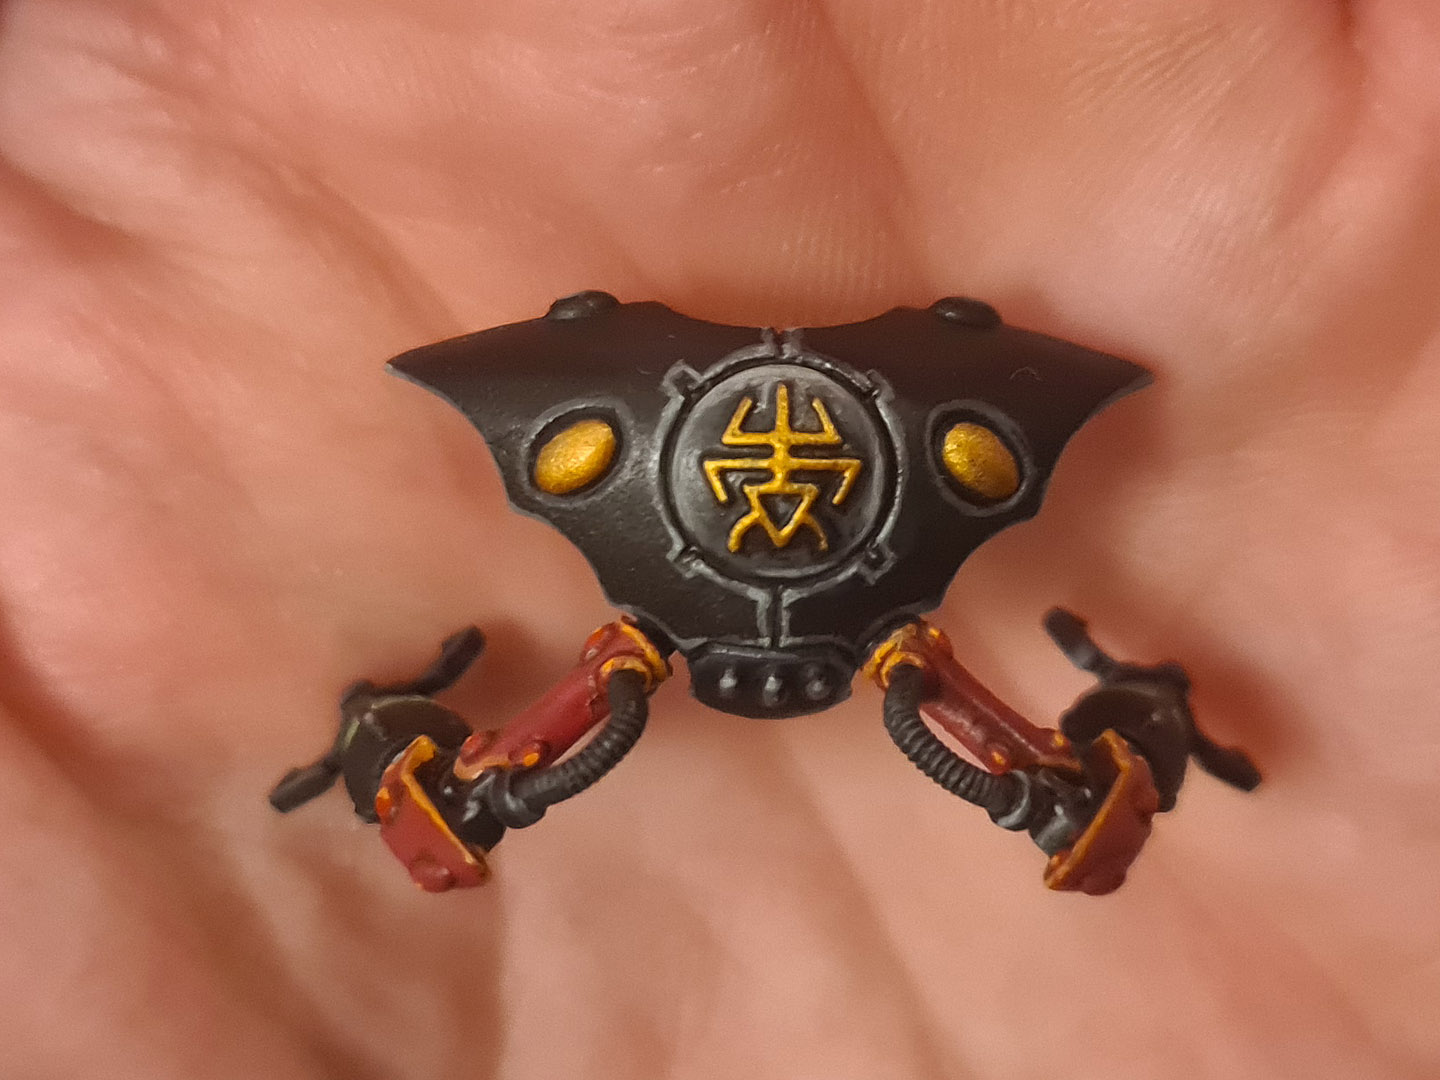
21. The rear of the painted warp jump generator.
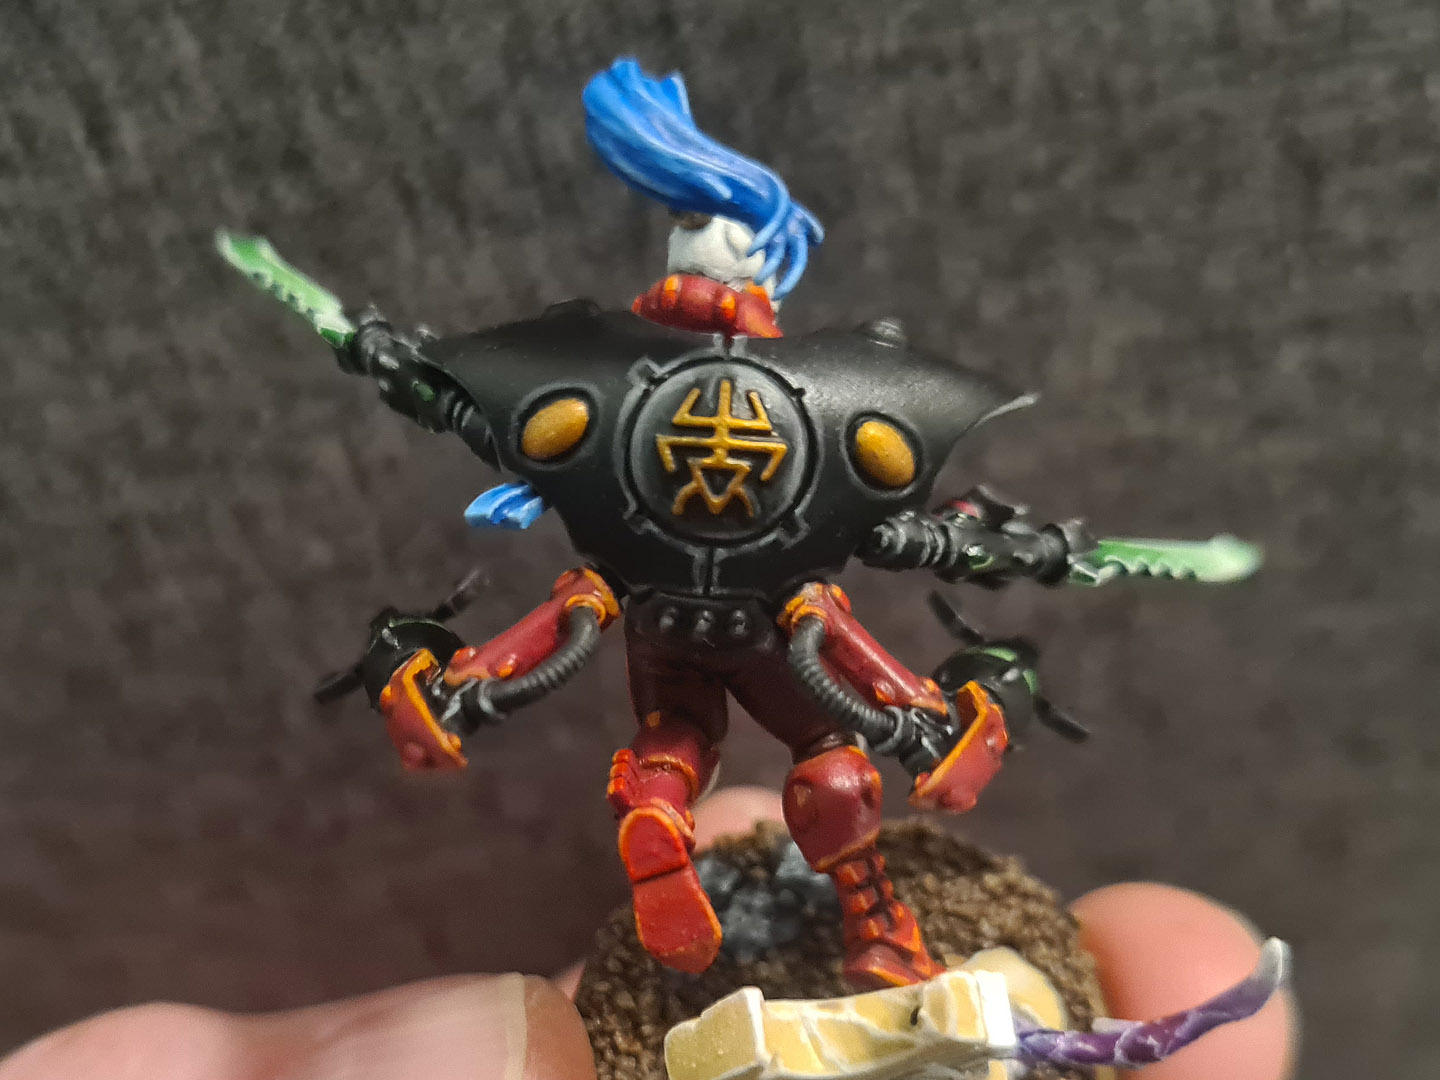
22. The rear of the model, after the warp jump generator was glued to the body.
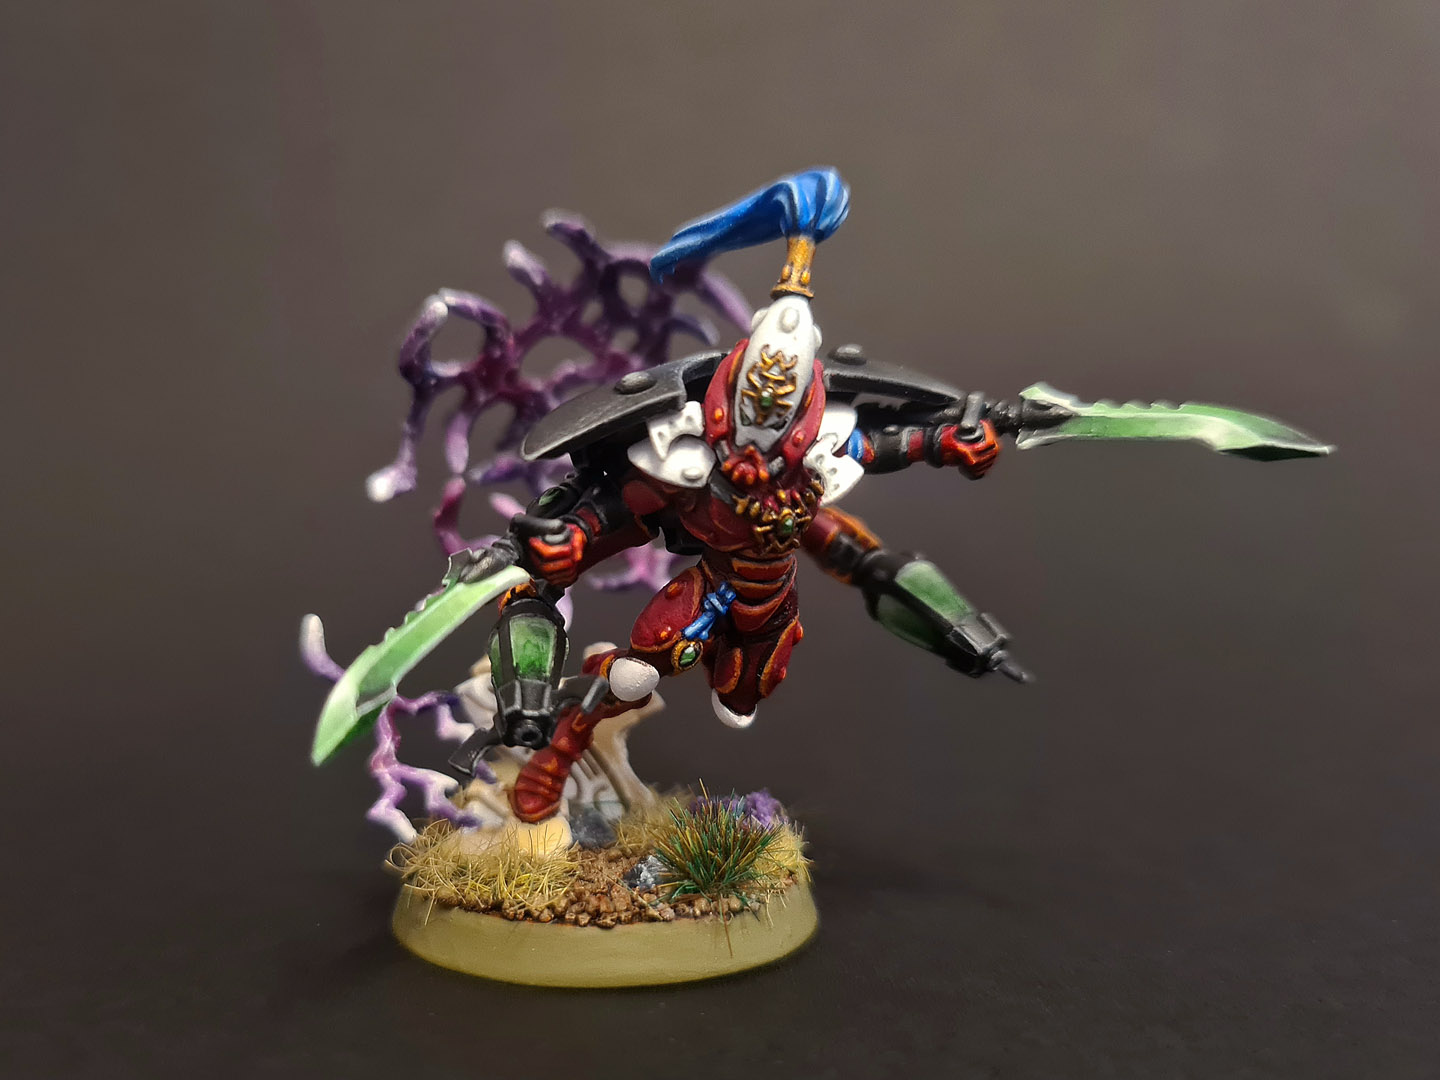
23. The completed model! The wpider-web warp portal has been glued to the ruins and the base has had tufts, flowers and static grass added.
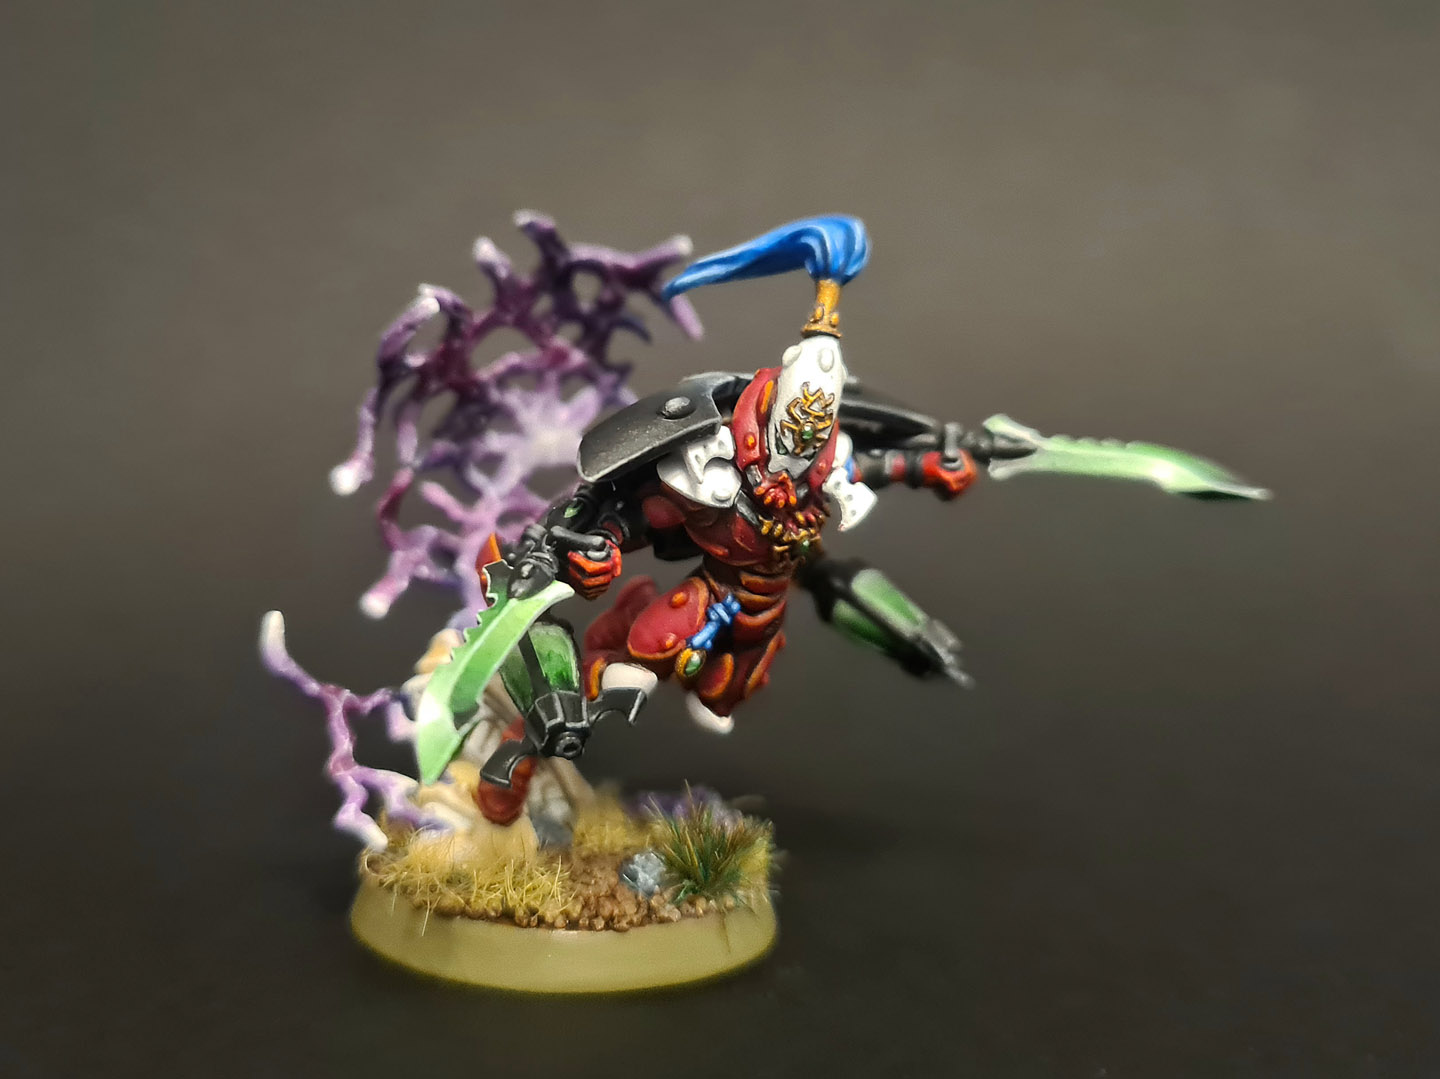
24. Different angle of the model.
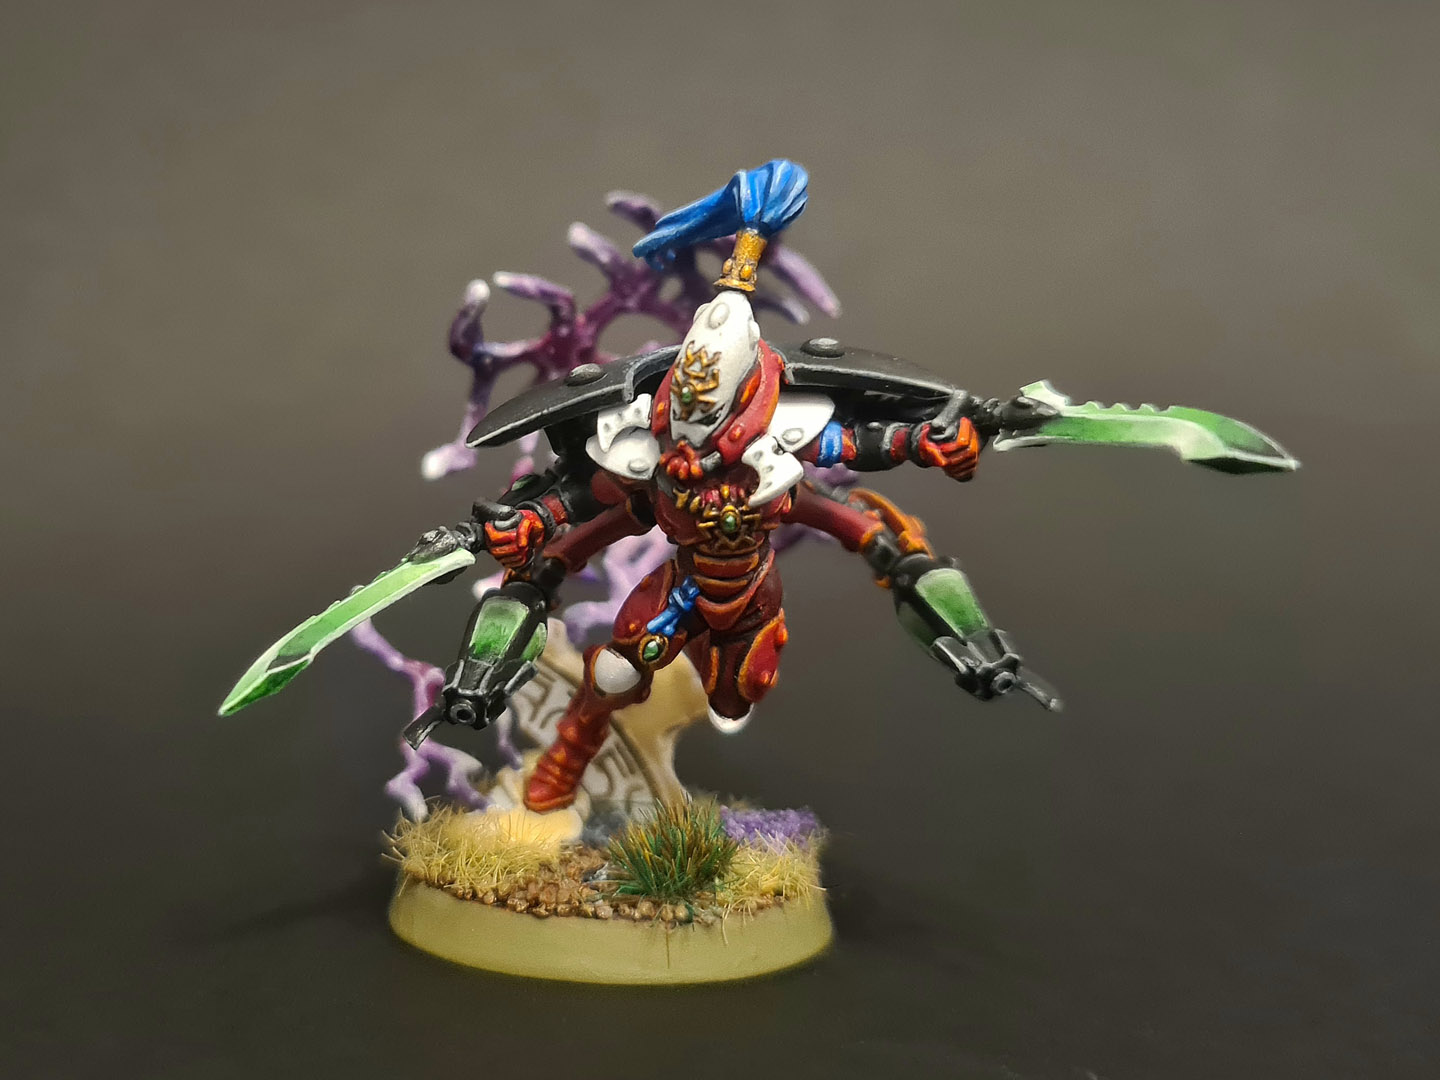
25. Another view of the completed Exarch.
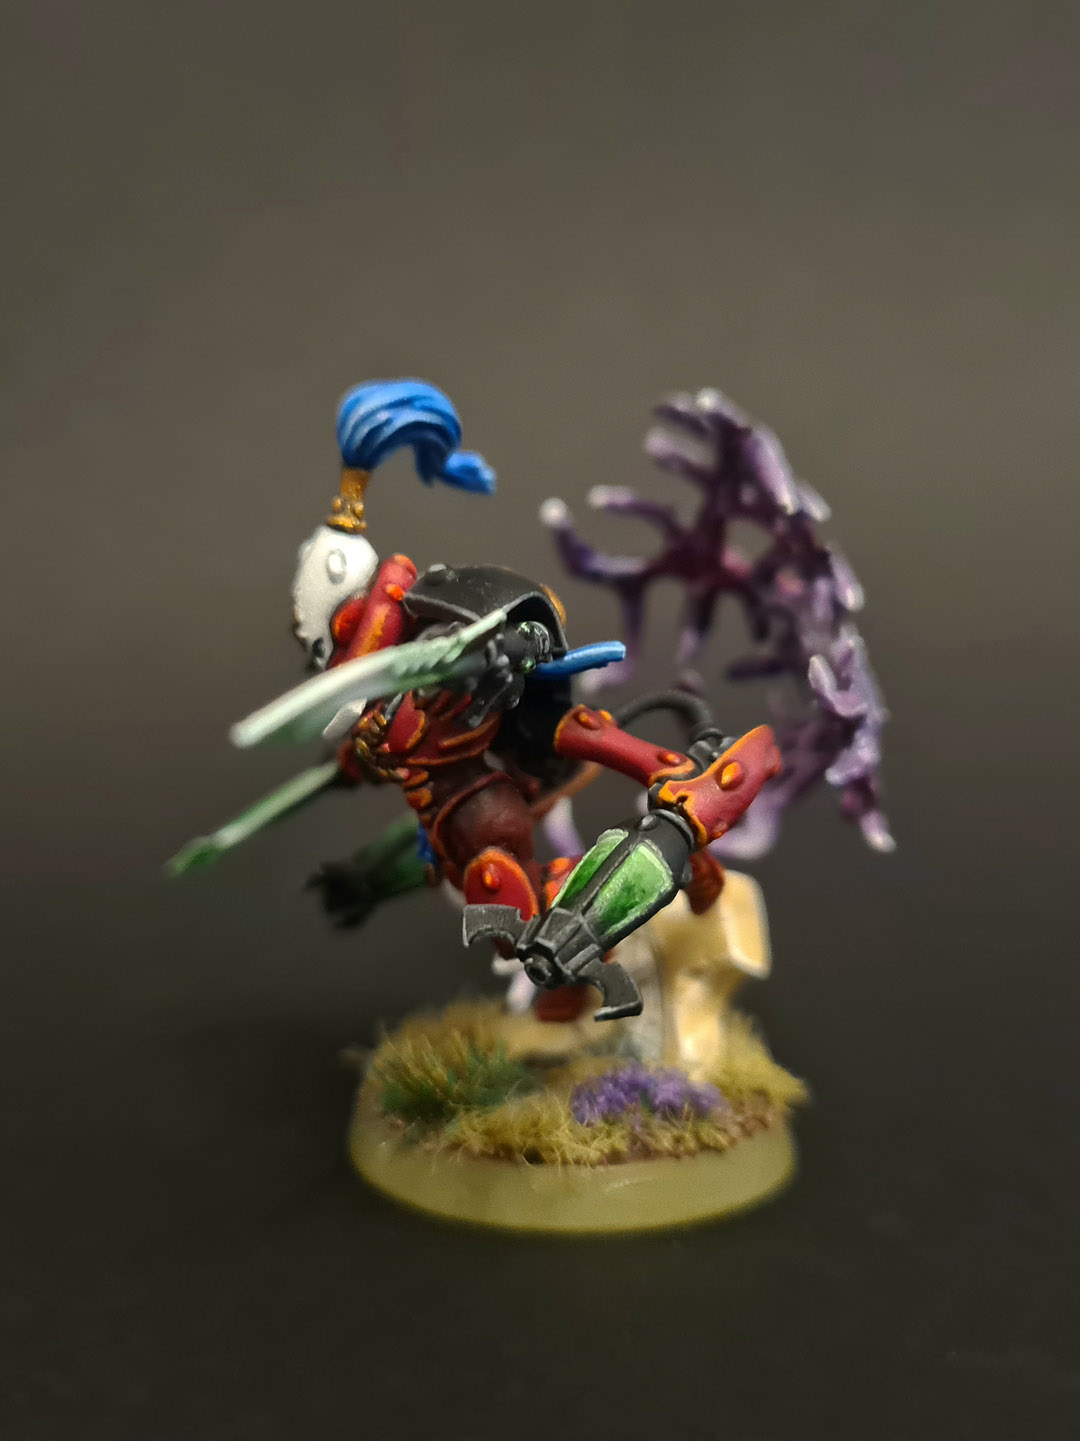
26. Side view of the Exarch. The twin death spinners were painted to look like they are glowing slightly from within.
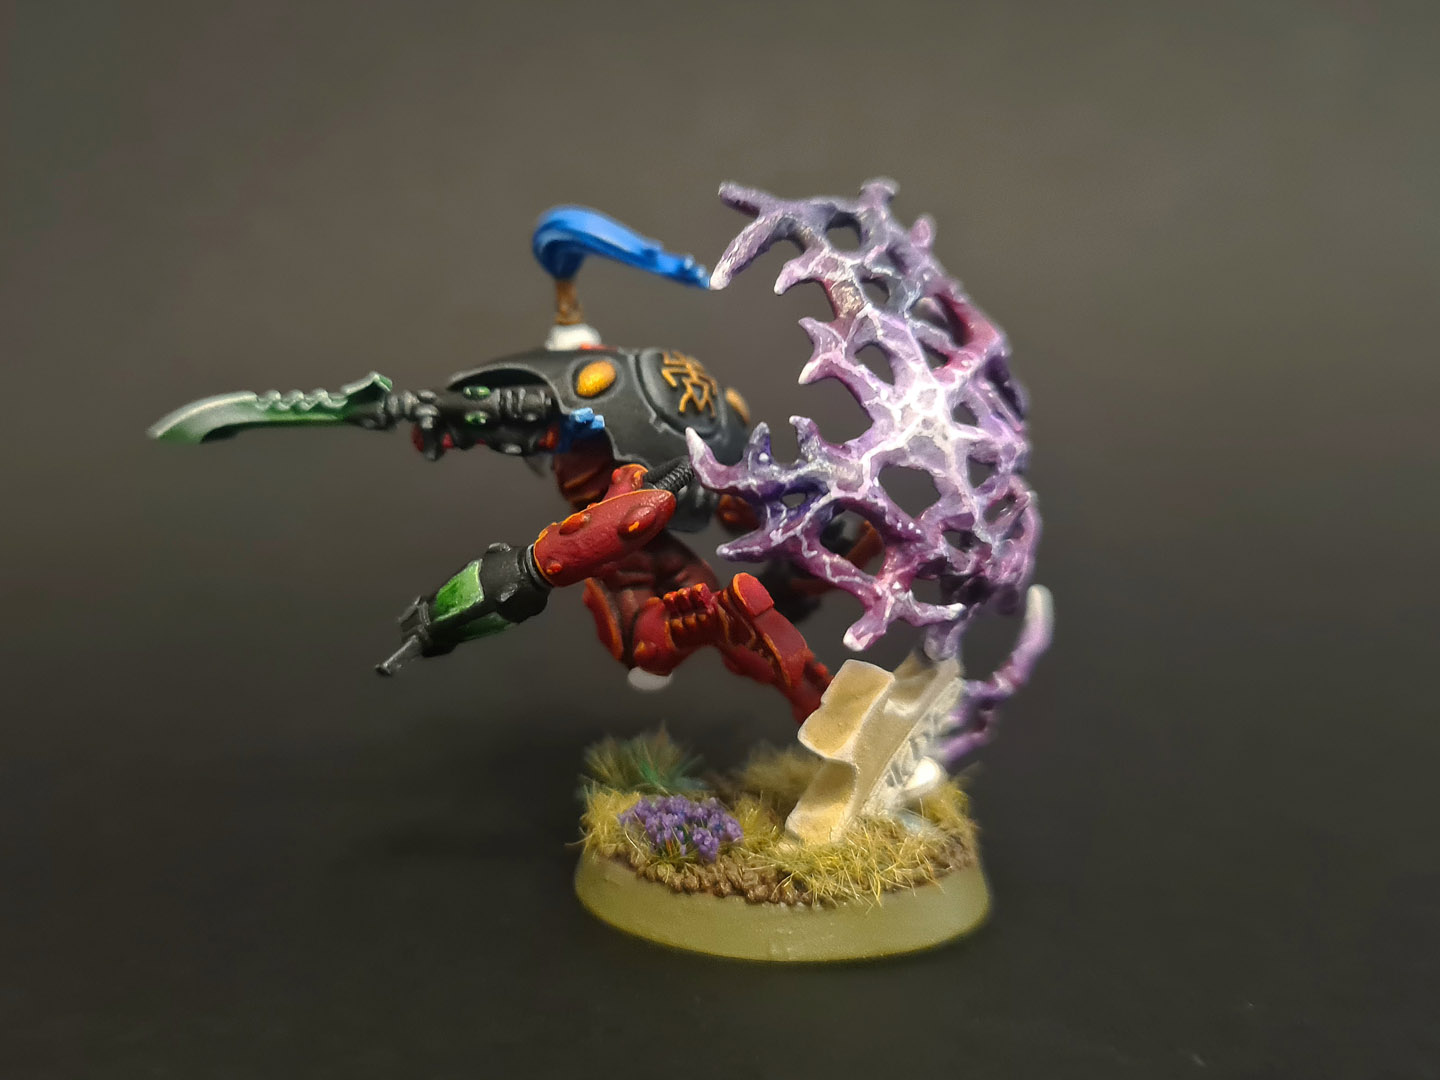
27. Rear-left view of the model. The portal effect definitely adds to the model and makes it more dynamic.
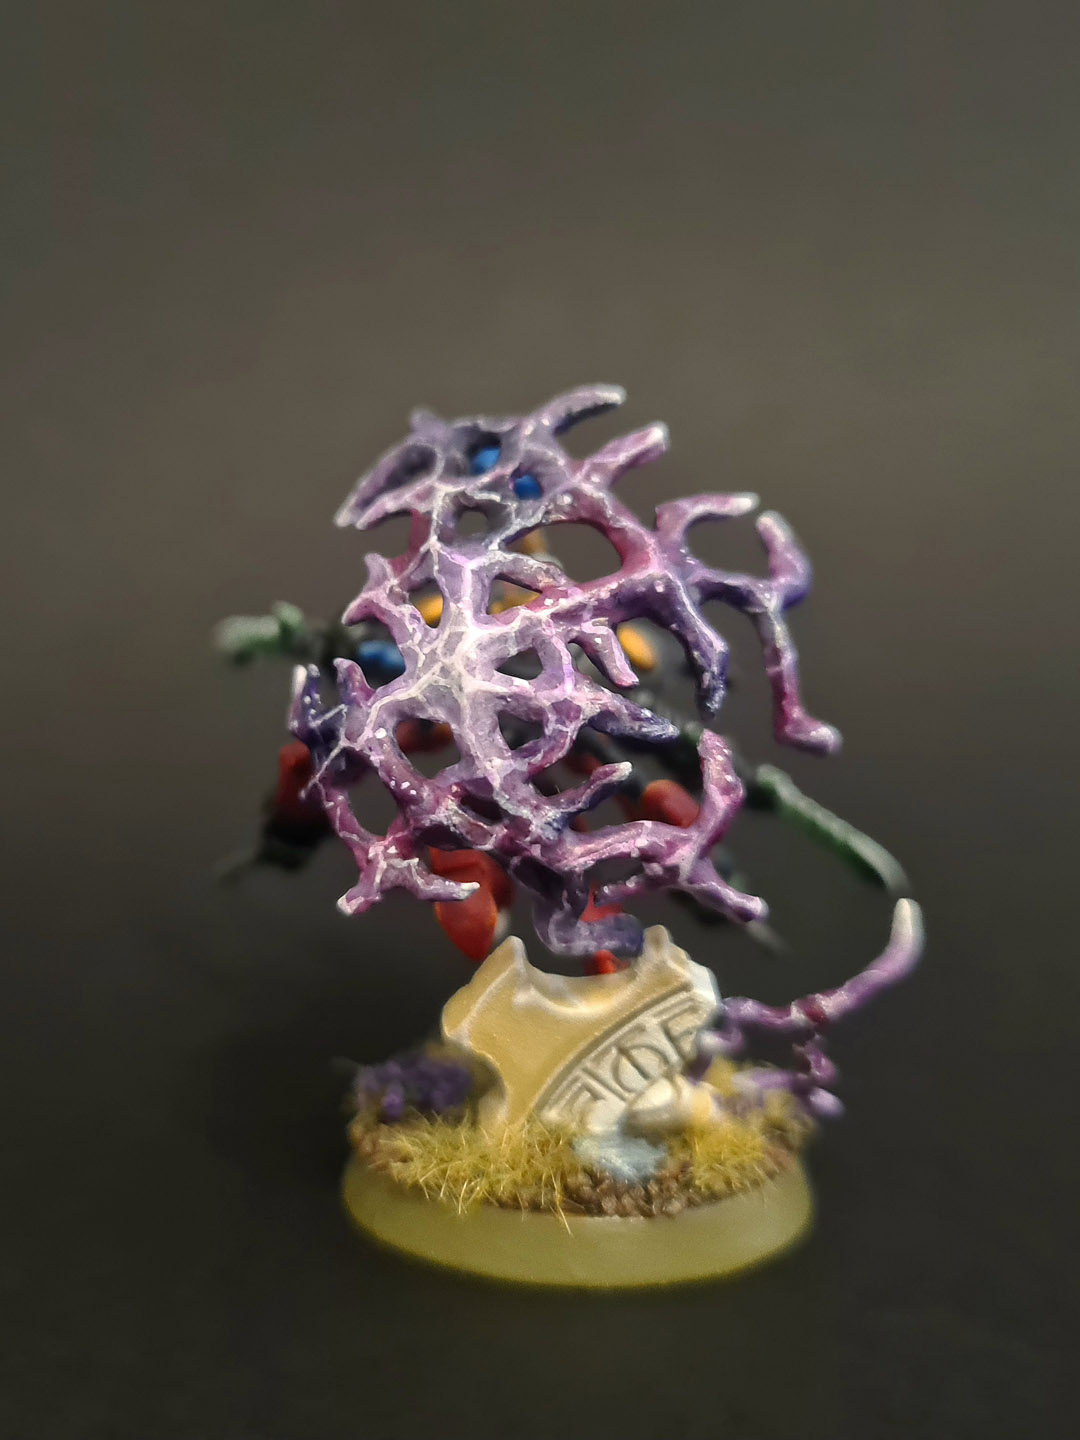
28. Close-up of the portal.
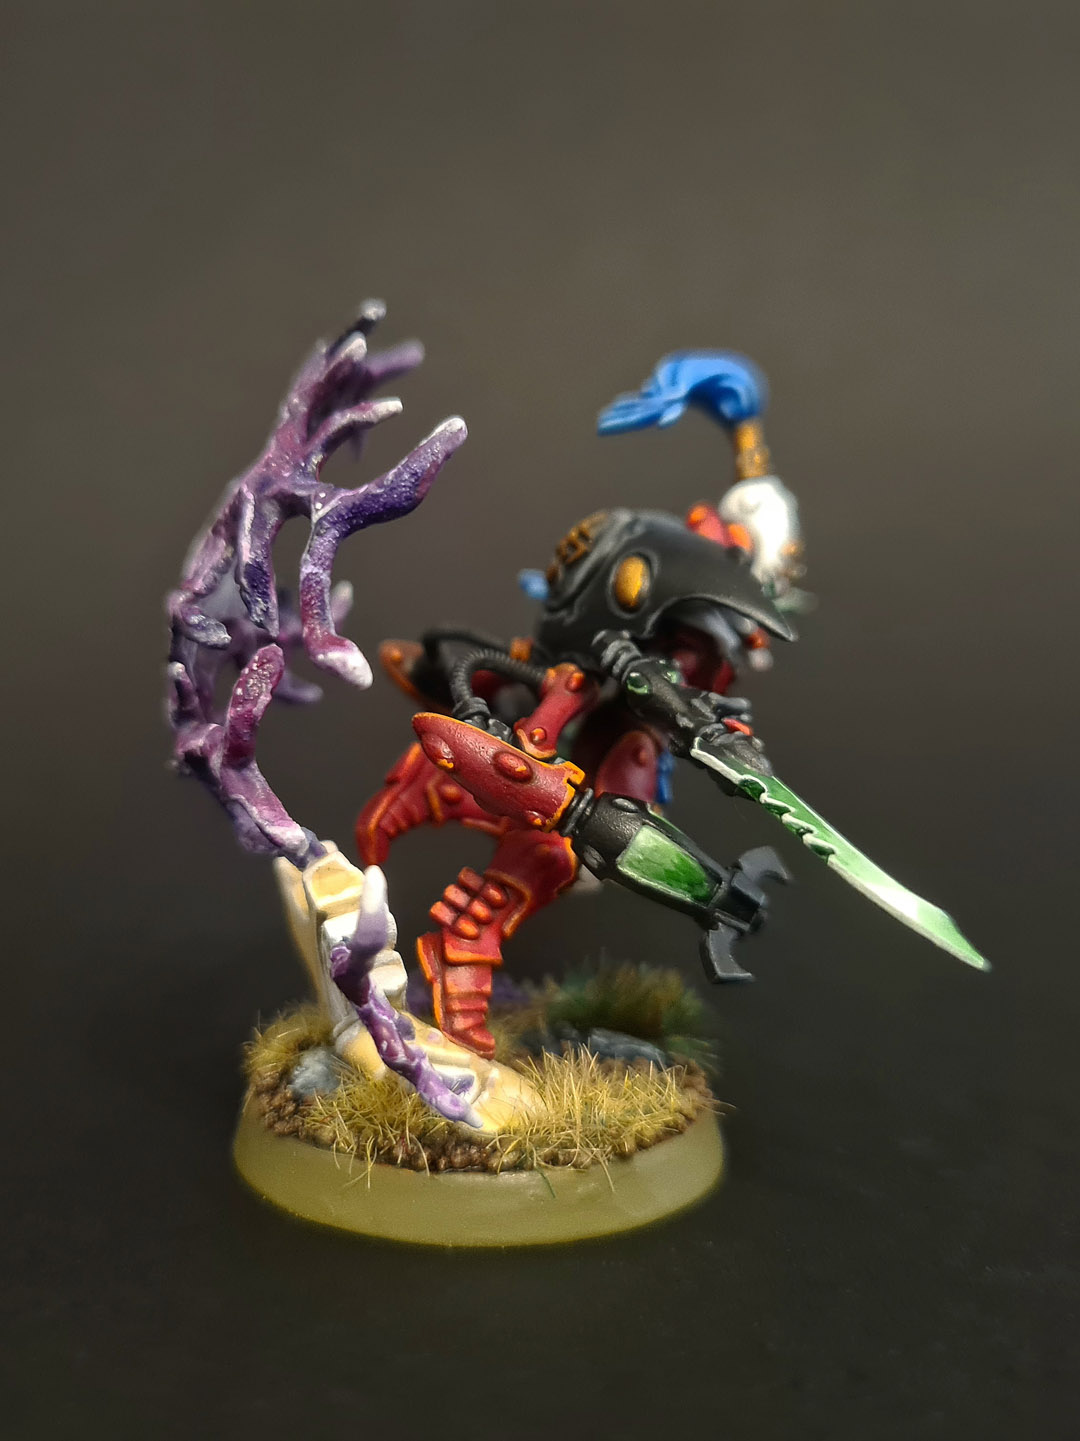
29. View of the model from the right-hand side.
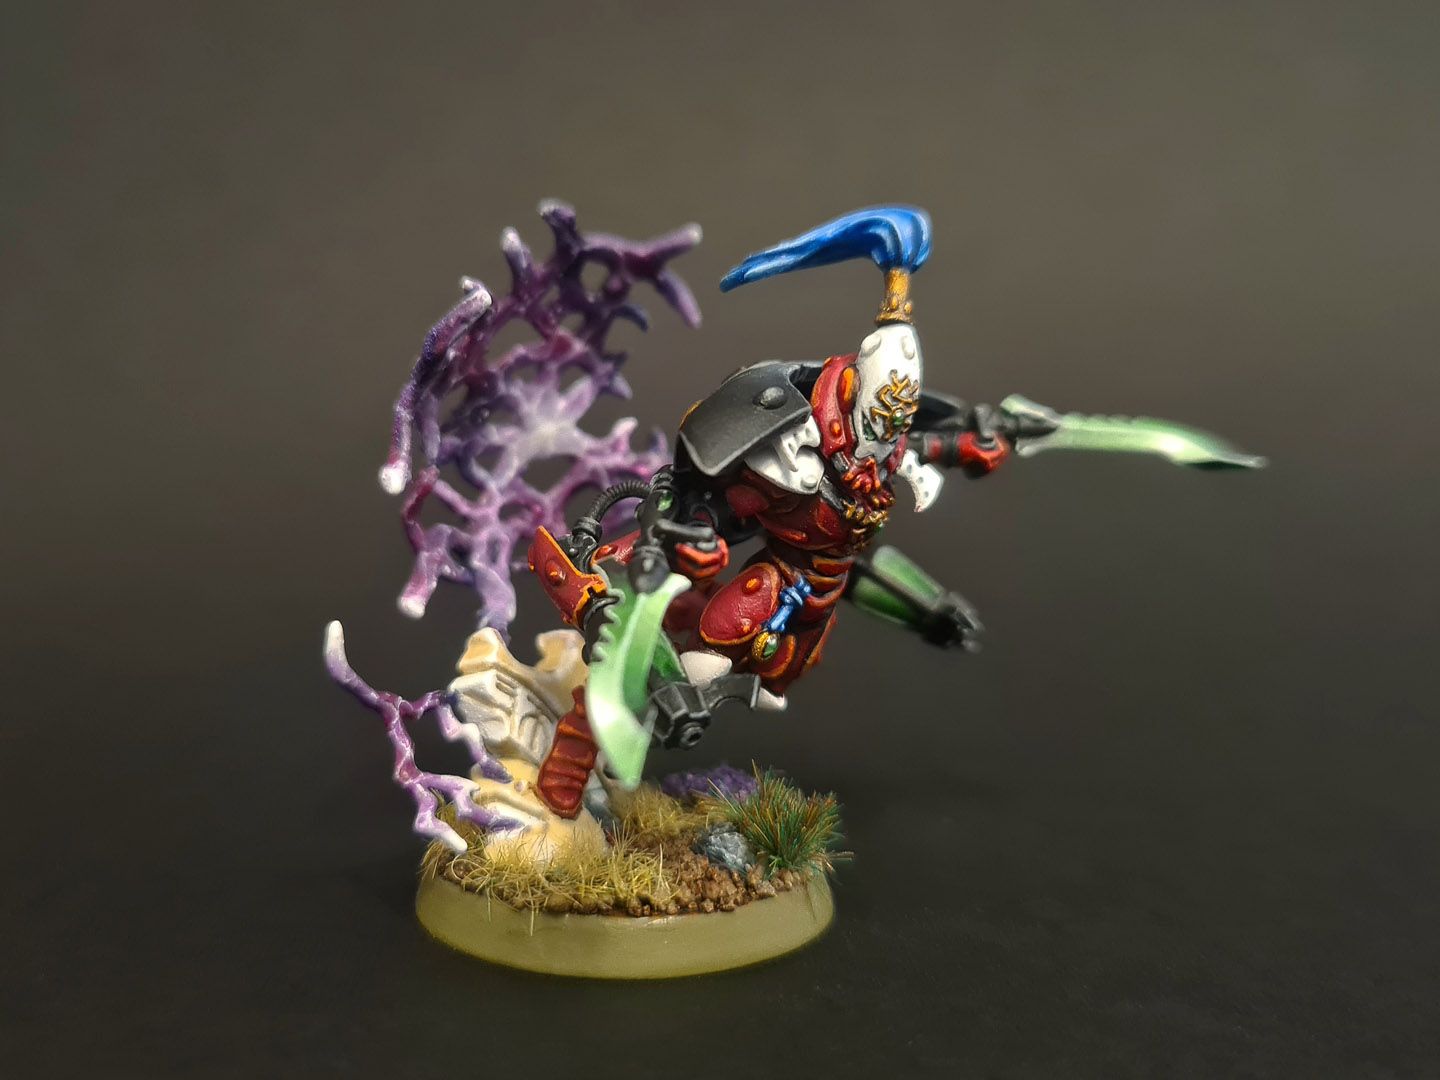
30. Different view of the completed model.
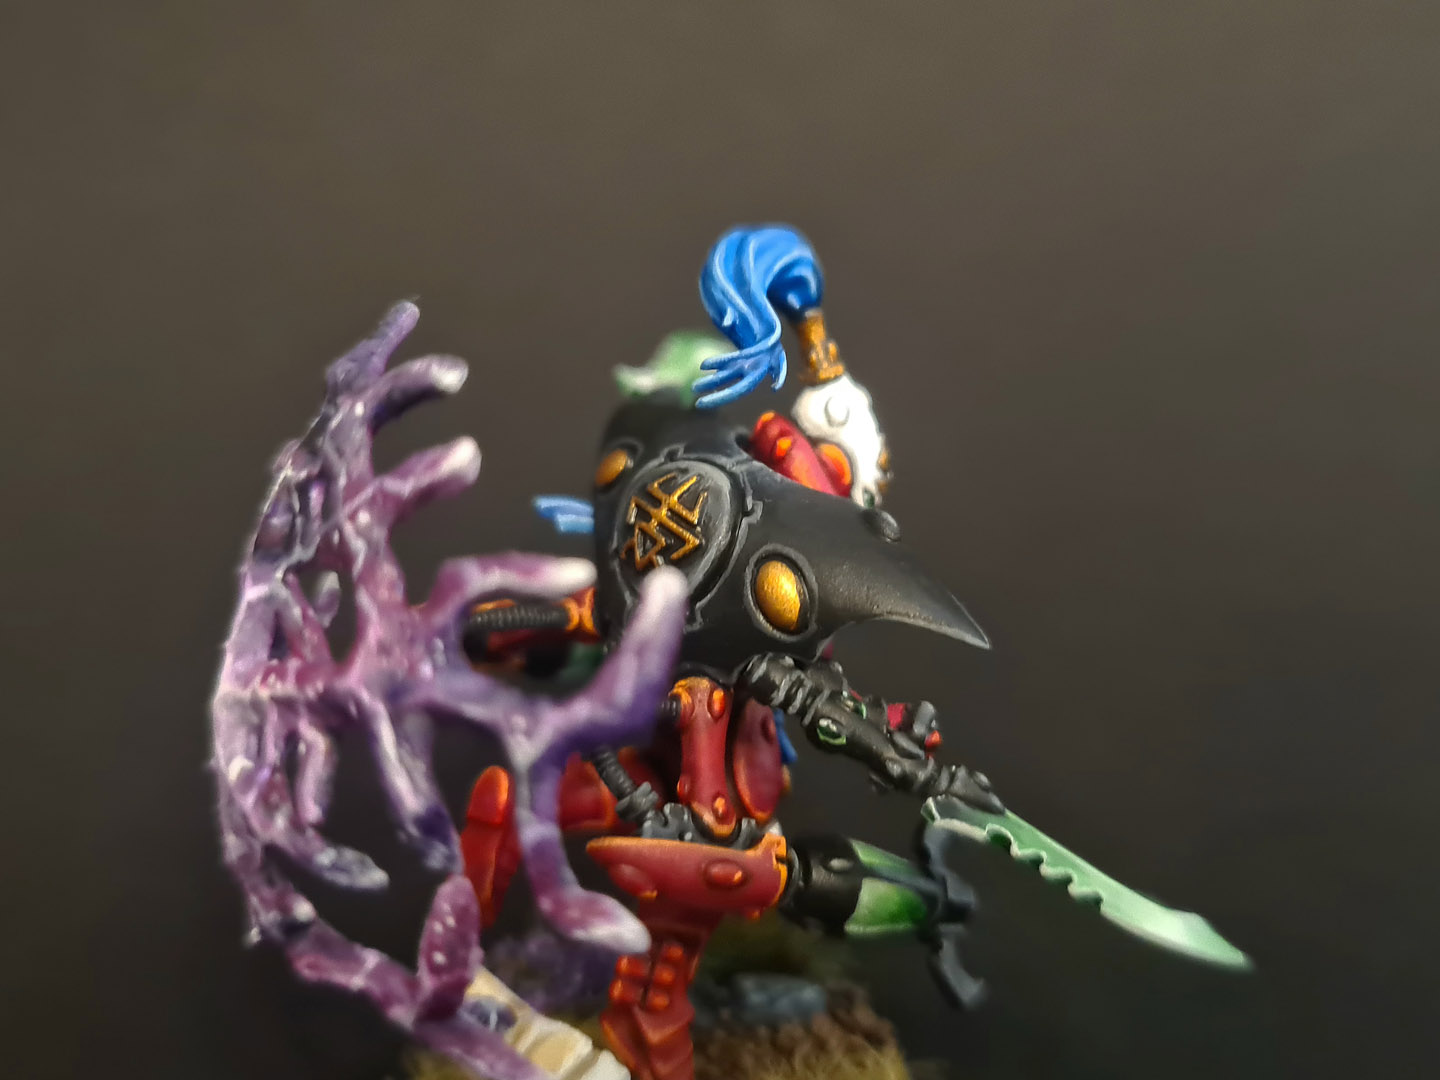
31. A close-up of the carapace of the warp jump generator.
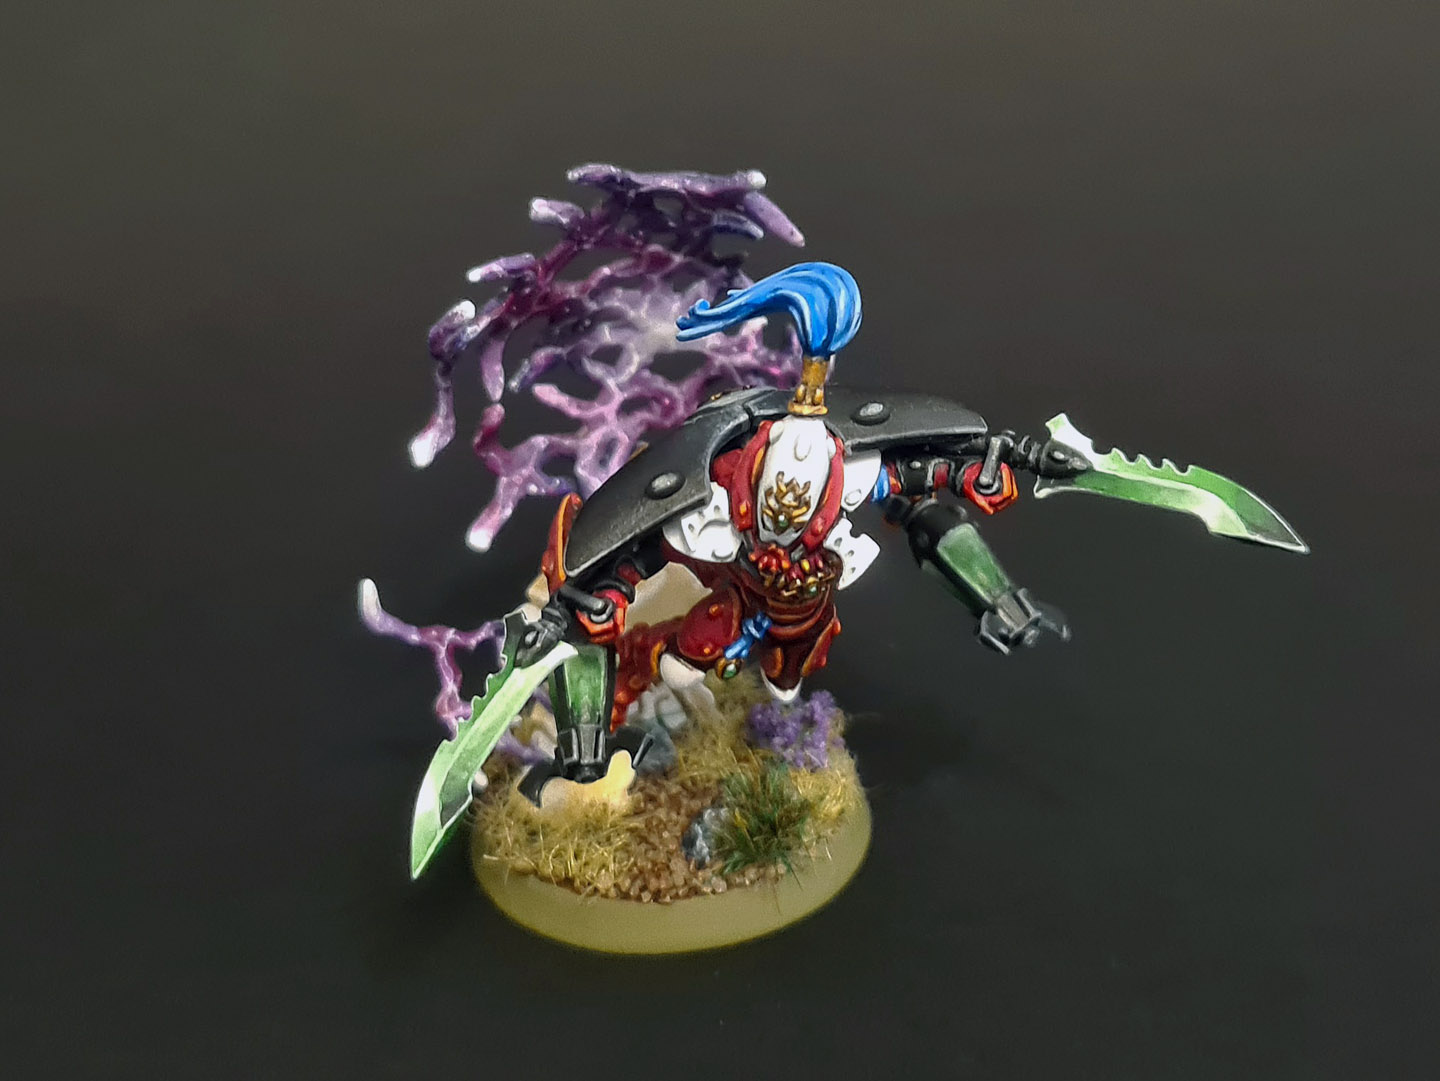
32. Over-the-shoulder angle, highlighting the warp portal.
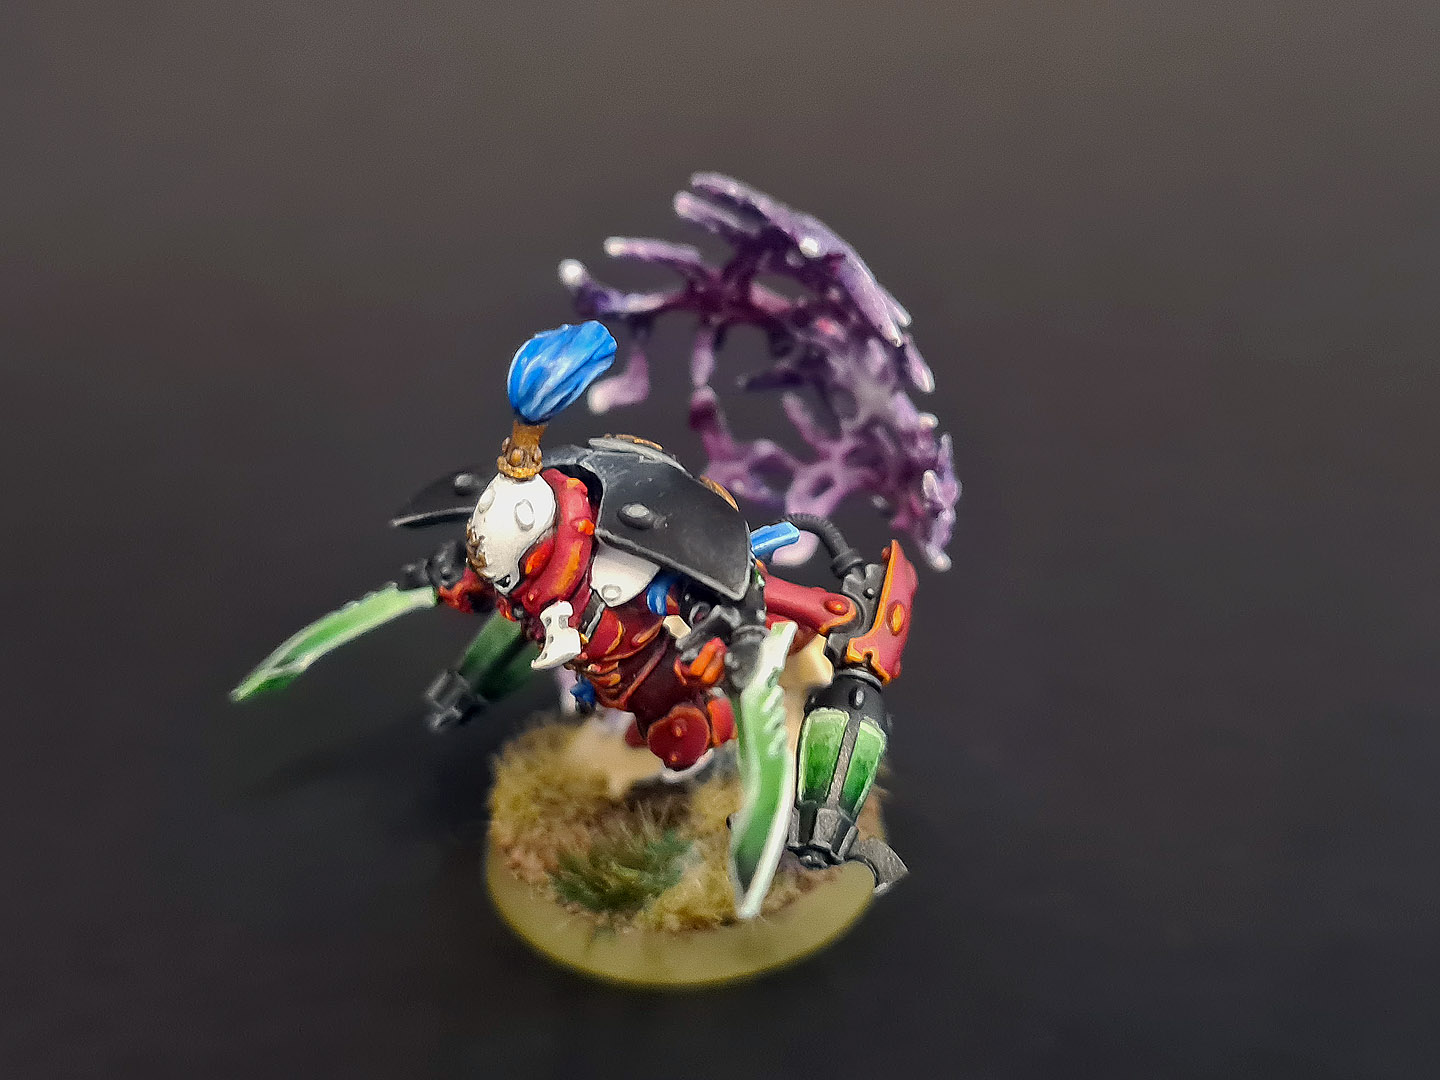
33. Final view of the model.
comments powered by Disqus