

Eldar Phoenix Lord Asurmen
The Hand of Asuryan (version 2)
The new plastic miniature of Asurmen is a definite improvement over the original model, but a few design choices don't sit right with me. I'm not a fan of the "face" - the slot-like mouth, nose and nose guard all look a bit off. The model is also surprisingly two-dimensional; considering the advances in sculpting and production since the original metal models, this makes the new pose look a little dated. The changes that I have made have largely been to correct these issues and make my version a little bit more unique.Date: 2025 (complete)
Components: 1x Asurmen, 1x Dire Avenger Exarch shuriken pistol arm, 1x Dire Avenger Exarch power glaive arm, Maugan Ra scenic base elements, paperclips, Green Stuff, plasticard, 40mm round base
Related:
- Eldar Phoenix Lord Asurmen (version 1)
- Eldar Dire Avenger Exarch: Shrine of the Cerulean Crest
- Eldar Dire Avenger Exarch: Shrine of the Sable Helm
- Eldar Dire Avenger Exarch: Shrine of the Resplendent Blade
- Eldar Dire Avenger Exarch: Shrine of the Lilac Thorn
- Eldar Dire Avengers: Shrine of the Cerulean Crest
- Eldar Dire Avengers: Shrine of the Sable Helm
- Eldar Dire Avengers: Shrine of the Resplendent Blade
- Eldar Dire Avengers: Shrine of the Lilac Thorn
- Eldar Shrines to Asuryan
- Eldar Phoenix Lord Jain Zar
- Eldar Phoenix Lord Fuegan
- Eldar Phoenix Lord Lhykhis
- Eldar Phoenix Lord Karandras
- Eldar Phoenix Lord Maugan Ra
- Eldar Phoenix Lord Baharroth
- Eldar Phoenix Lord Irillyth
The nose guard was carefully filed down.
The slot-like mouth was filled in with Green Stuff.
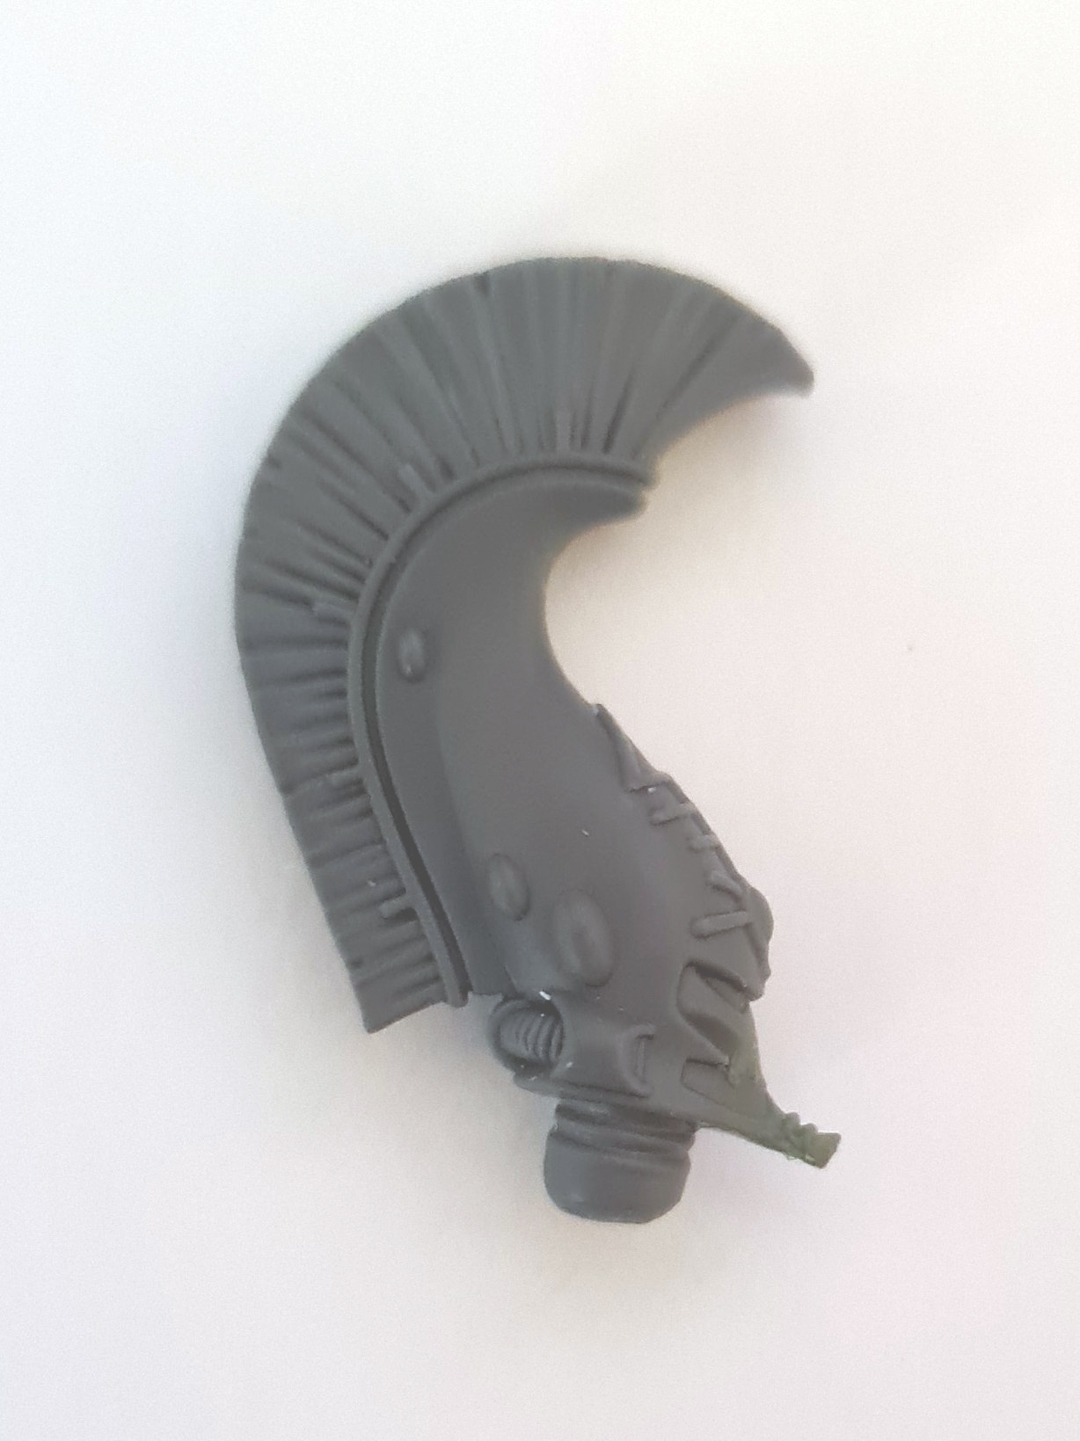
1. The new design of Asurmen isn excellent update of the classic miniature, however I wasn't so keen on some choices for the design of the helmet.
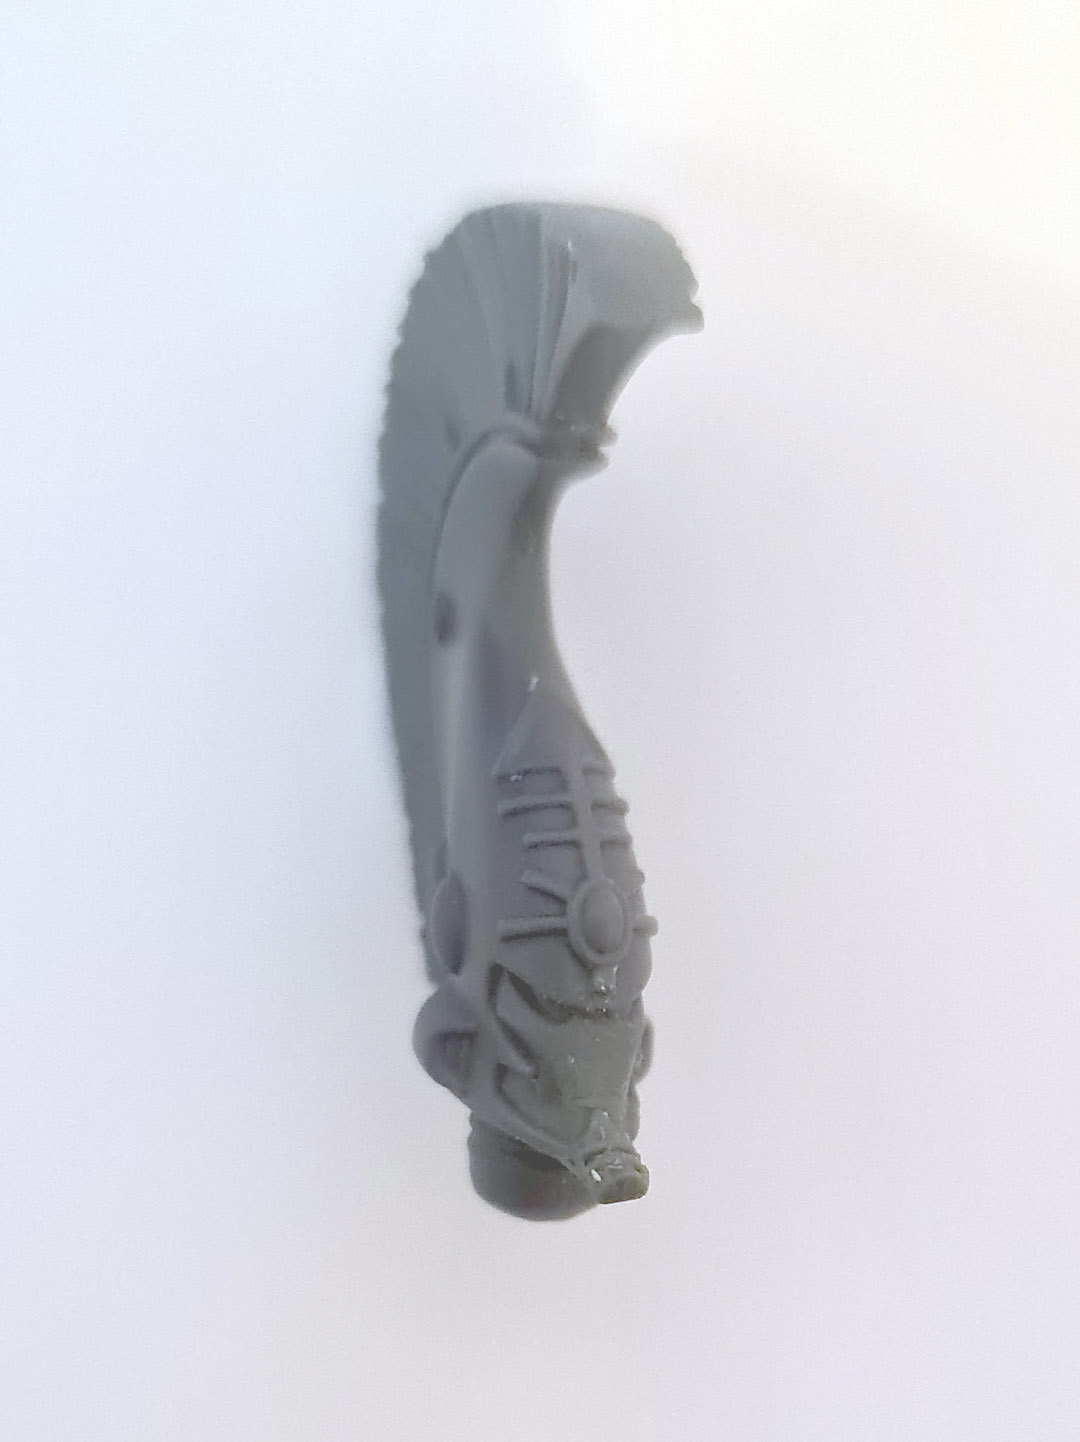
2. Front view of the modified helmet.
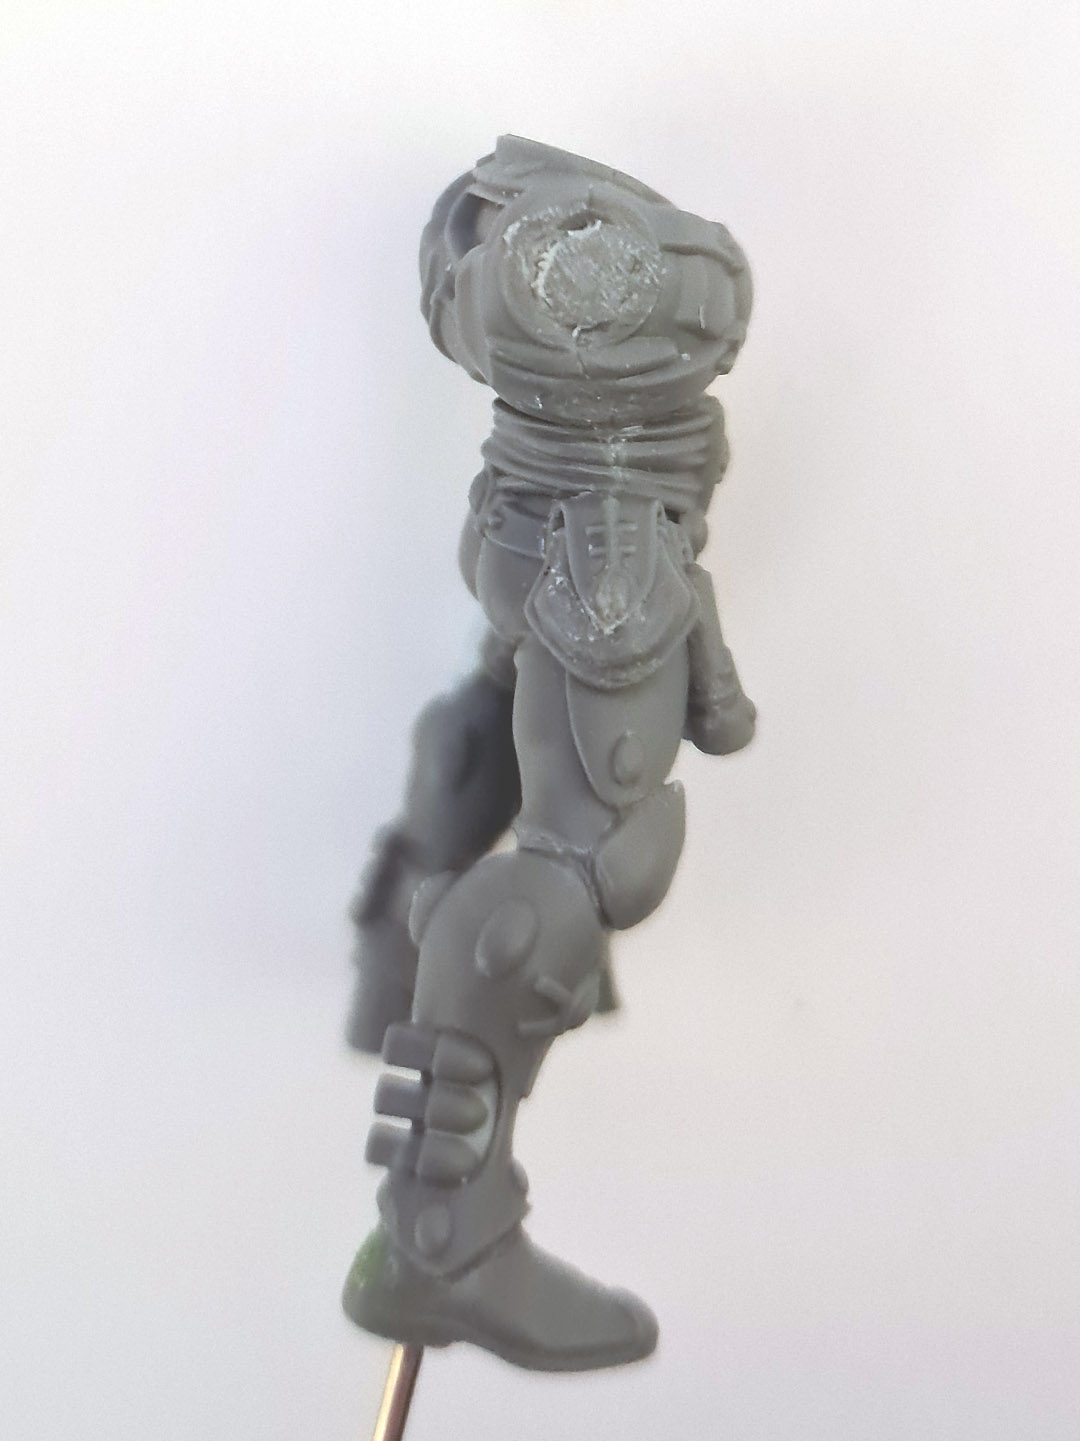
The left leg was repositioned at the knee and the gap filled in with Green Stuff.
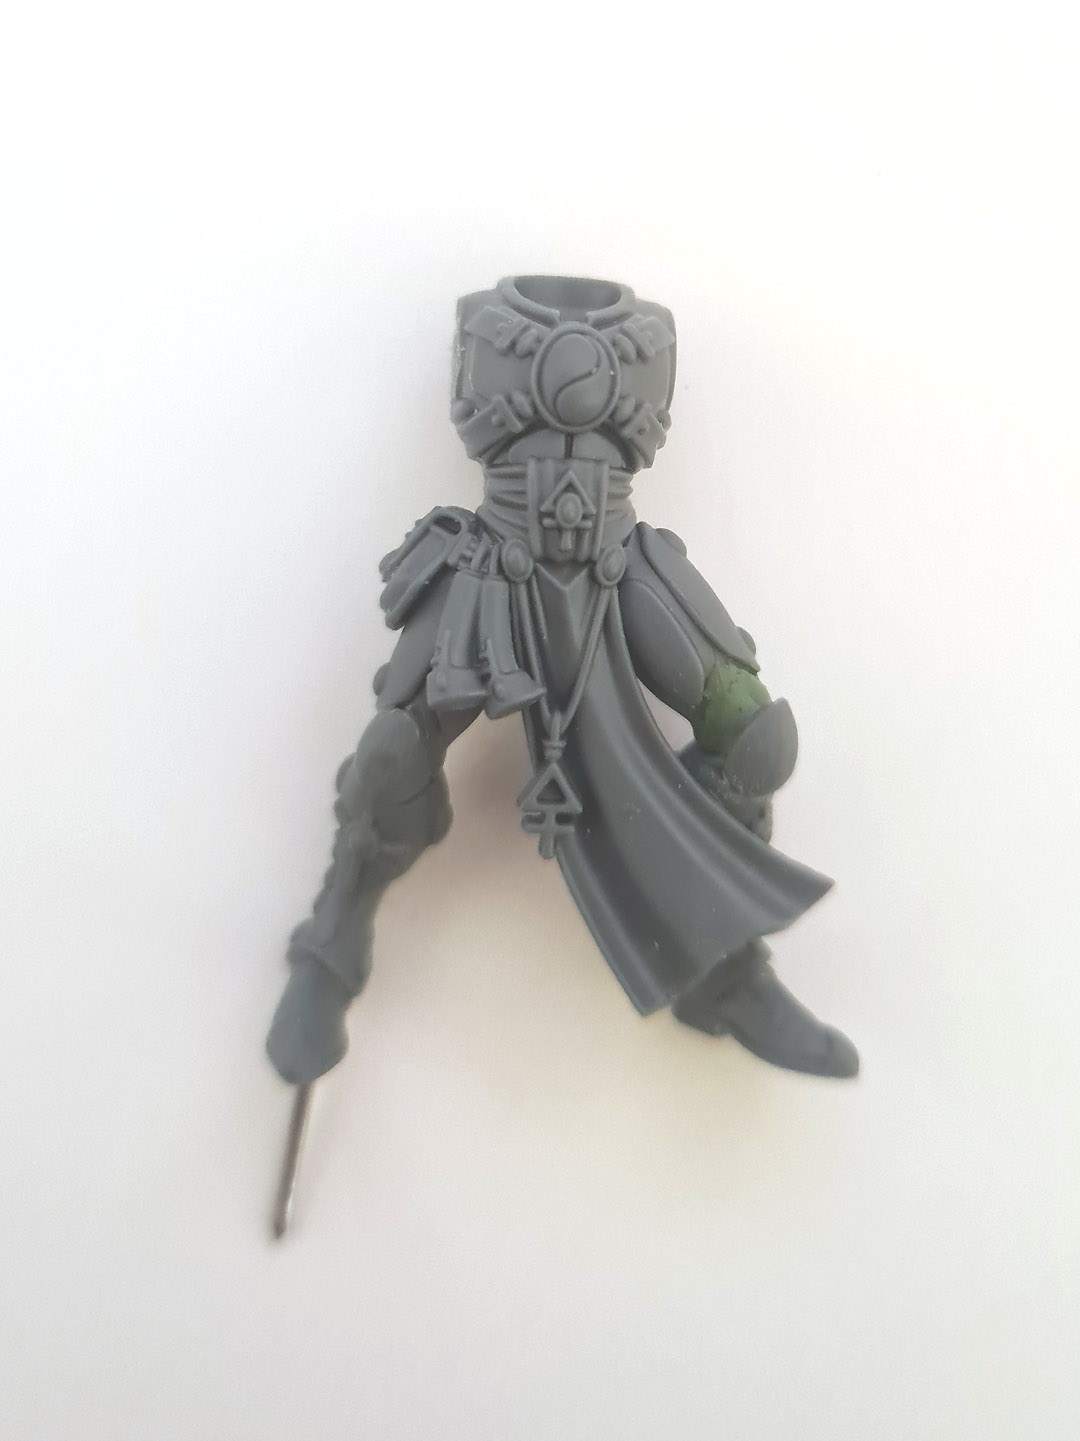
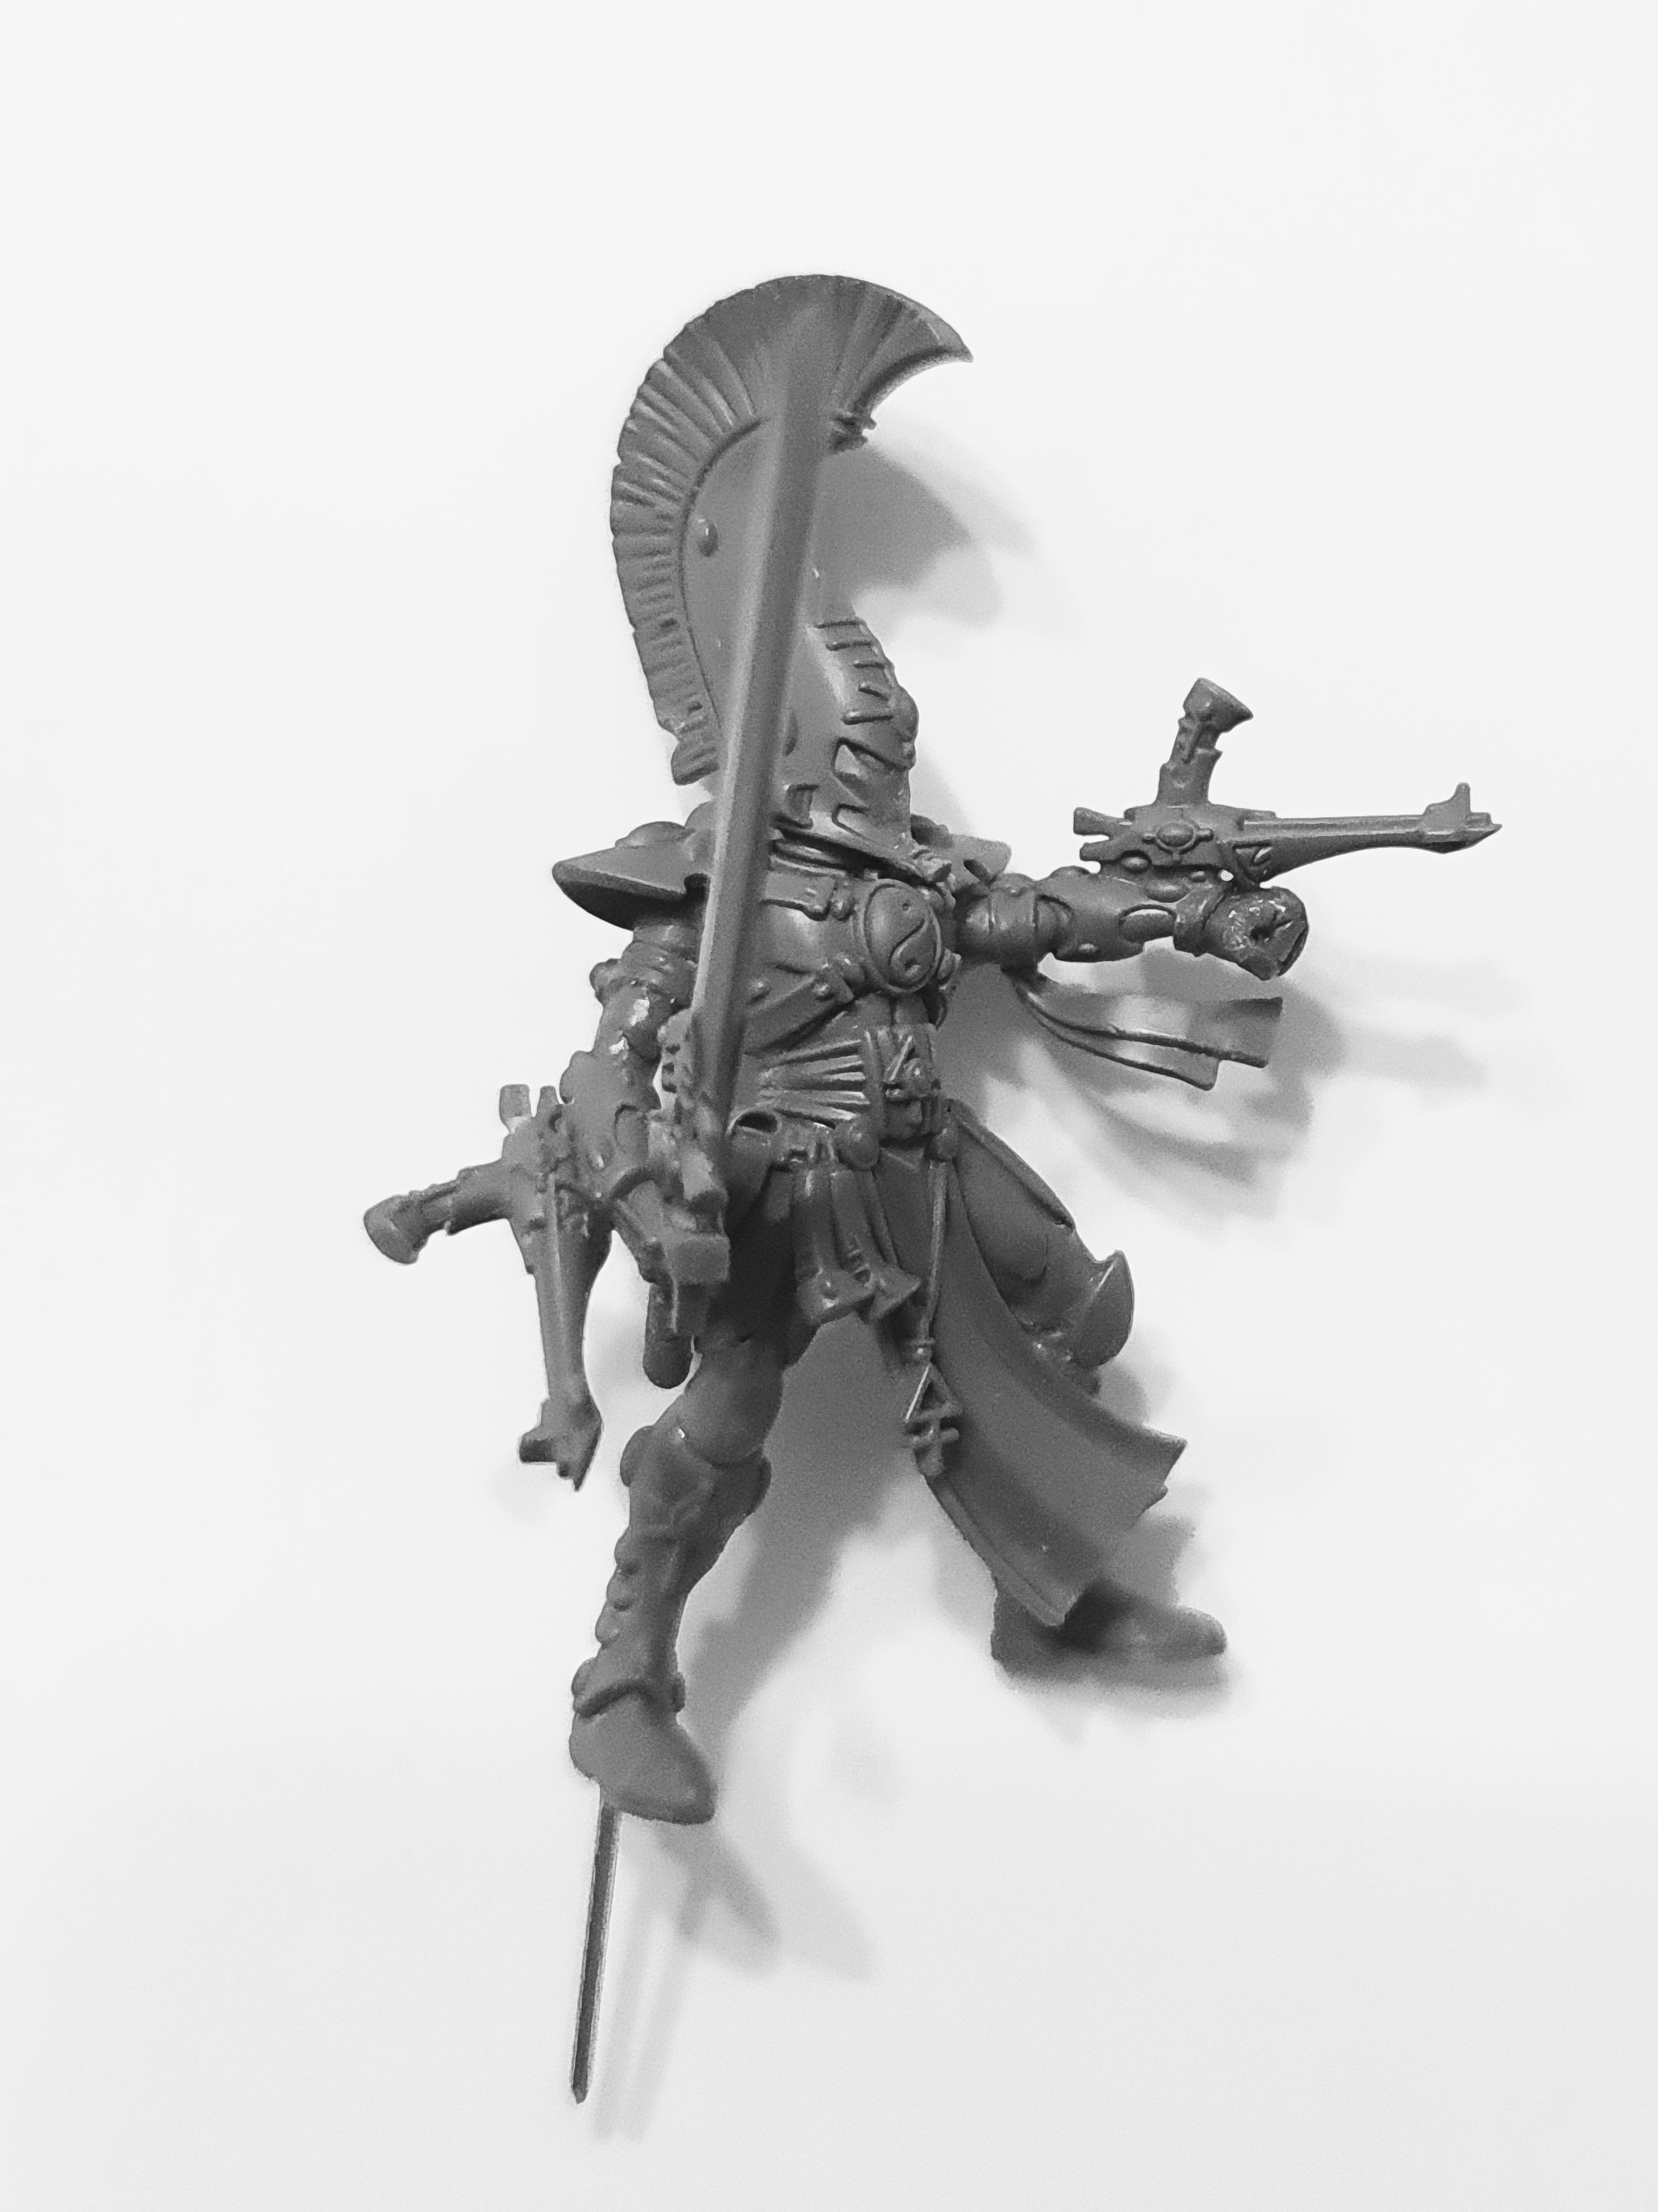
3. I wanted to reposition Asurmen as the new pose is quite two-dimensional, with his legs, torso, left arm, sword and head all in the same plane.
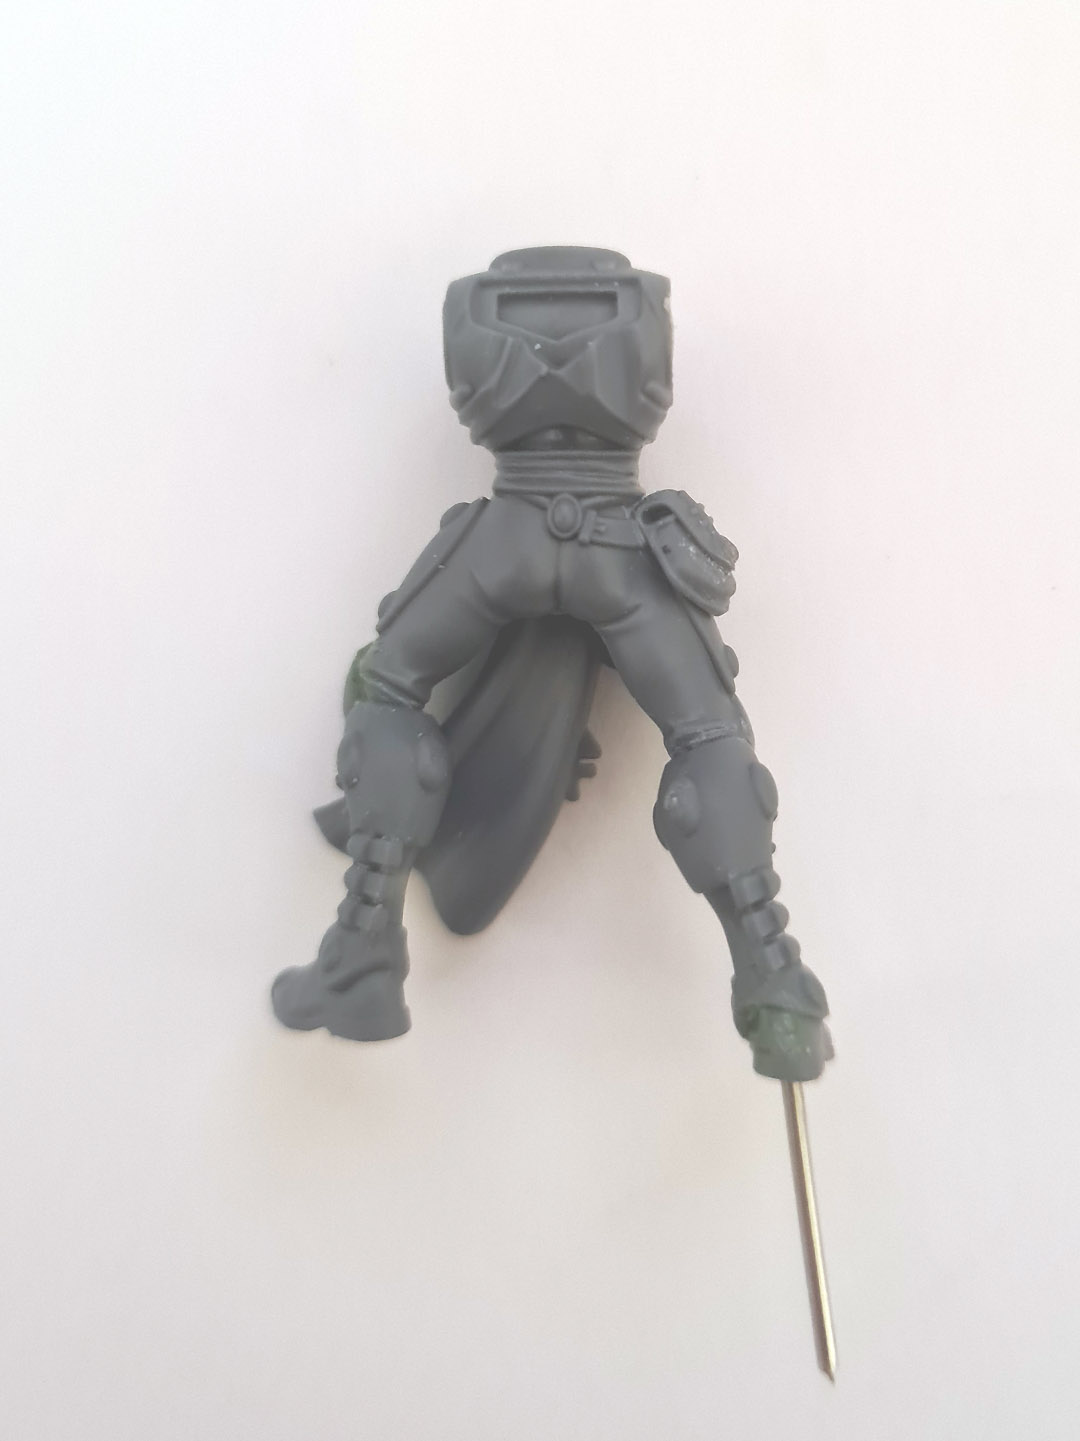
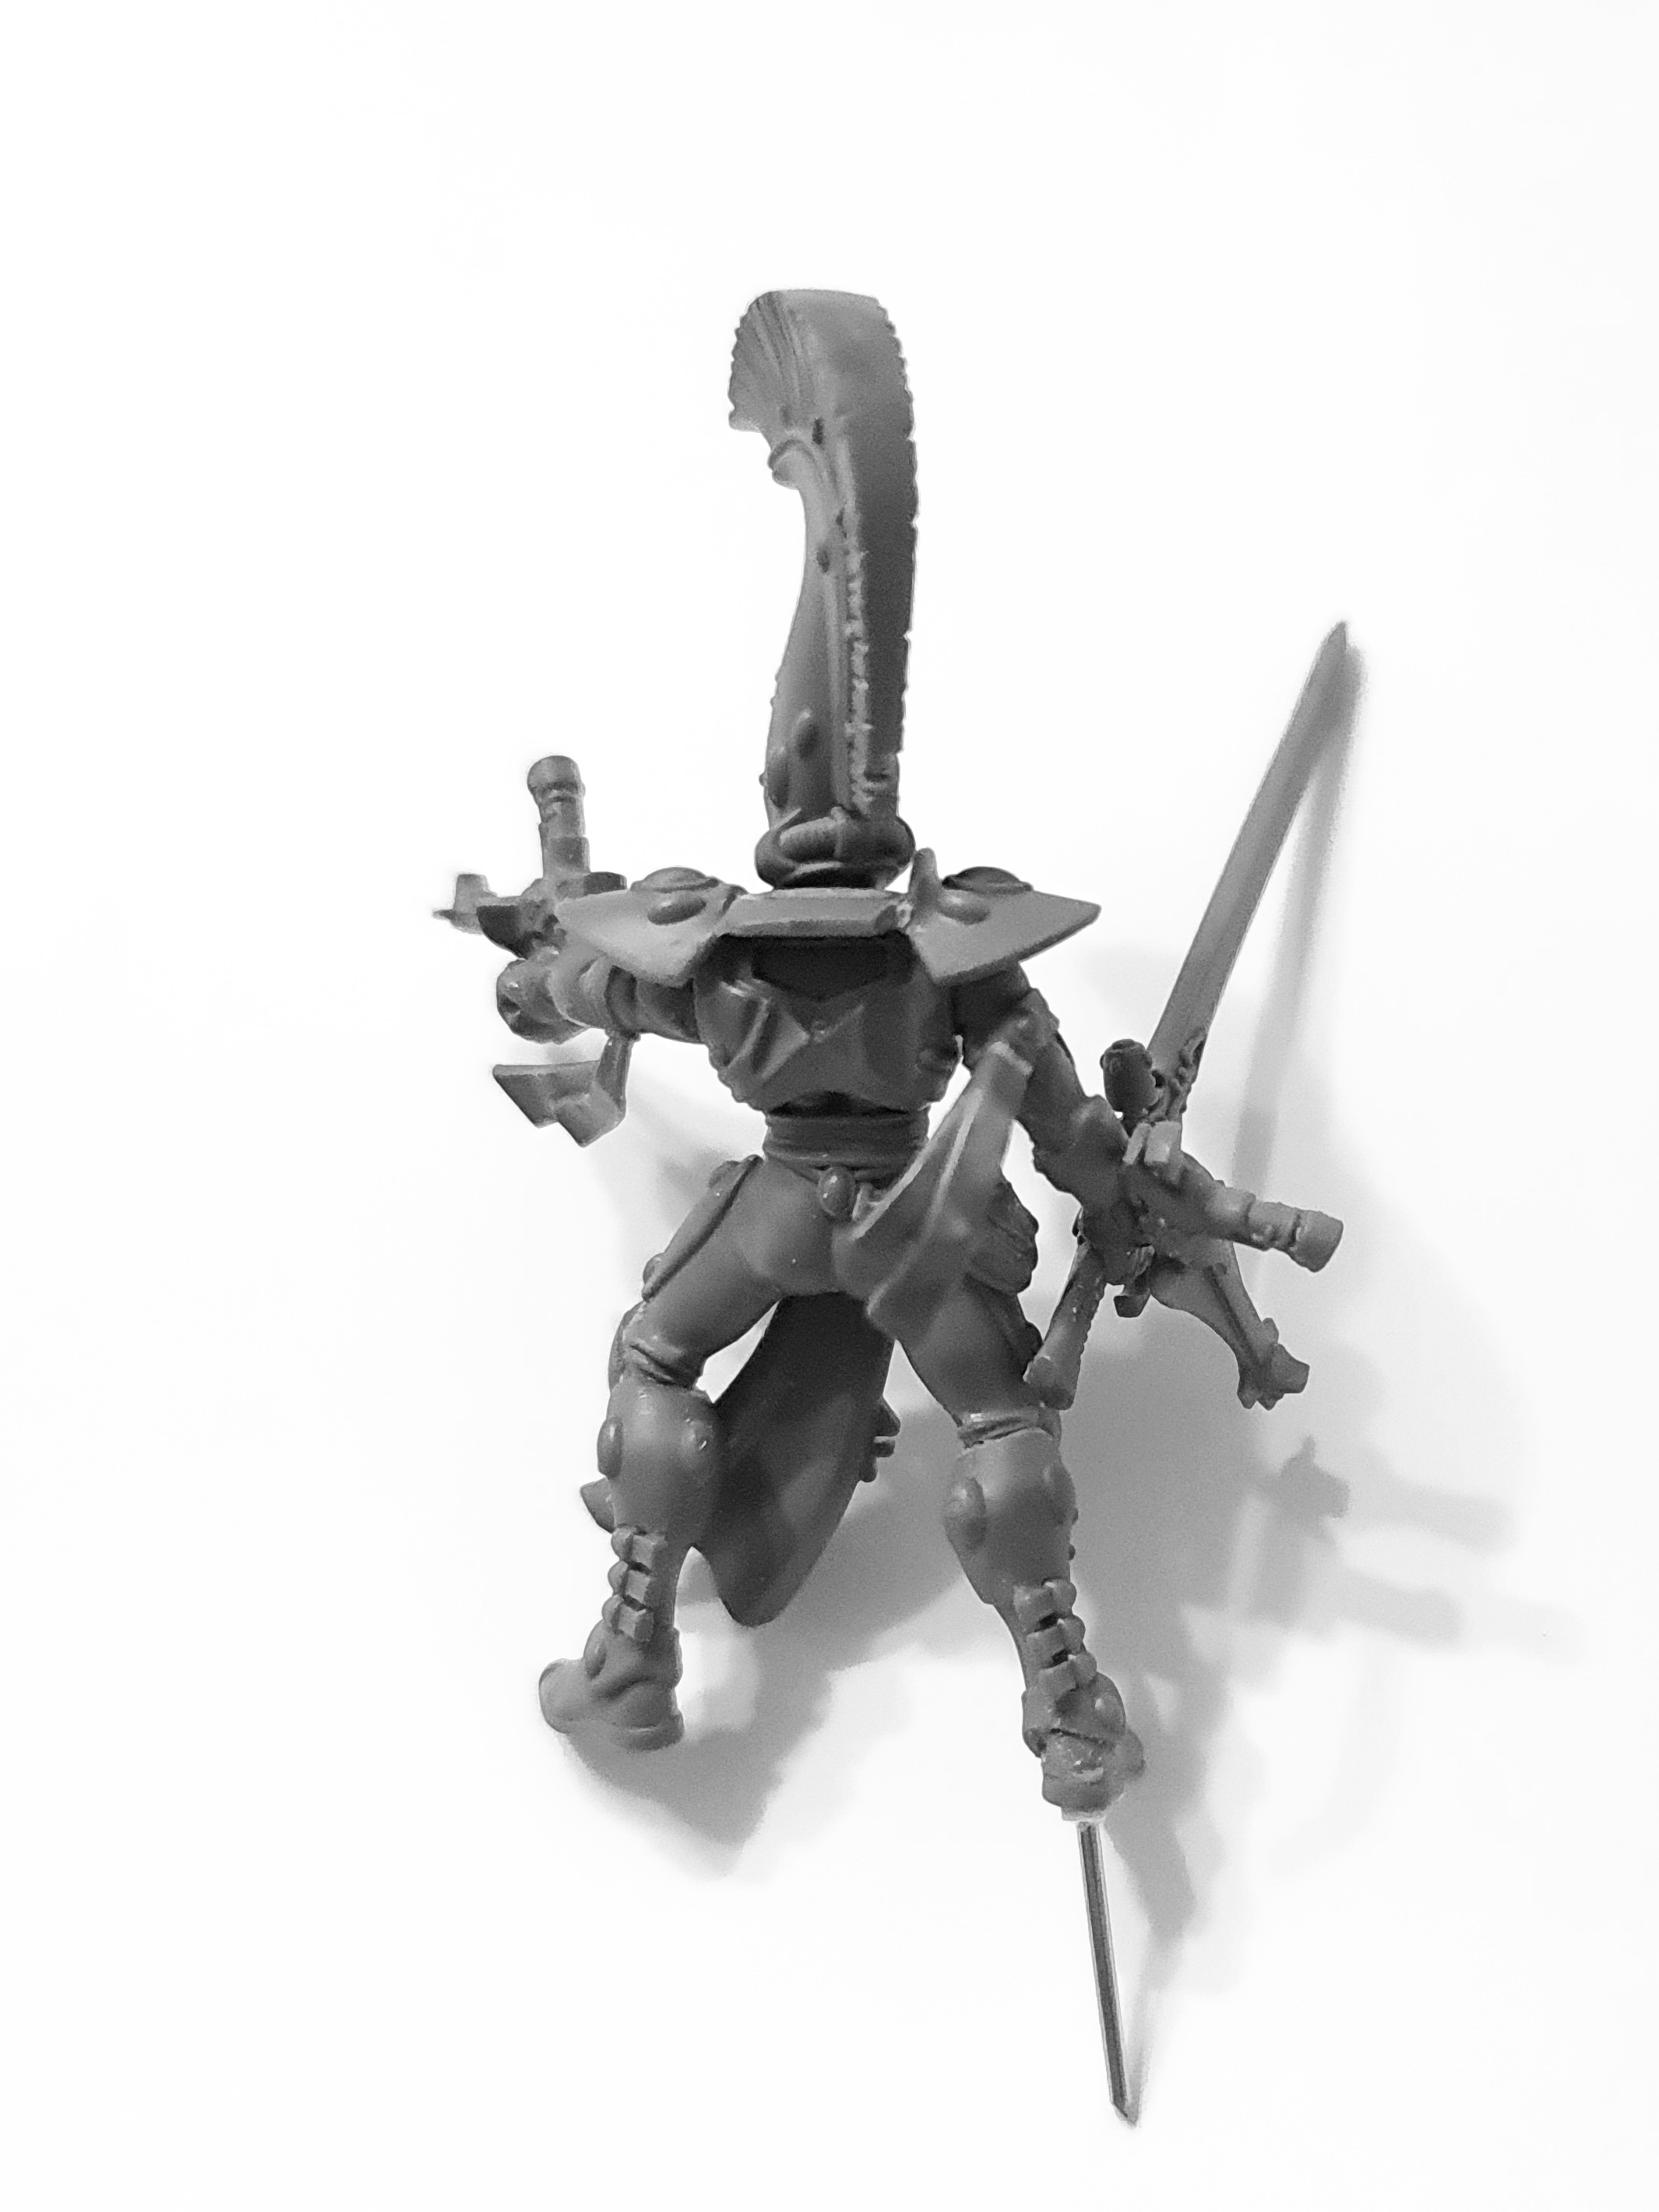
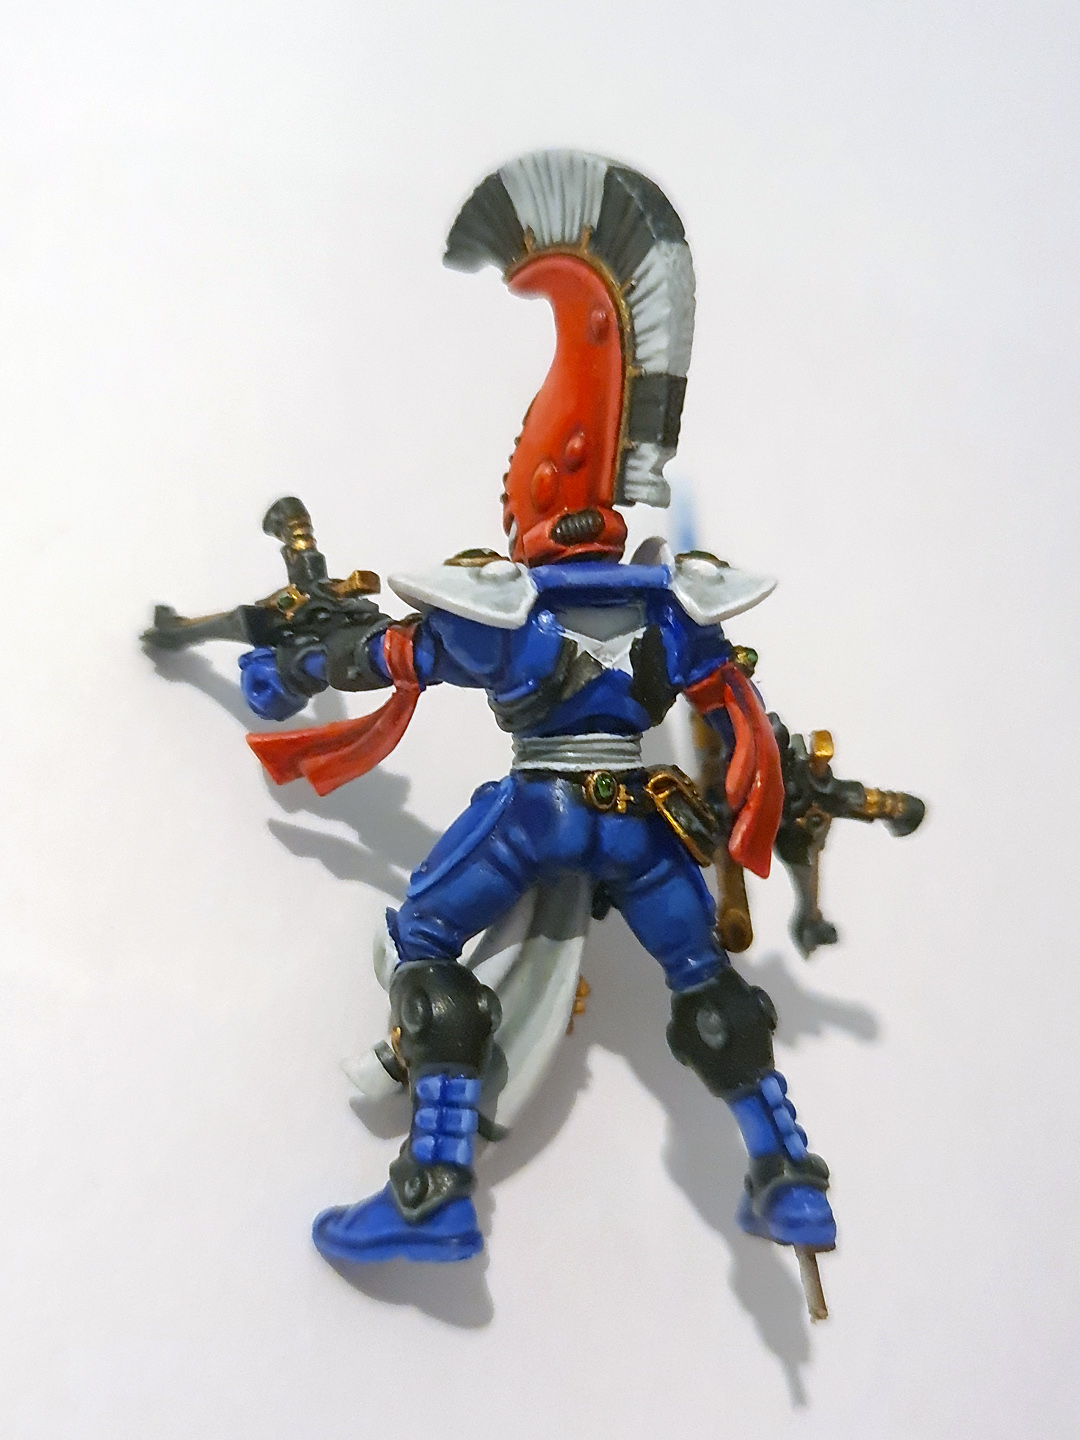
4. Rear view of the work-in-progress body.
5. The right arm was substantially reworked, requiring the shoulder to be cut away from the body.
The shoulder was remodelled in Green Stuff, with a metal pin running through it for added strength.
The closed left fist comes from a Dire Avenger Exarch.
These ribbons were bent to give more of a sense of movement.
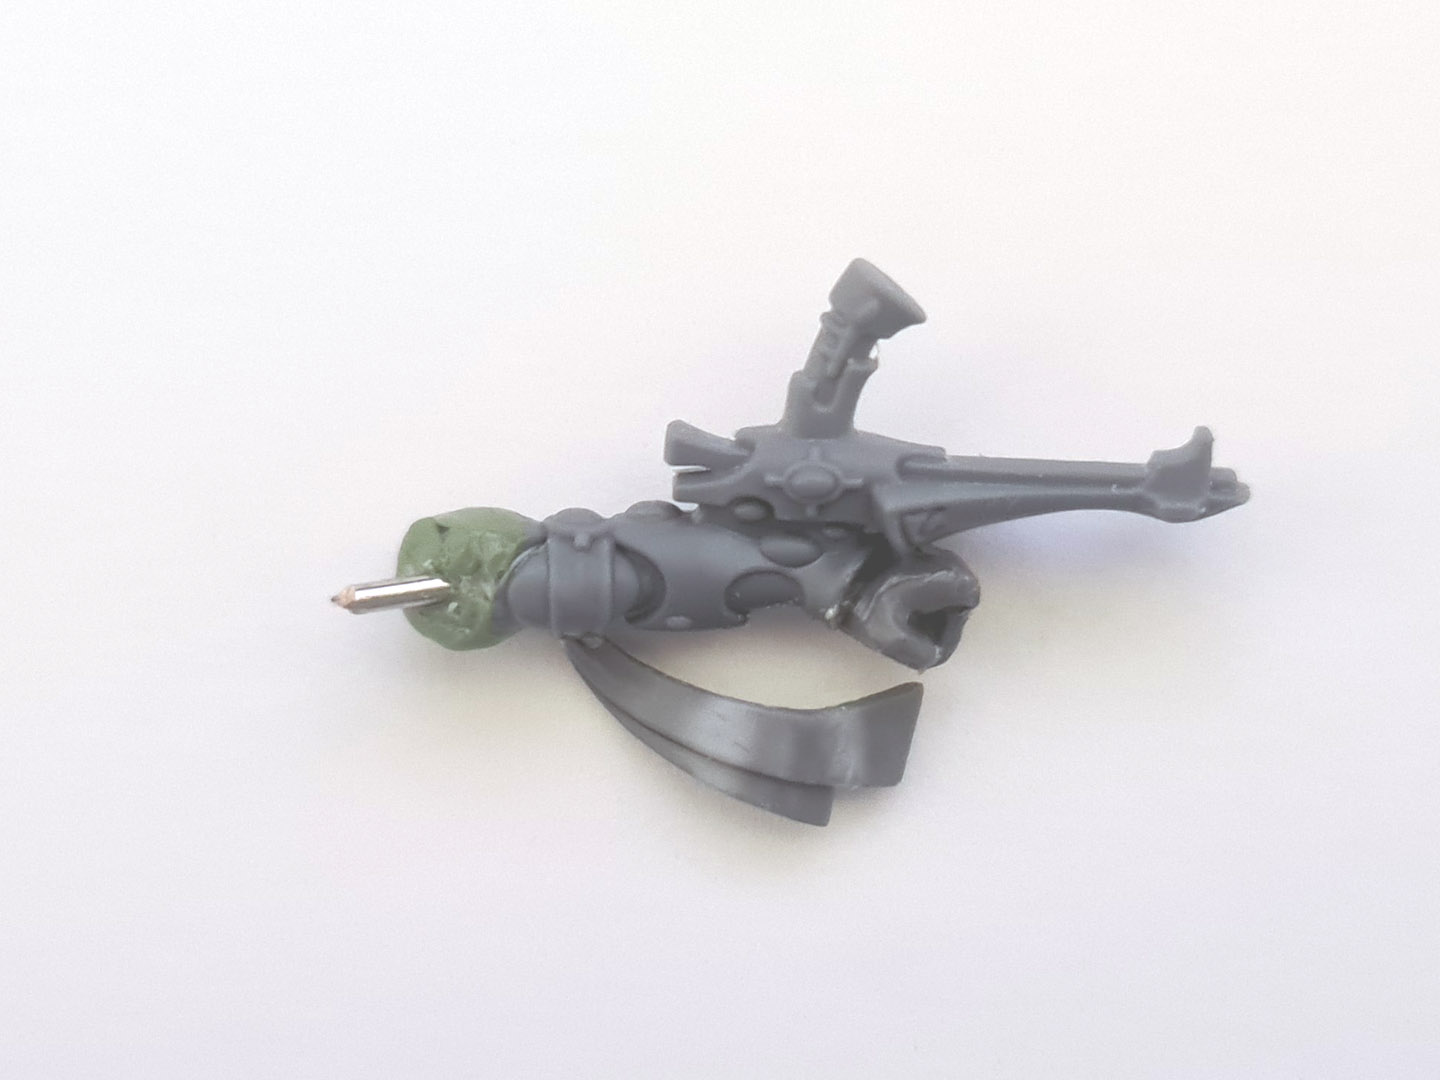
6. I decided to swap which hand was holding the Sword of Asur; Asurmen's left hand is now a closed fist. This gives the impression that he is aiming his wrist-mounted shuriken catapult at an enemy.
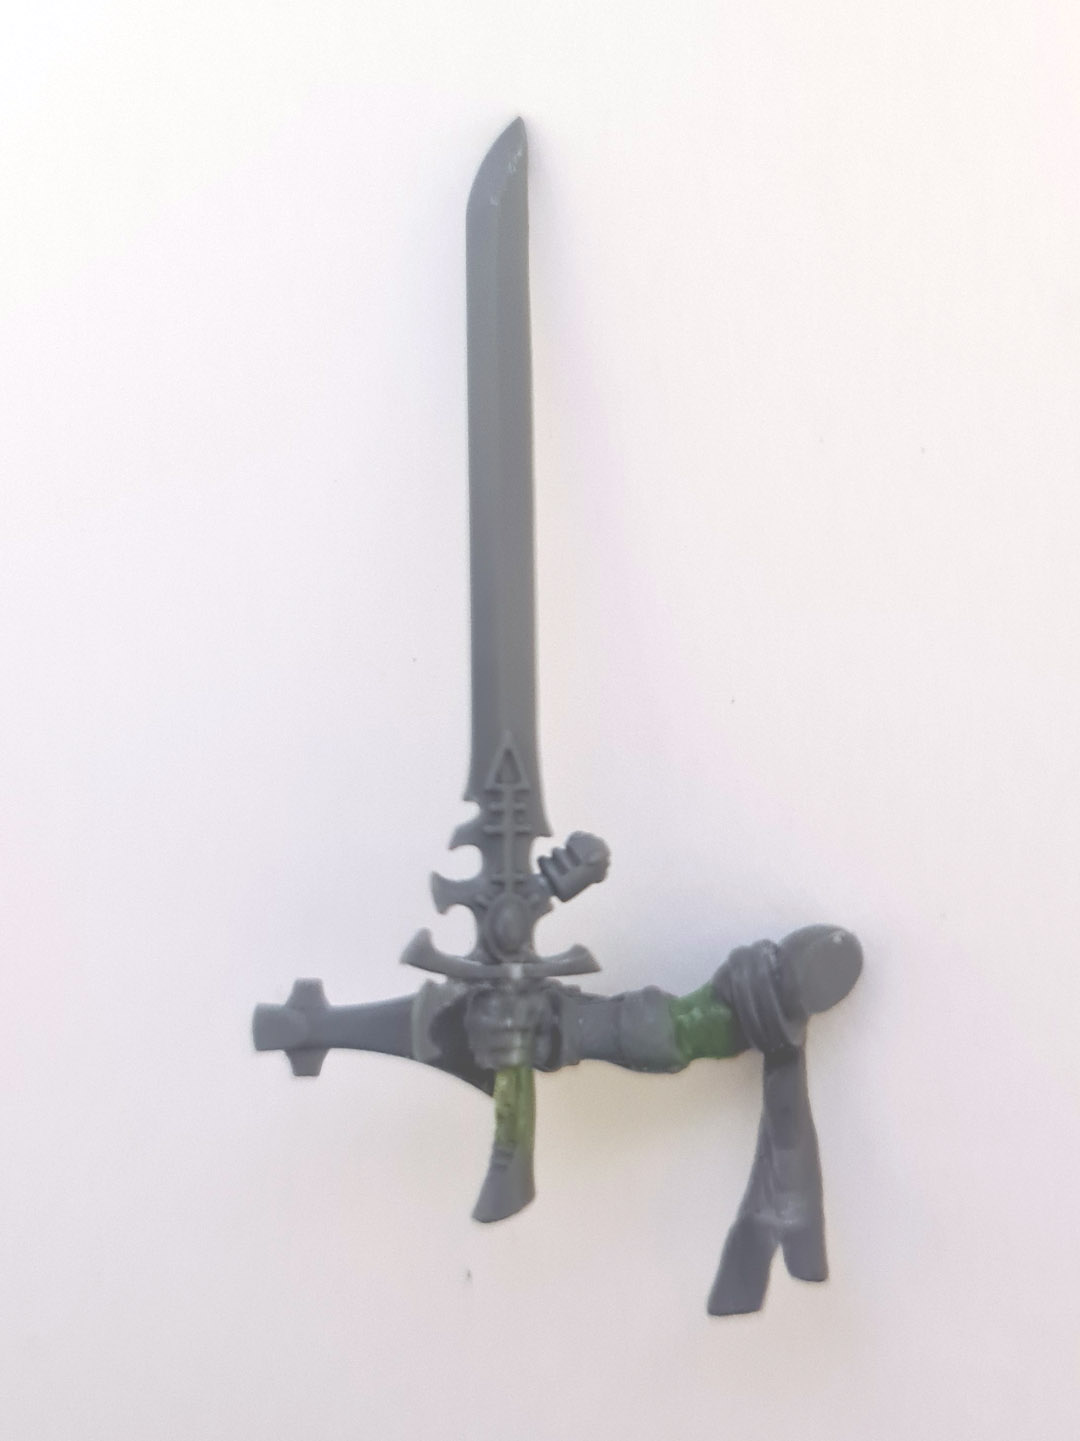
7. Reverse view of the converted left arm.
The arm was straightened at the elbow and resculpted with Green Stuff.
The Sword of Asur was carefully separated from the extended left arm and a pin inserted through the cross-guard, hilt and right hand.
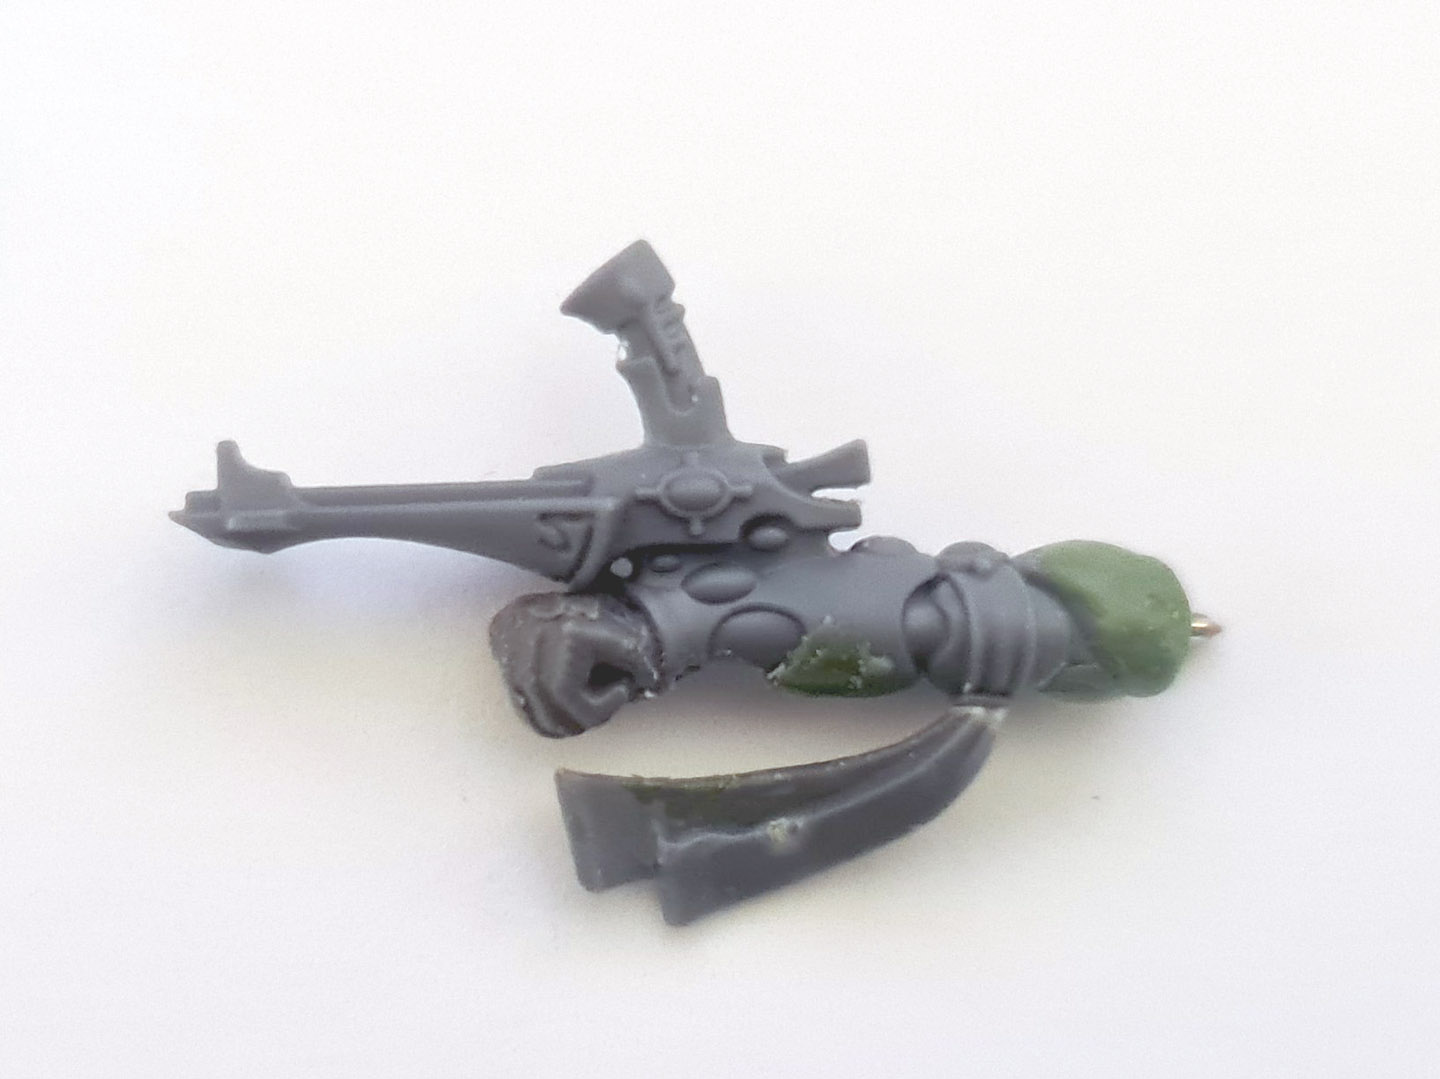
8. The right arm was changed significantly.
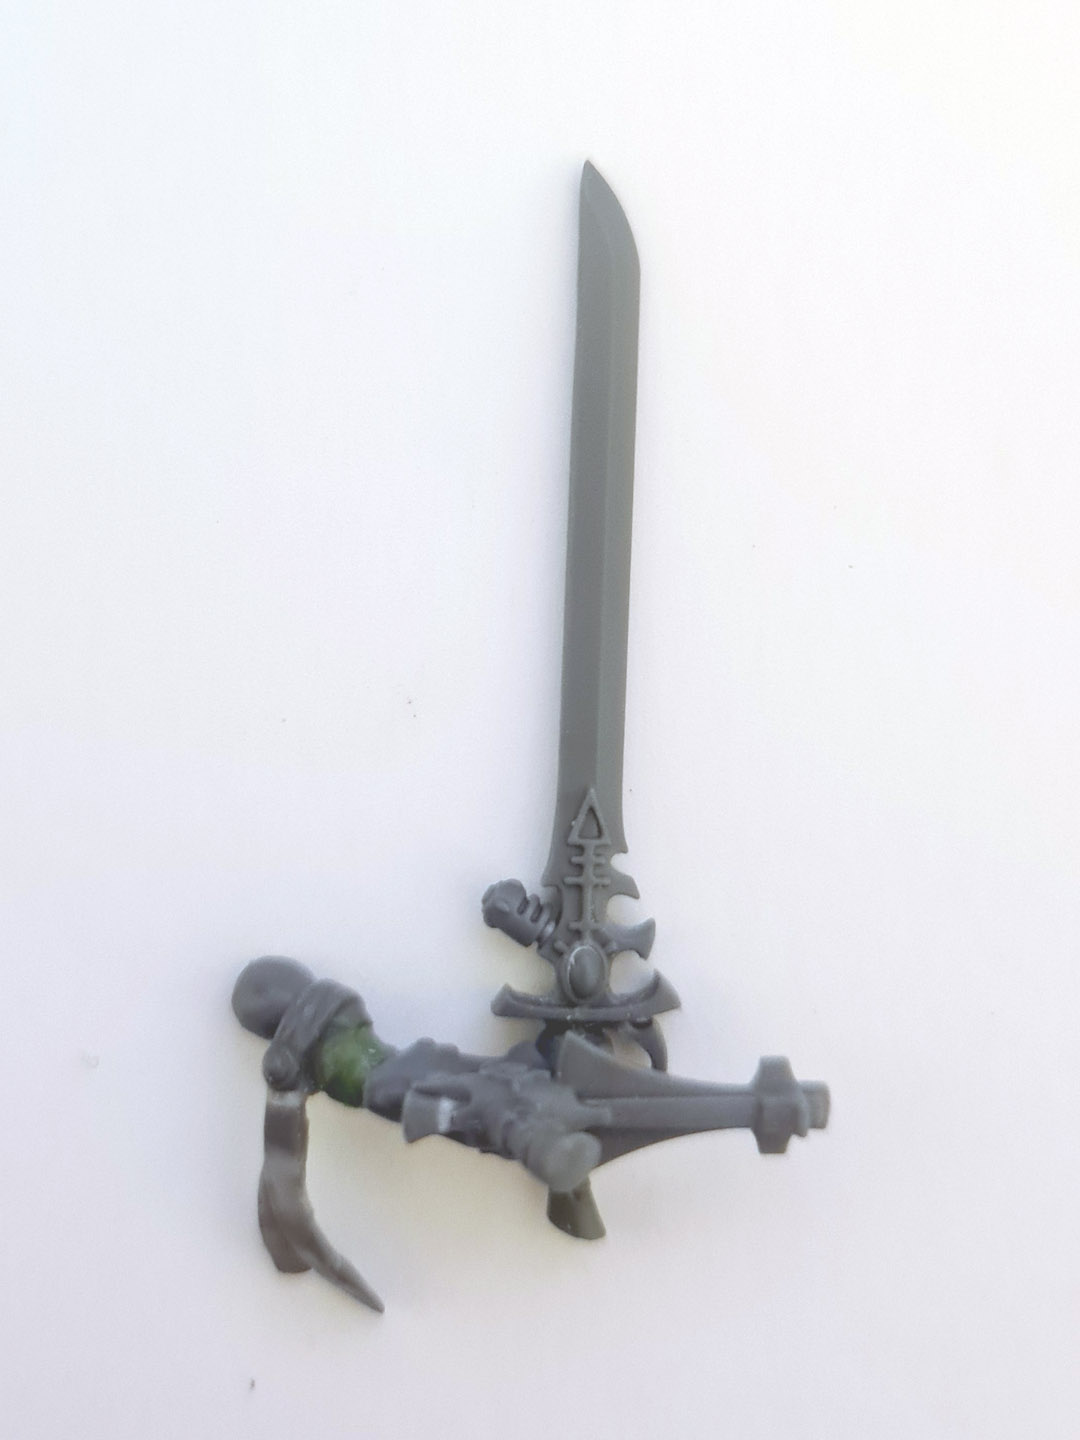
9. Reverse view of the modified right arm.
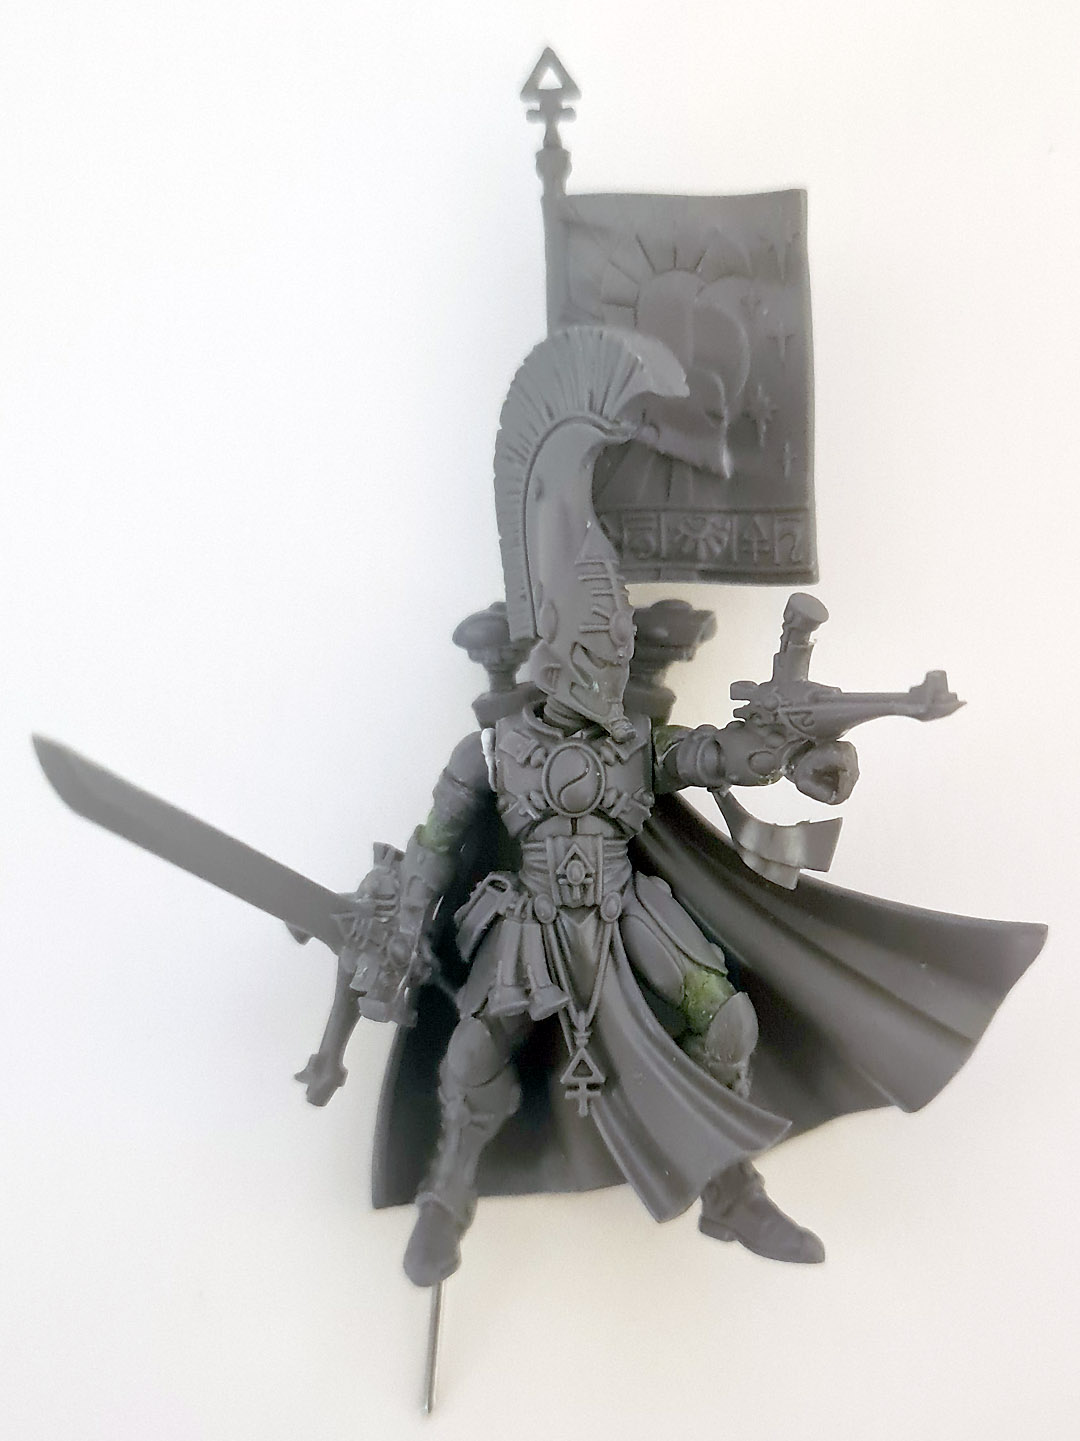
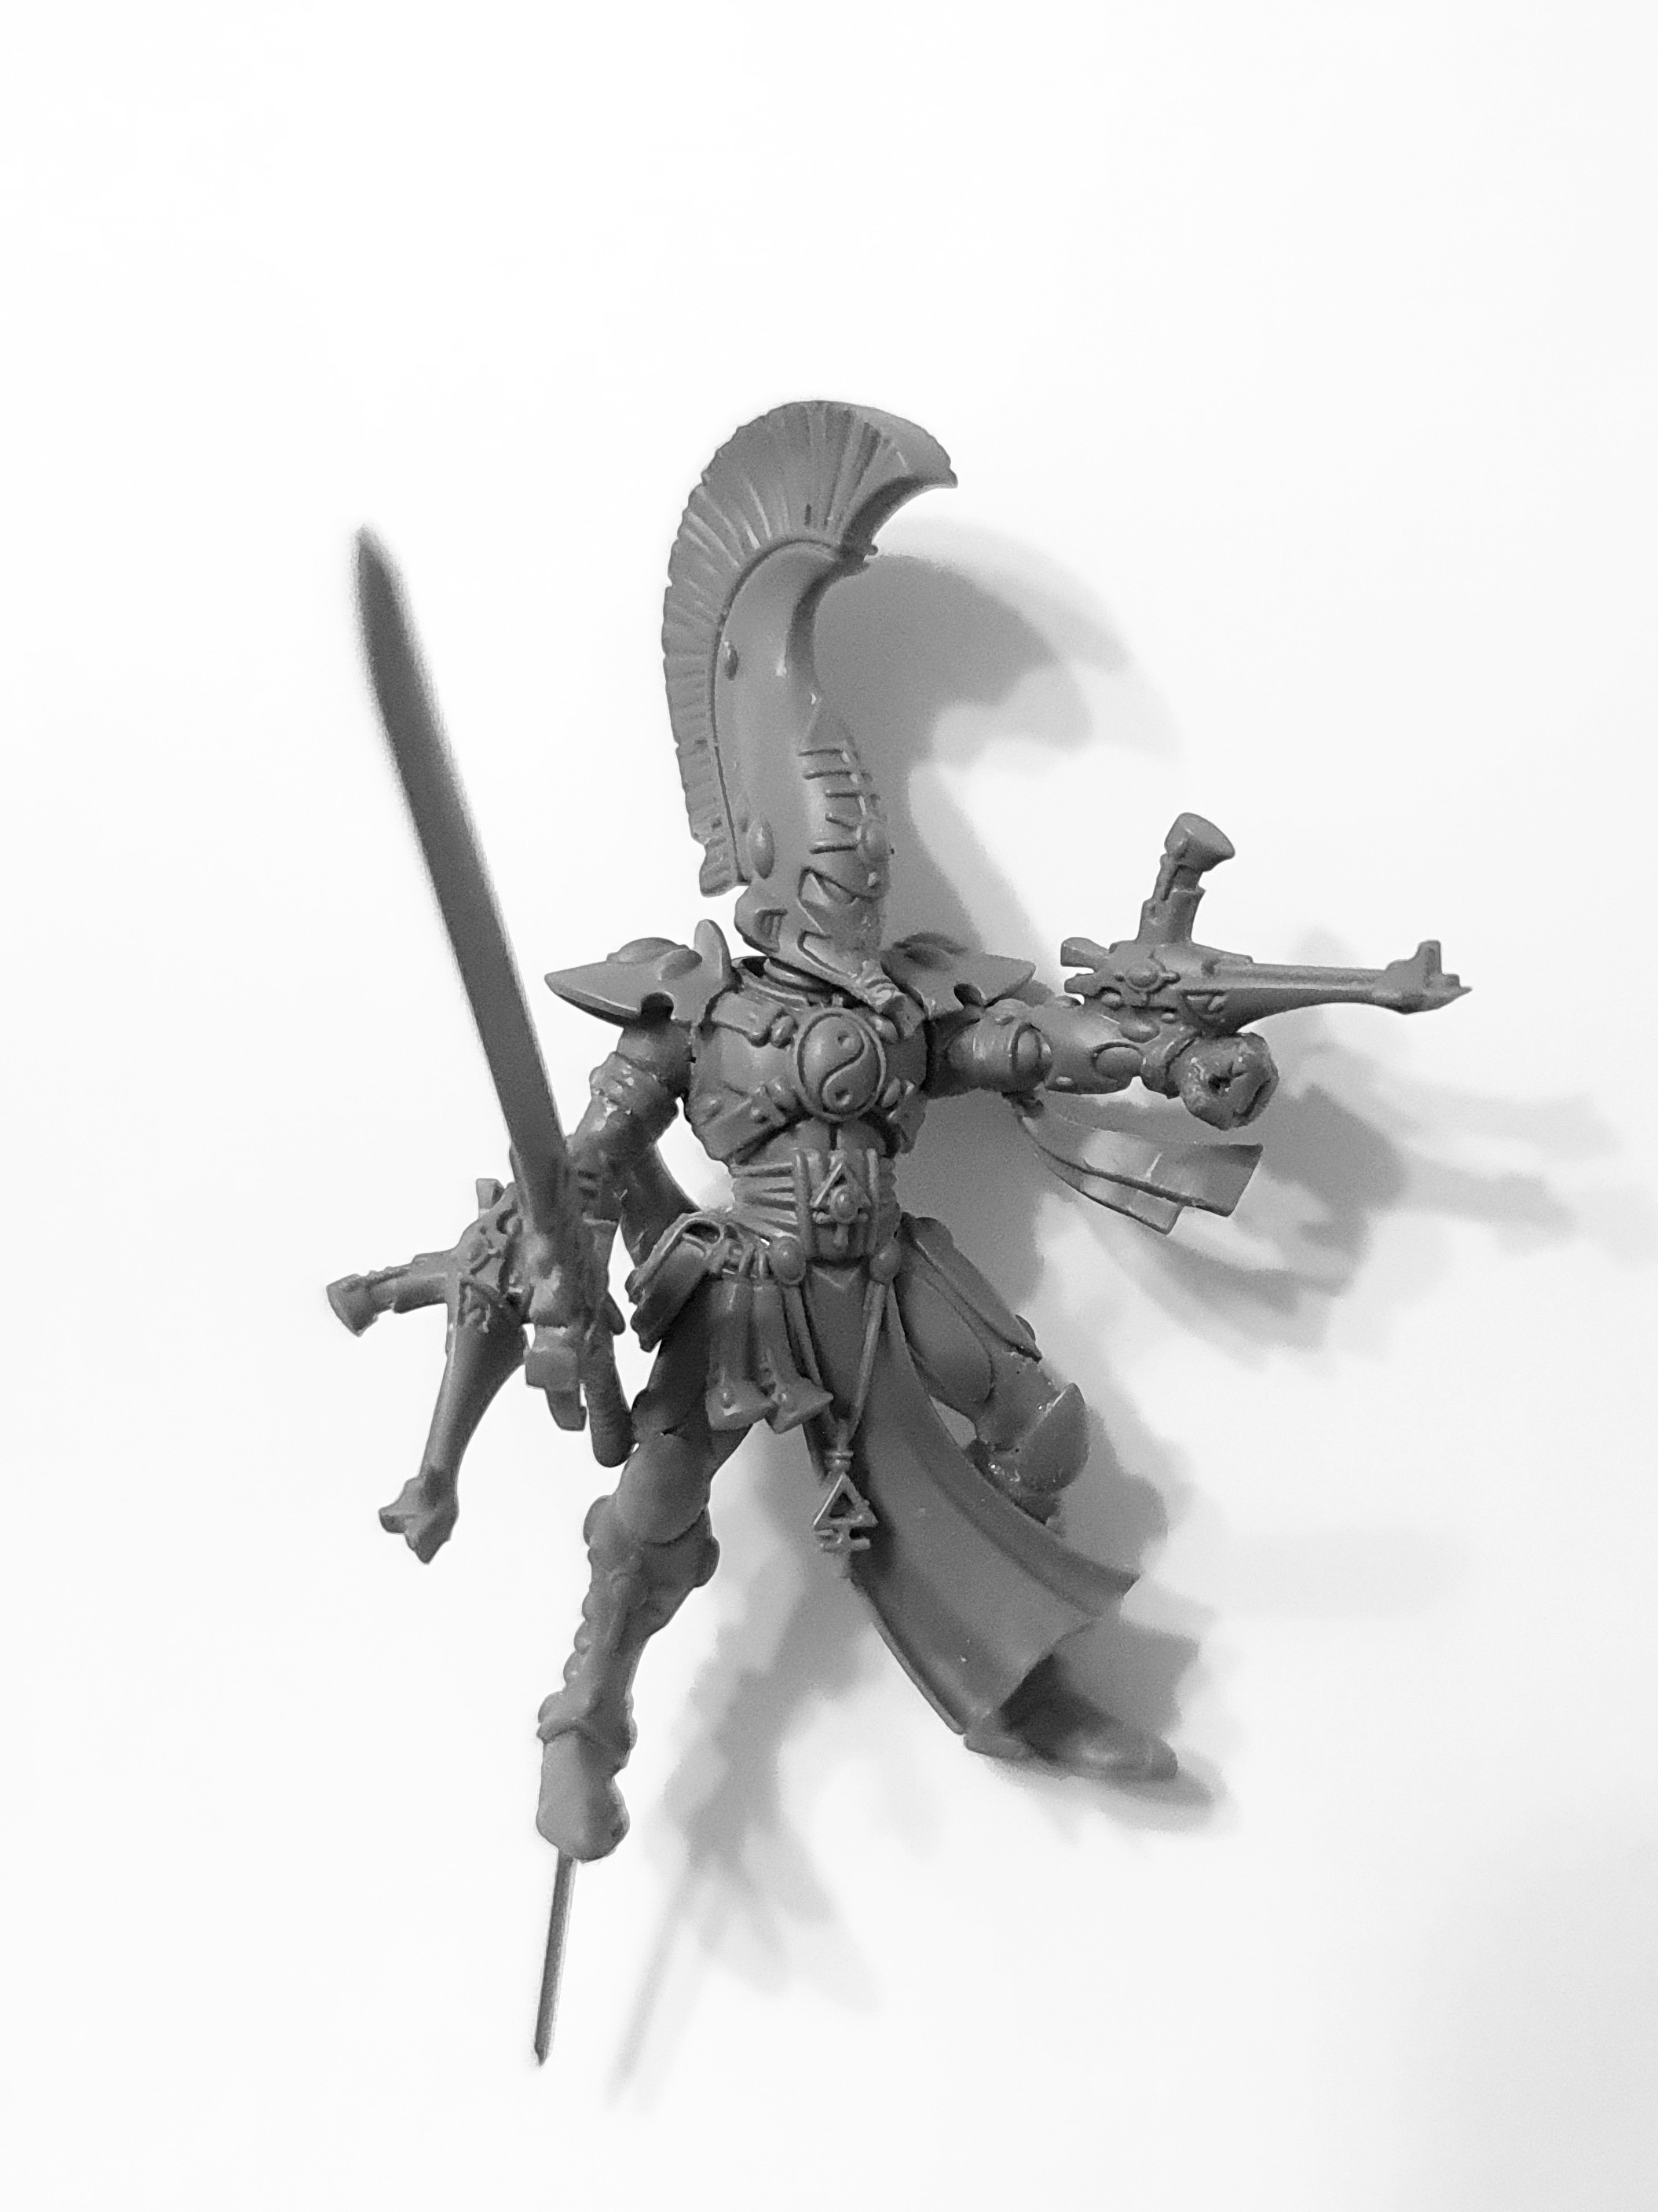
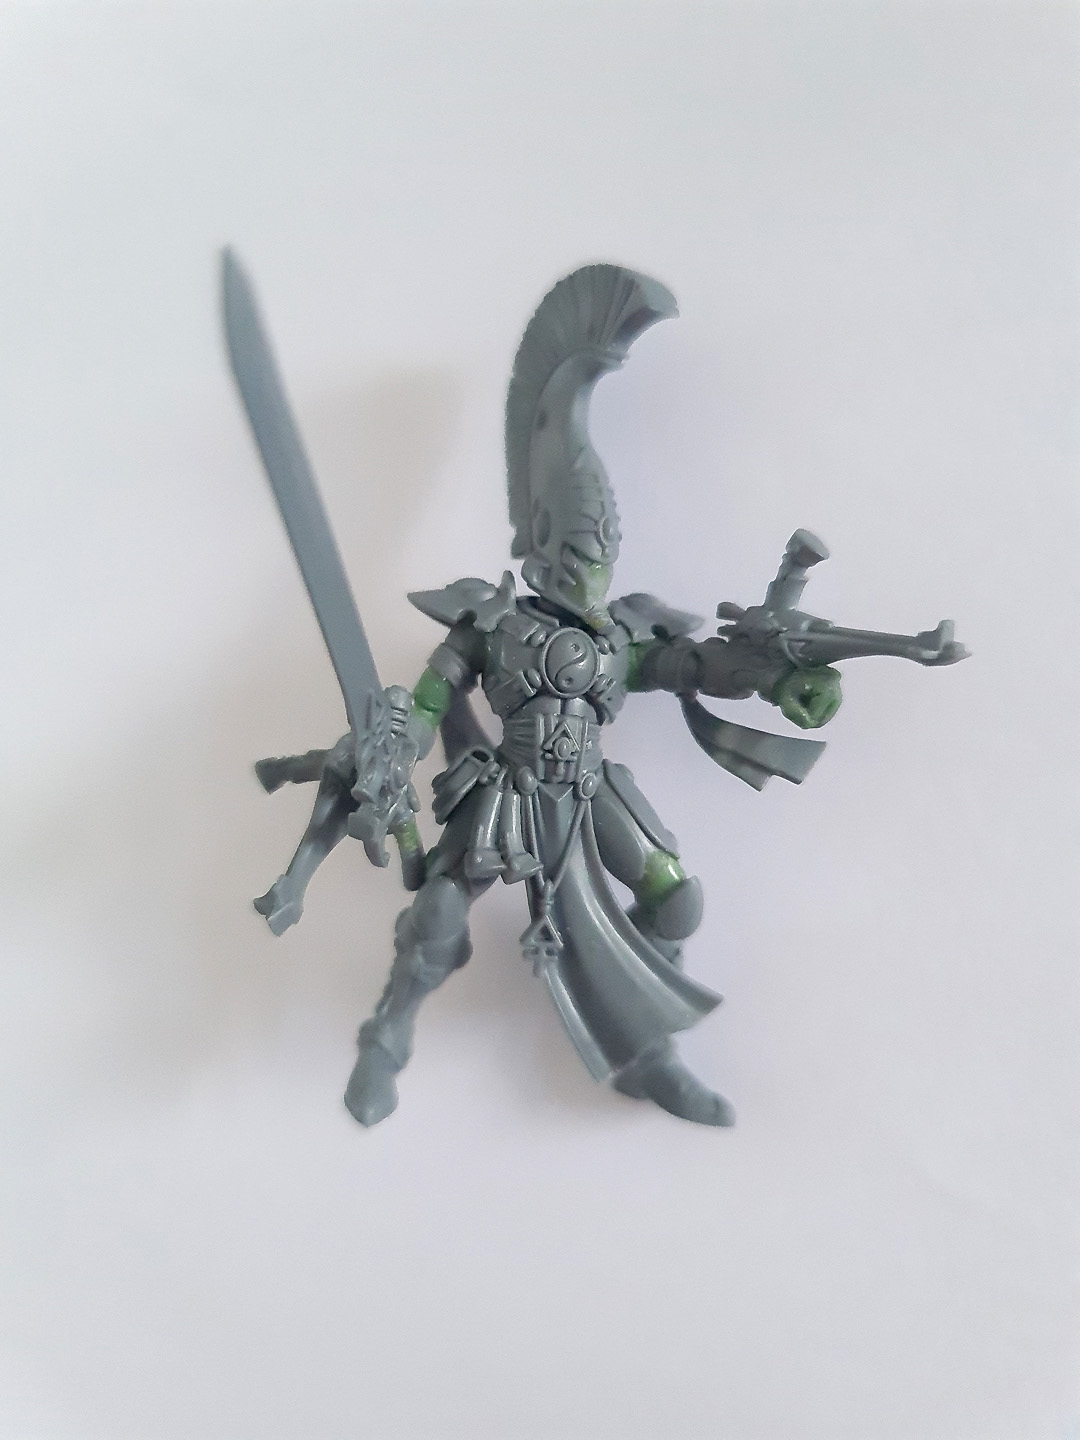
10. A test dry-fit of the various components, to give an idea of the final pose.
Some Green Stuff sculpting was necessary to add some detail to the closed left fist.
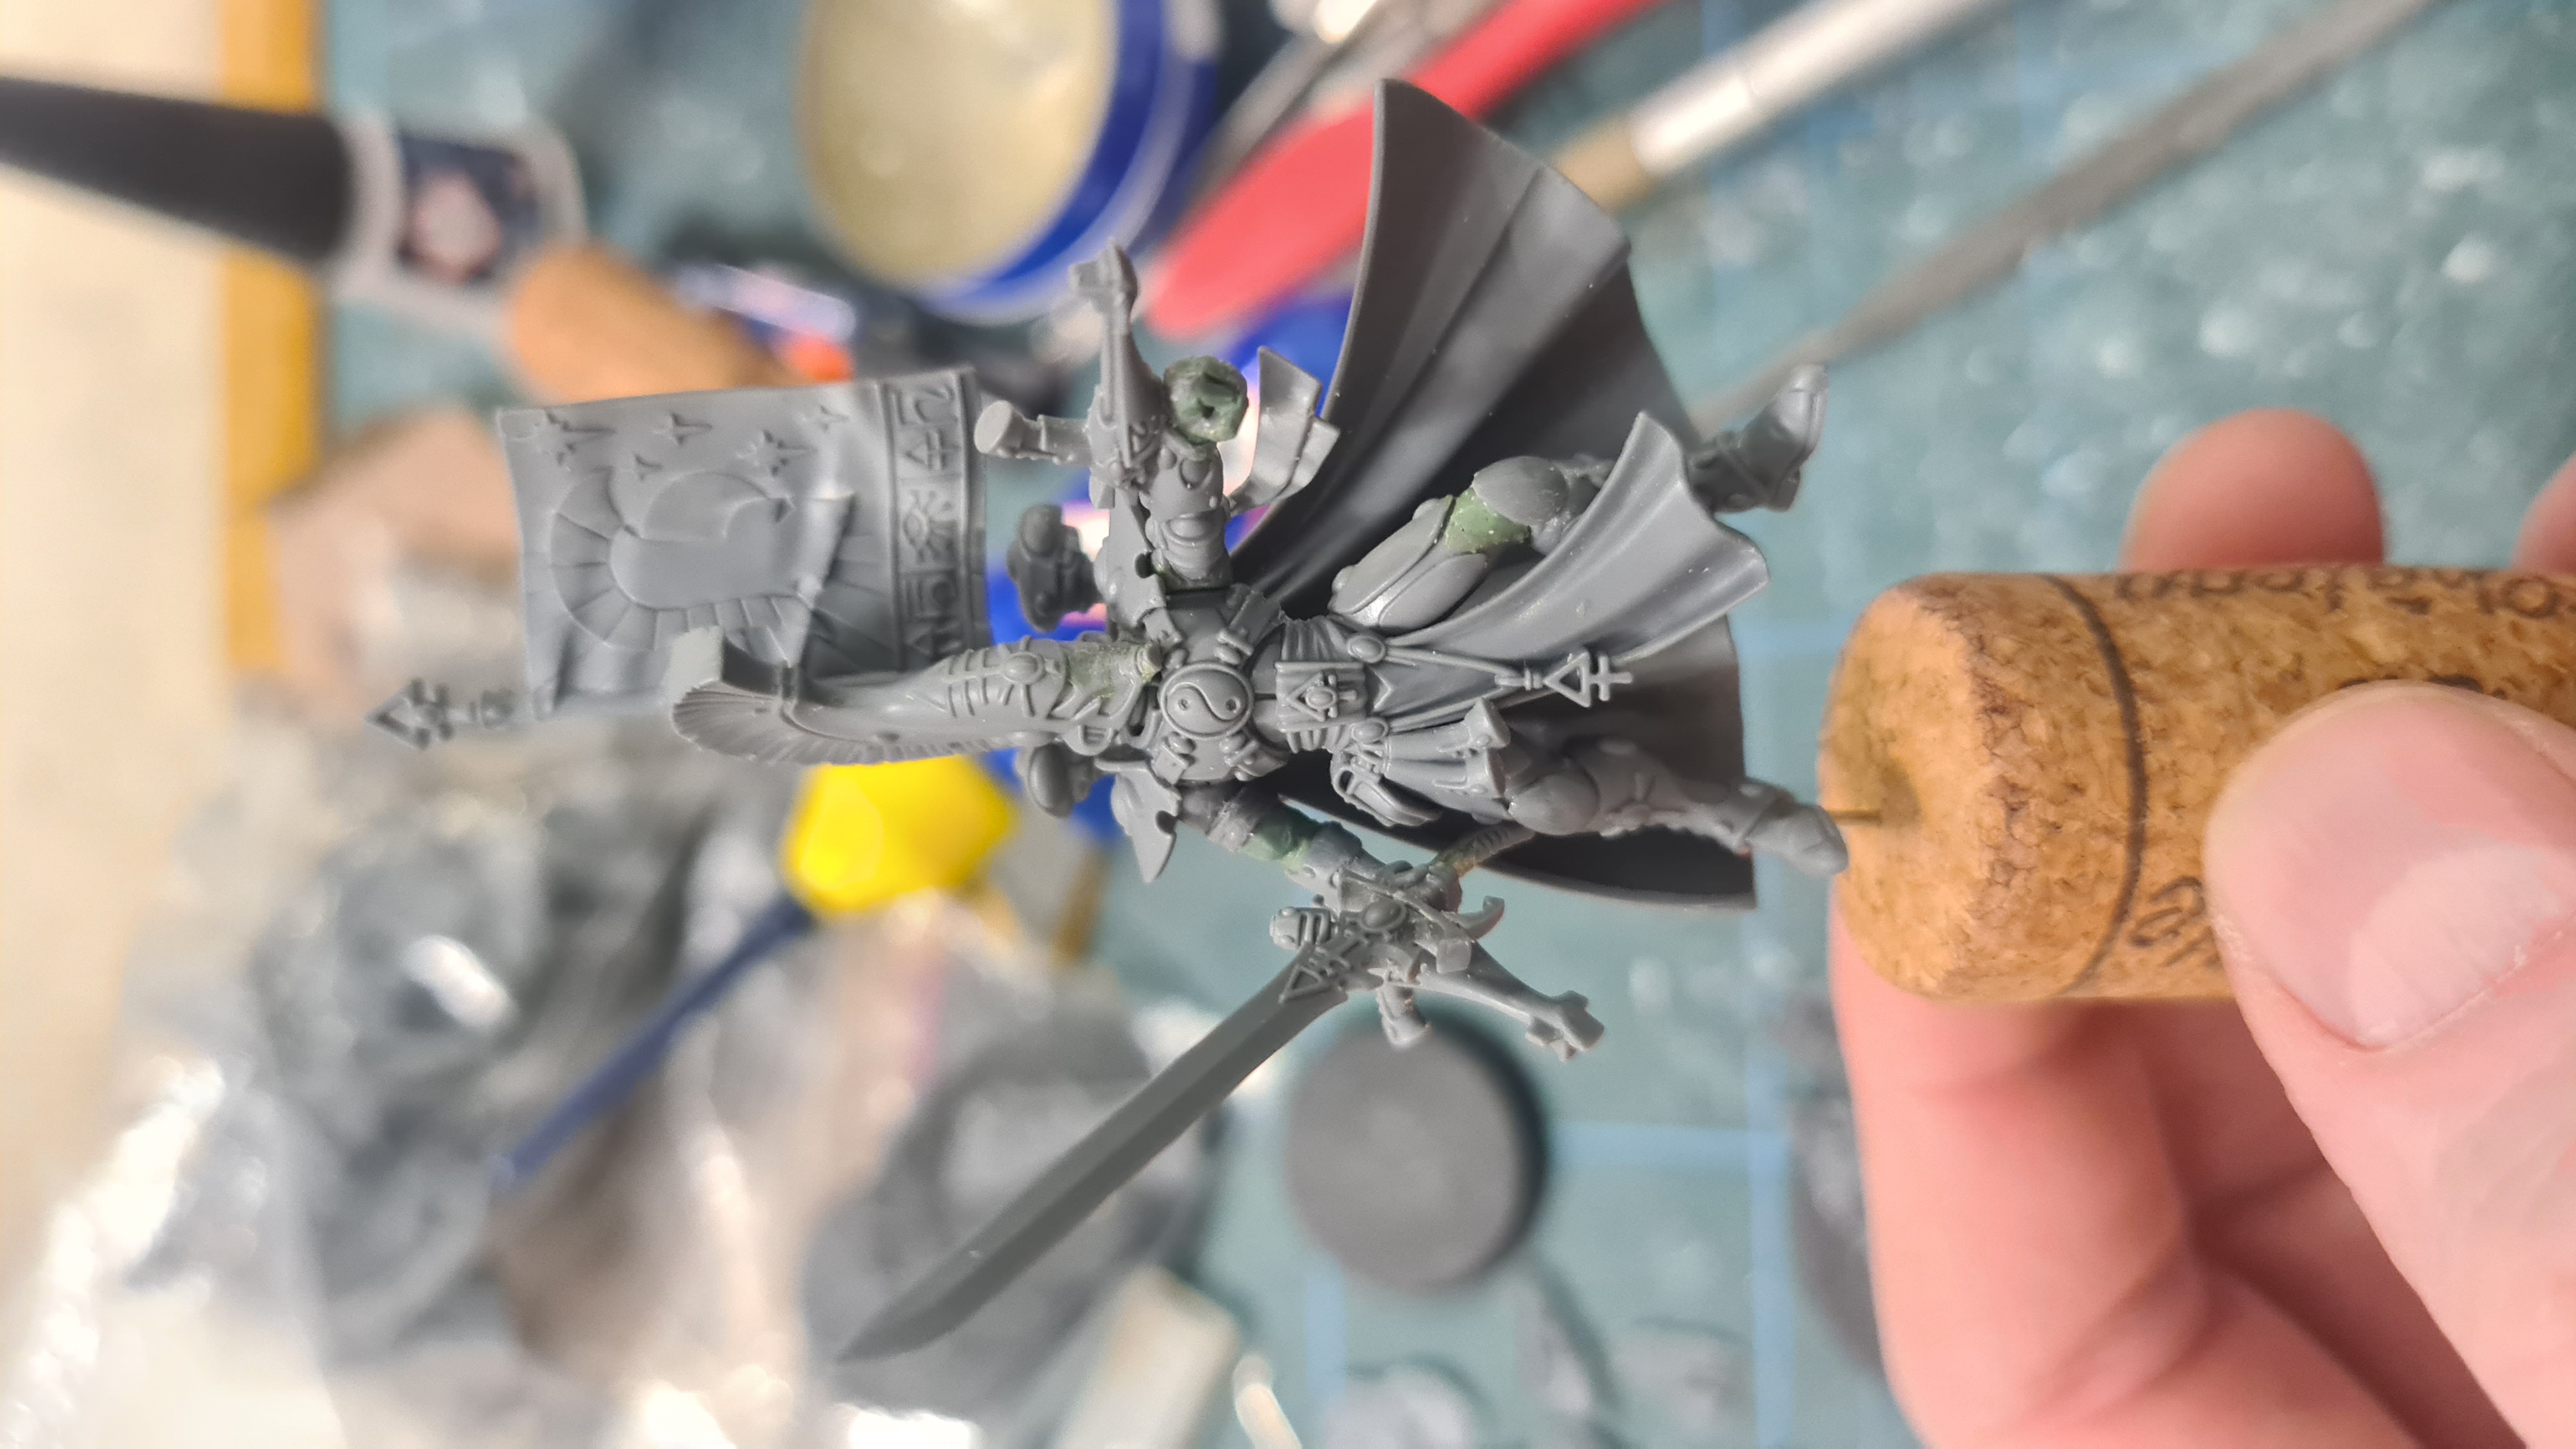
11. An updated work-in-progress image, including the shoulder pauldrons.
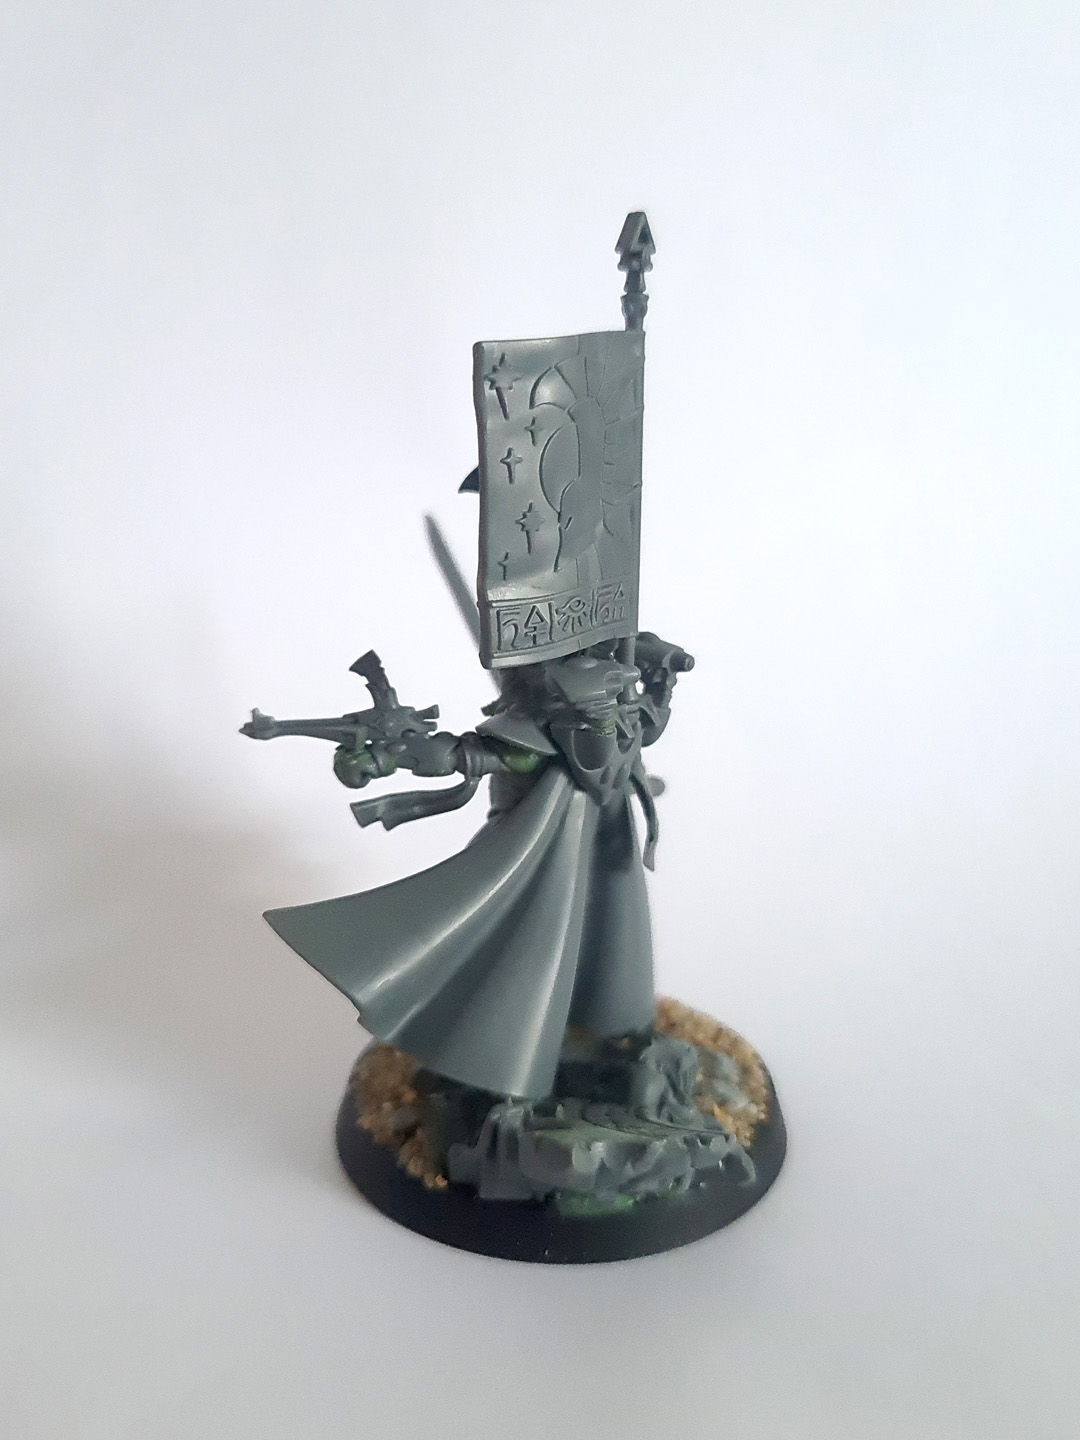
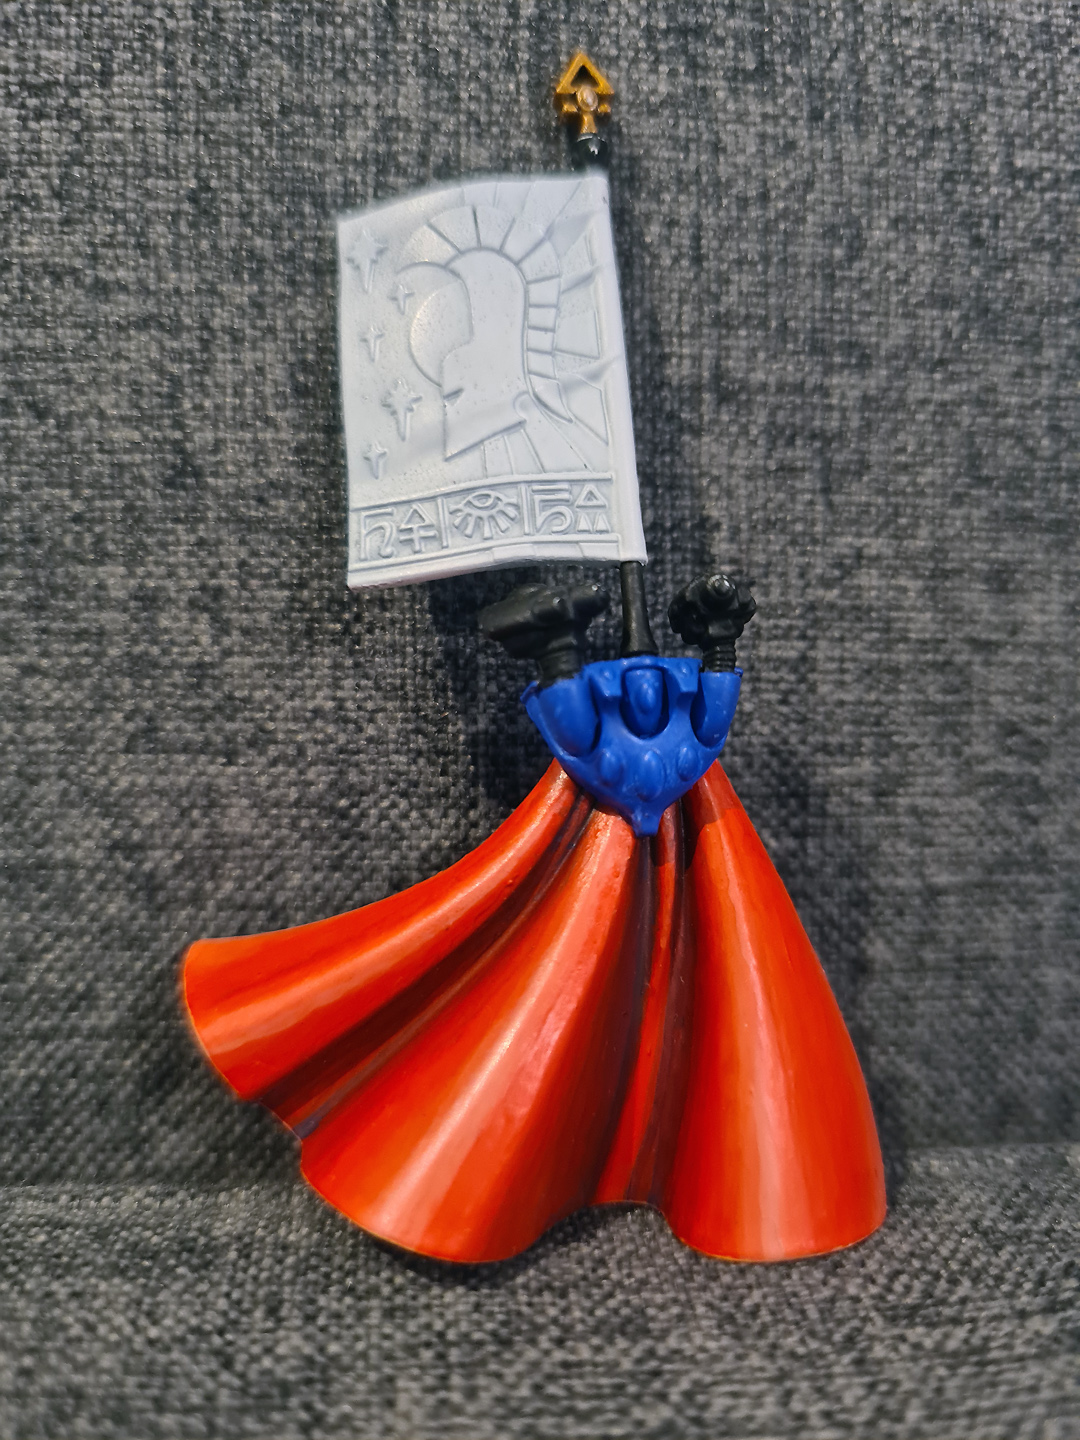
The banner was bent so that it appears less flat.
I chose to remove the triangular extension from the top right corner of the banner as it looked odd to me.
This targeter was rotated so that it is still pointing in the direction of the repositioned left arm.
I didn't attach part of the cloak along this edge, to reduce its size a bit (in the original model, it covers some detail on the right leg).
Continuing Games Workshop's proud tradition of being unable to properly sculpt flapping cloaks, this model also featured an absurdly long leading edge on the cloak, which I cut down to a sensible size.
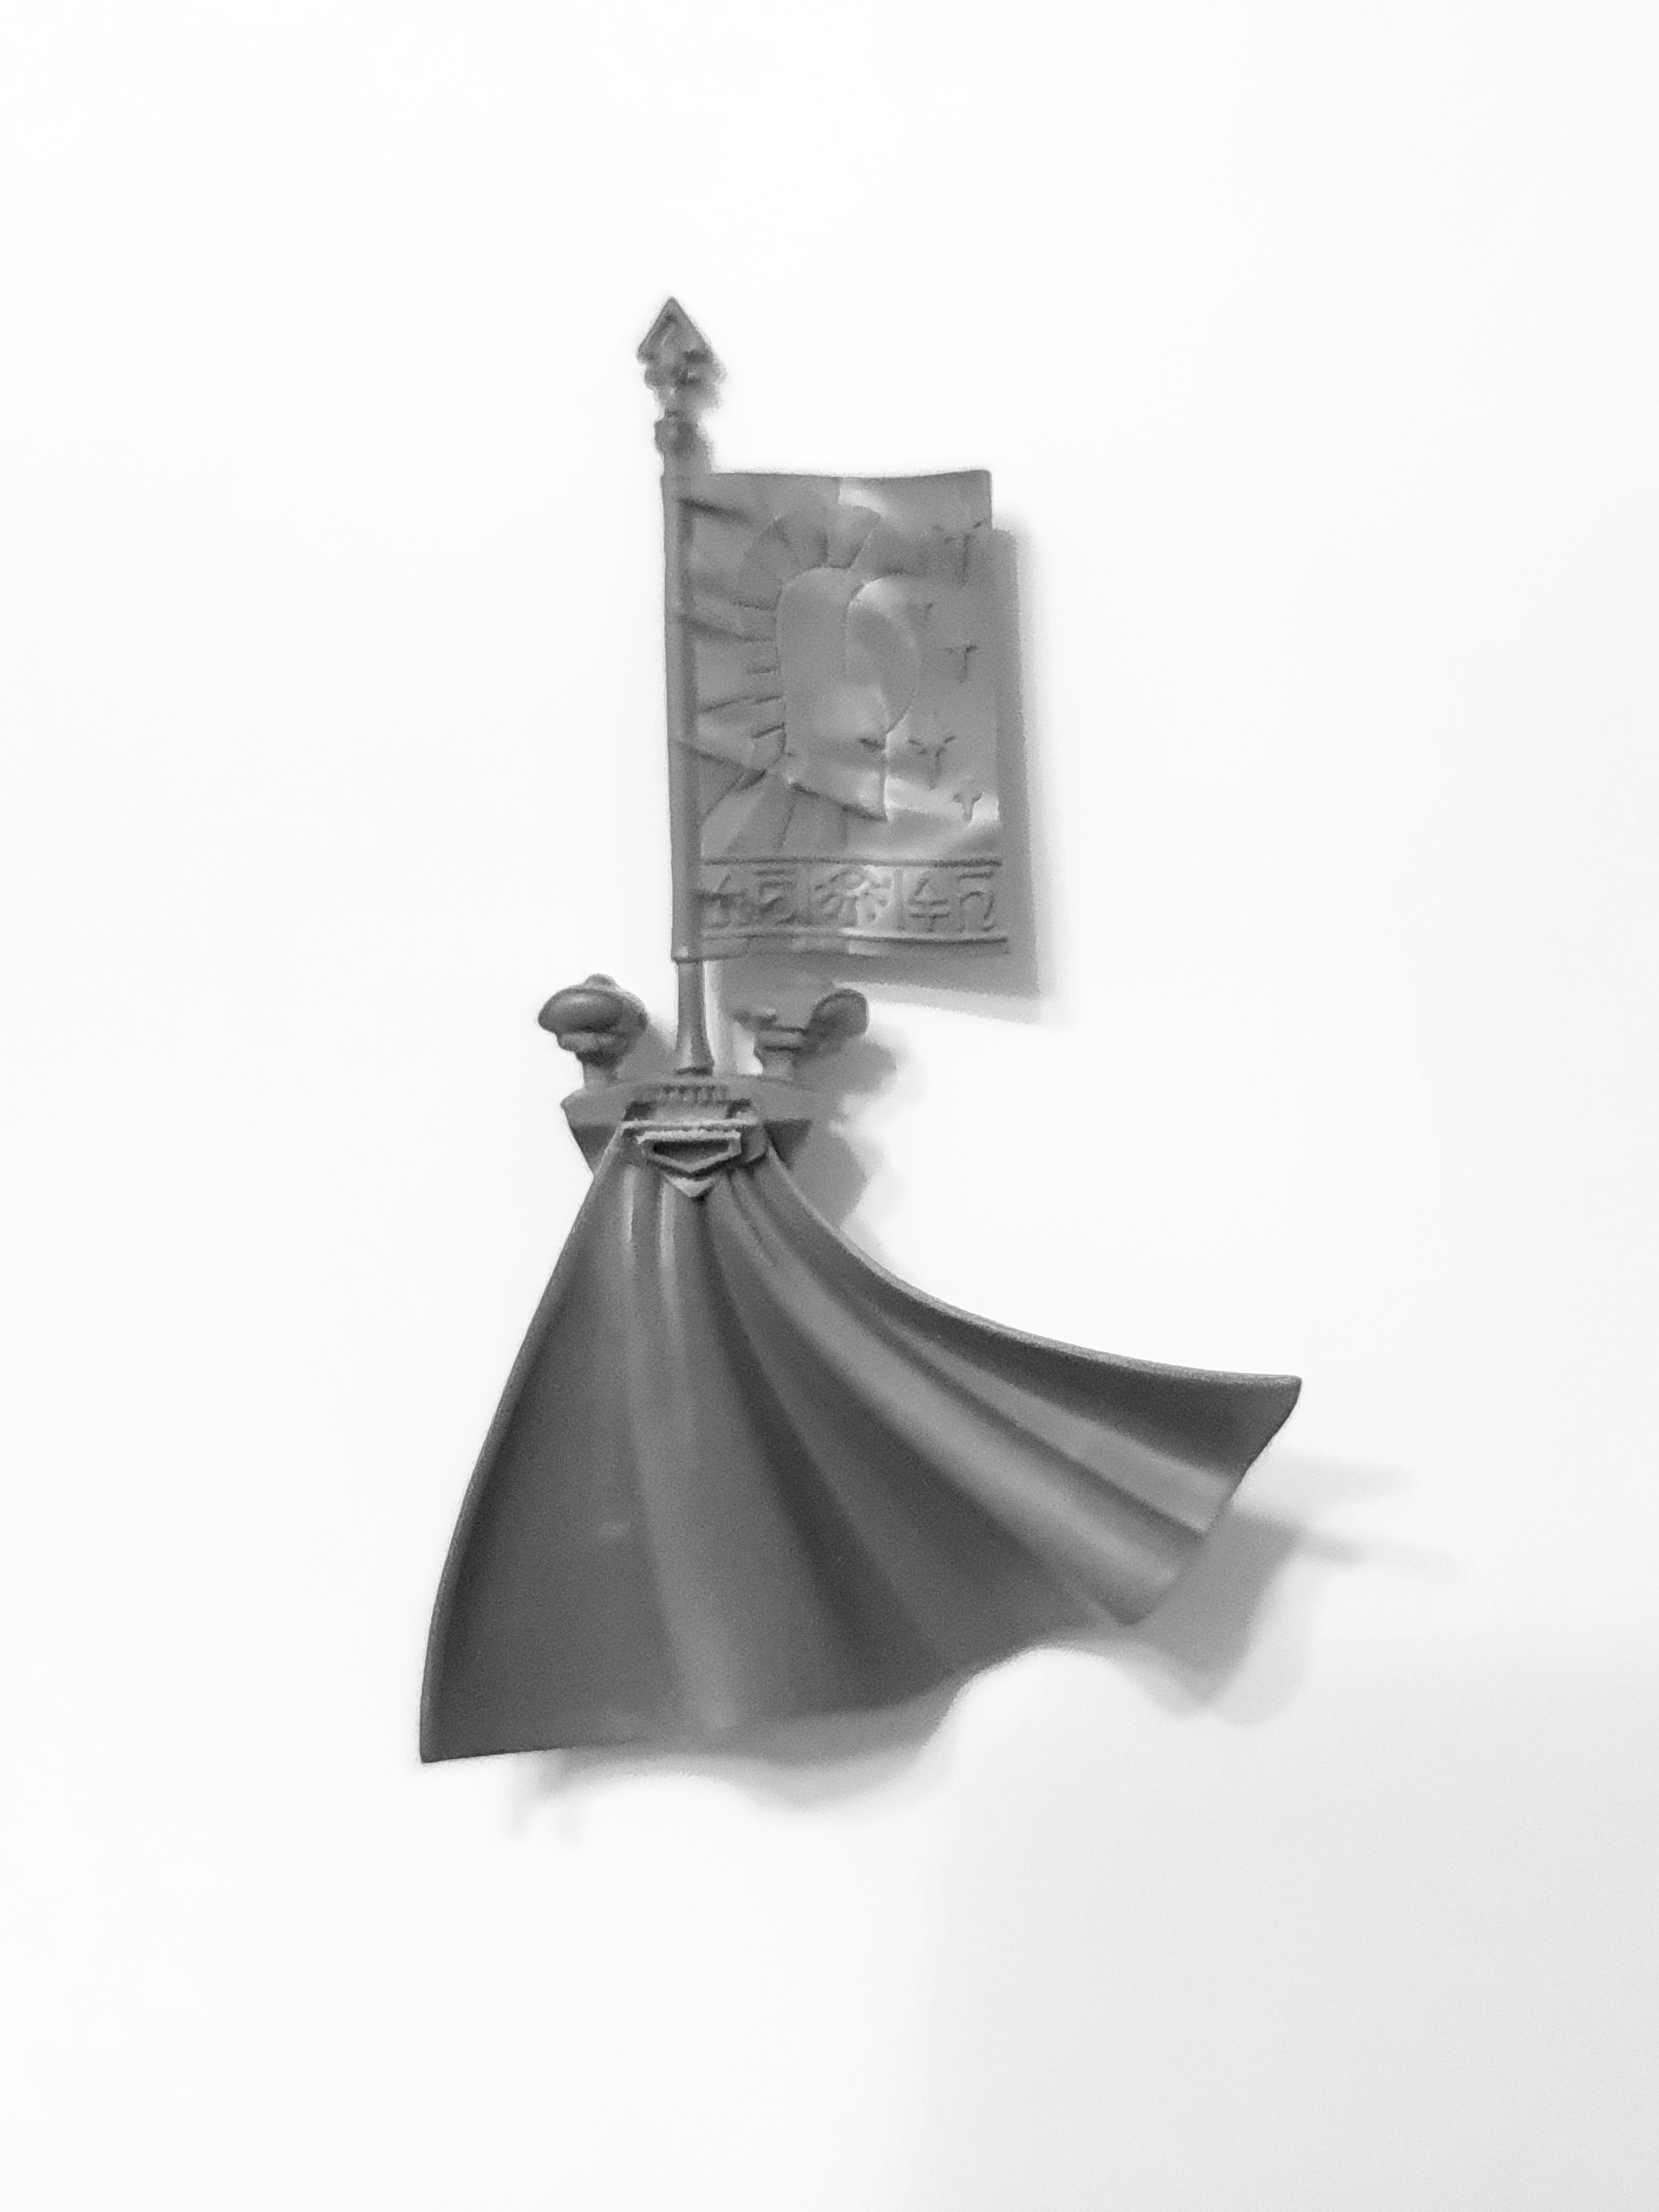
12. The back banner, backpack and cloak were kept separate for ease of painting.
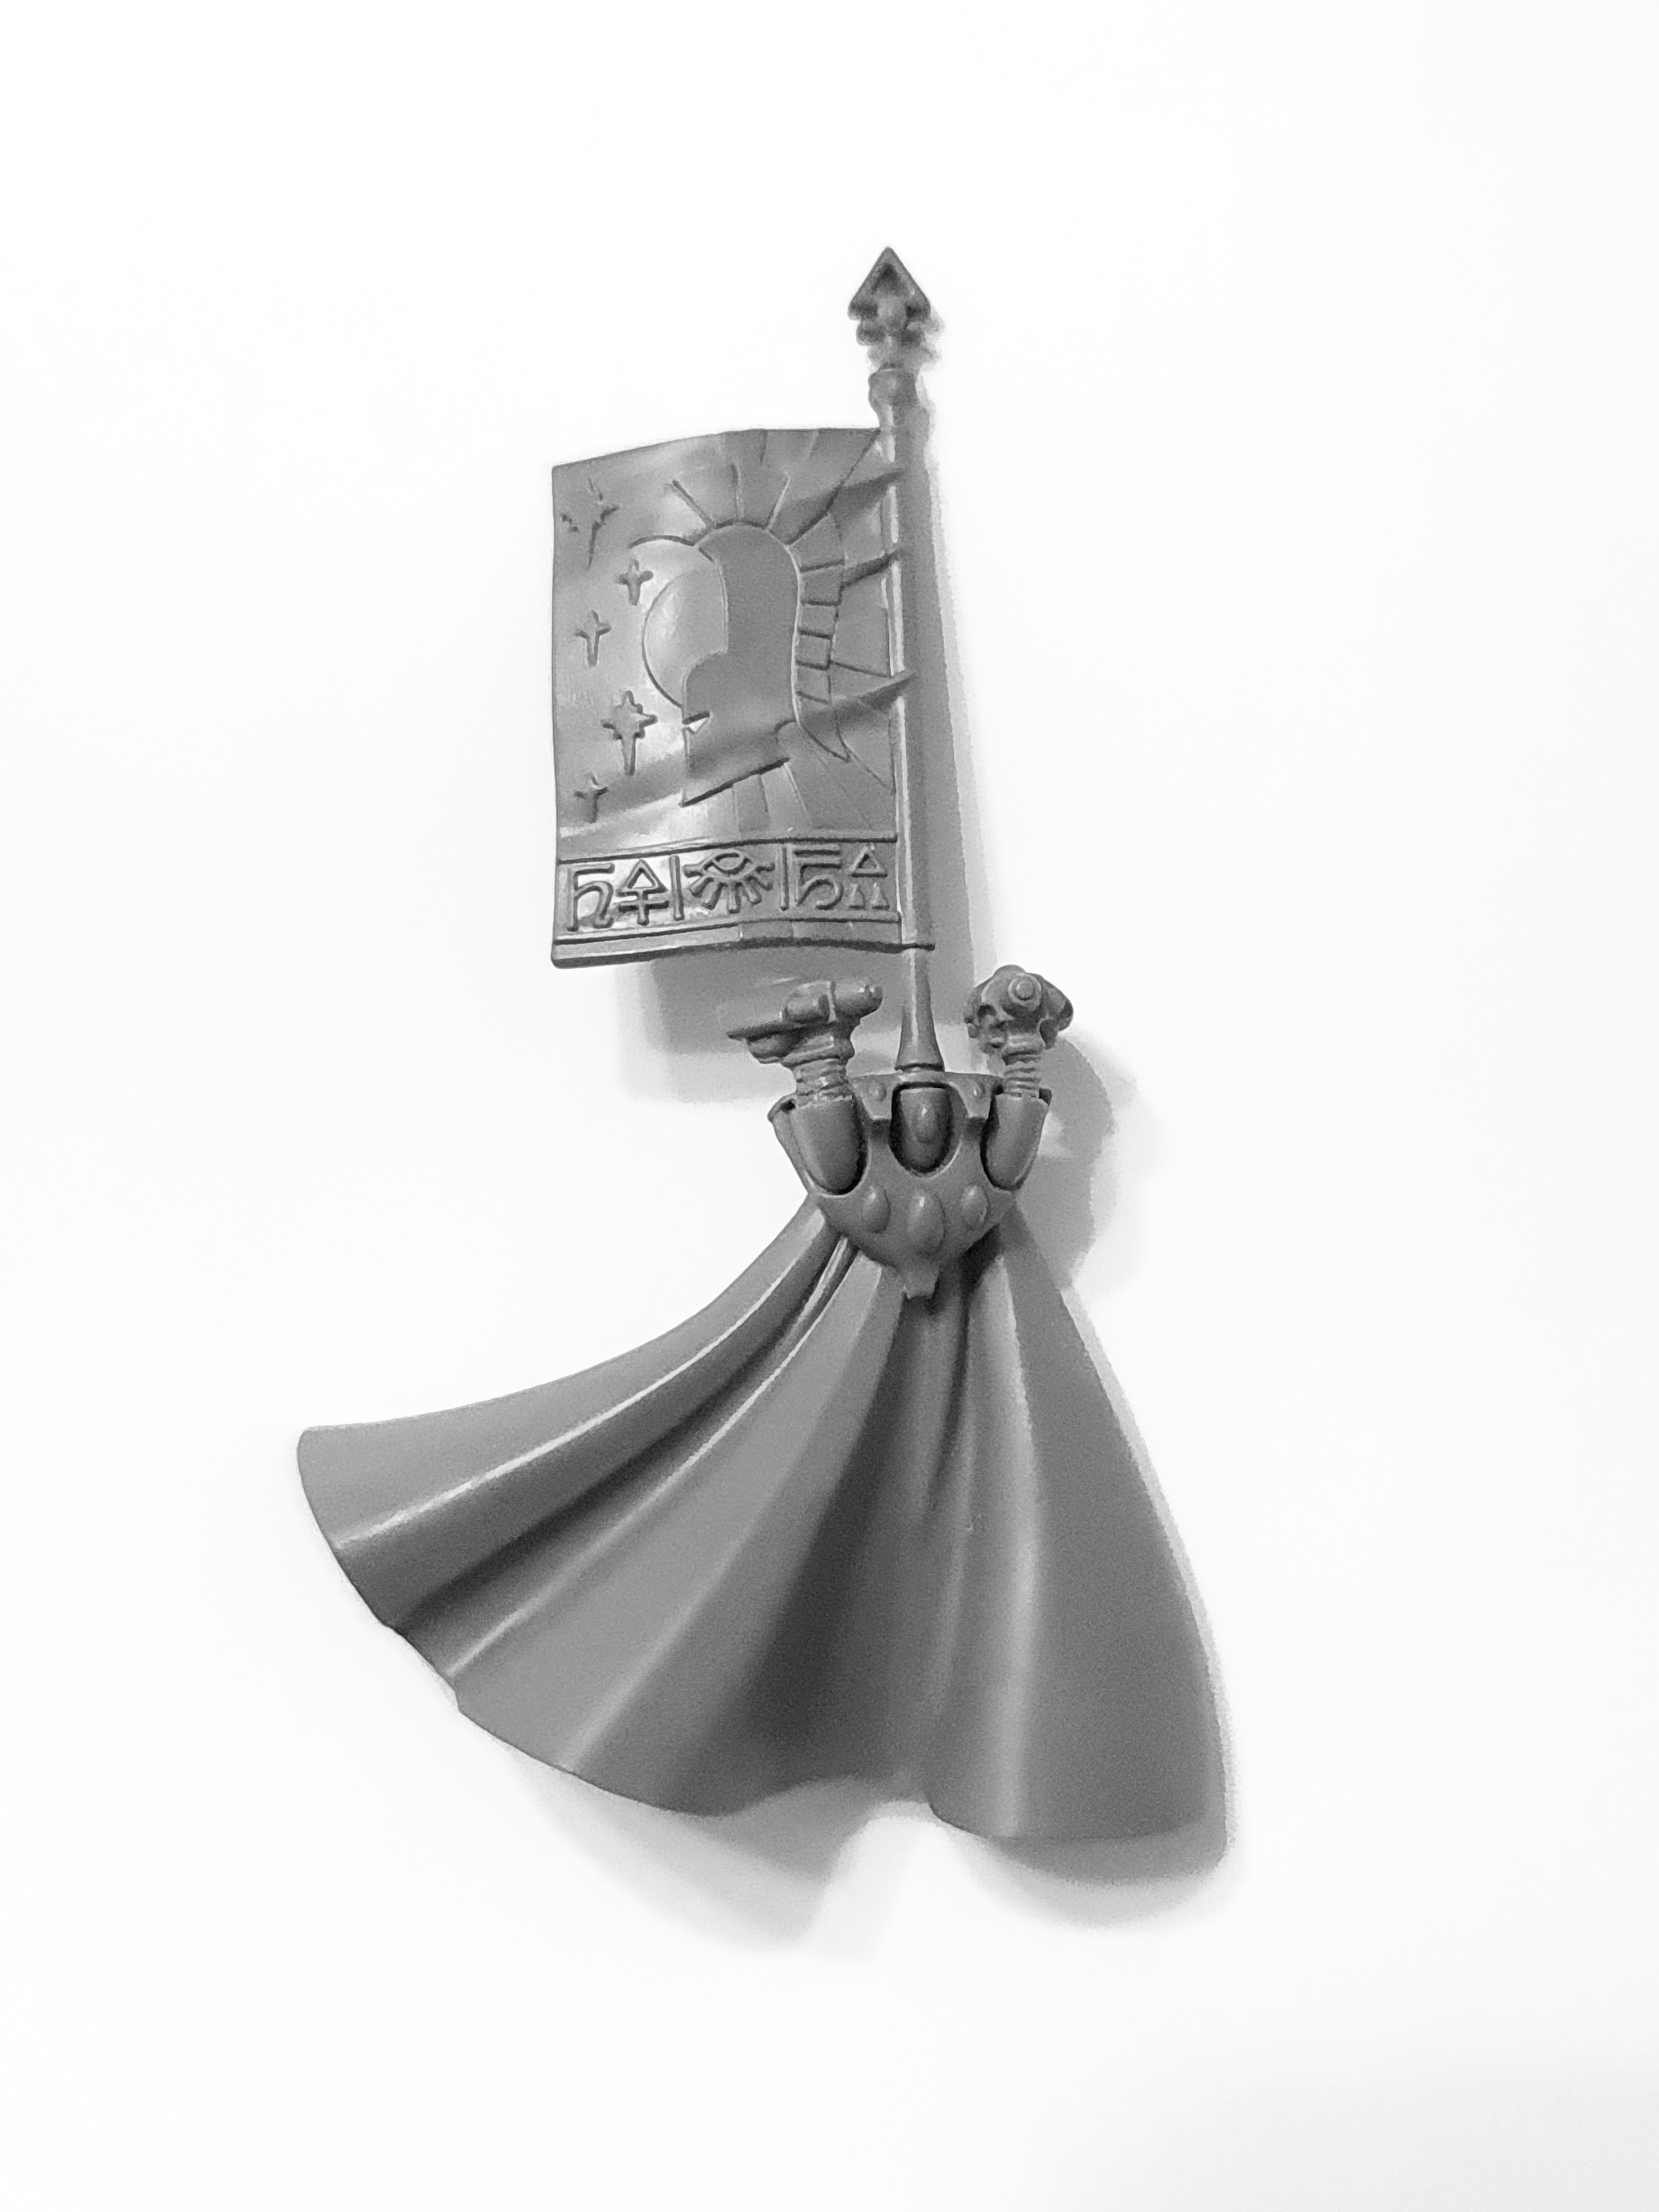
13. Rear view of the modified component.
14. This monochrome image gives a better impression of how the final model will look when undercoated, as the Gren Stuff is less obvious..
15. Rear view of the conversion.
16. Alternate angle of the conversion.
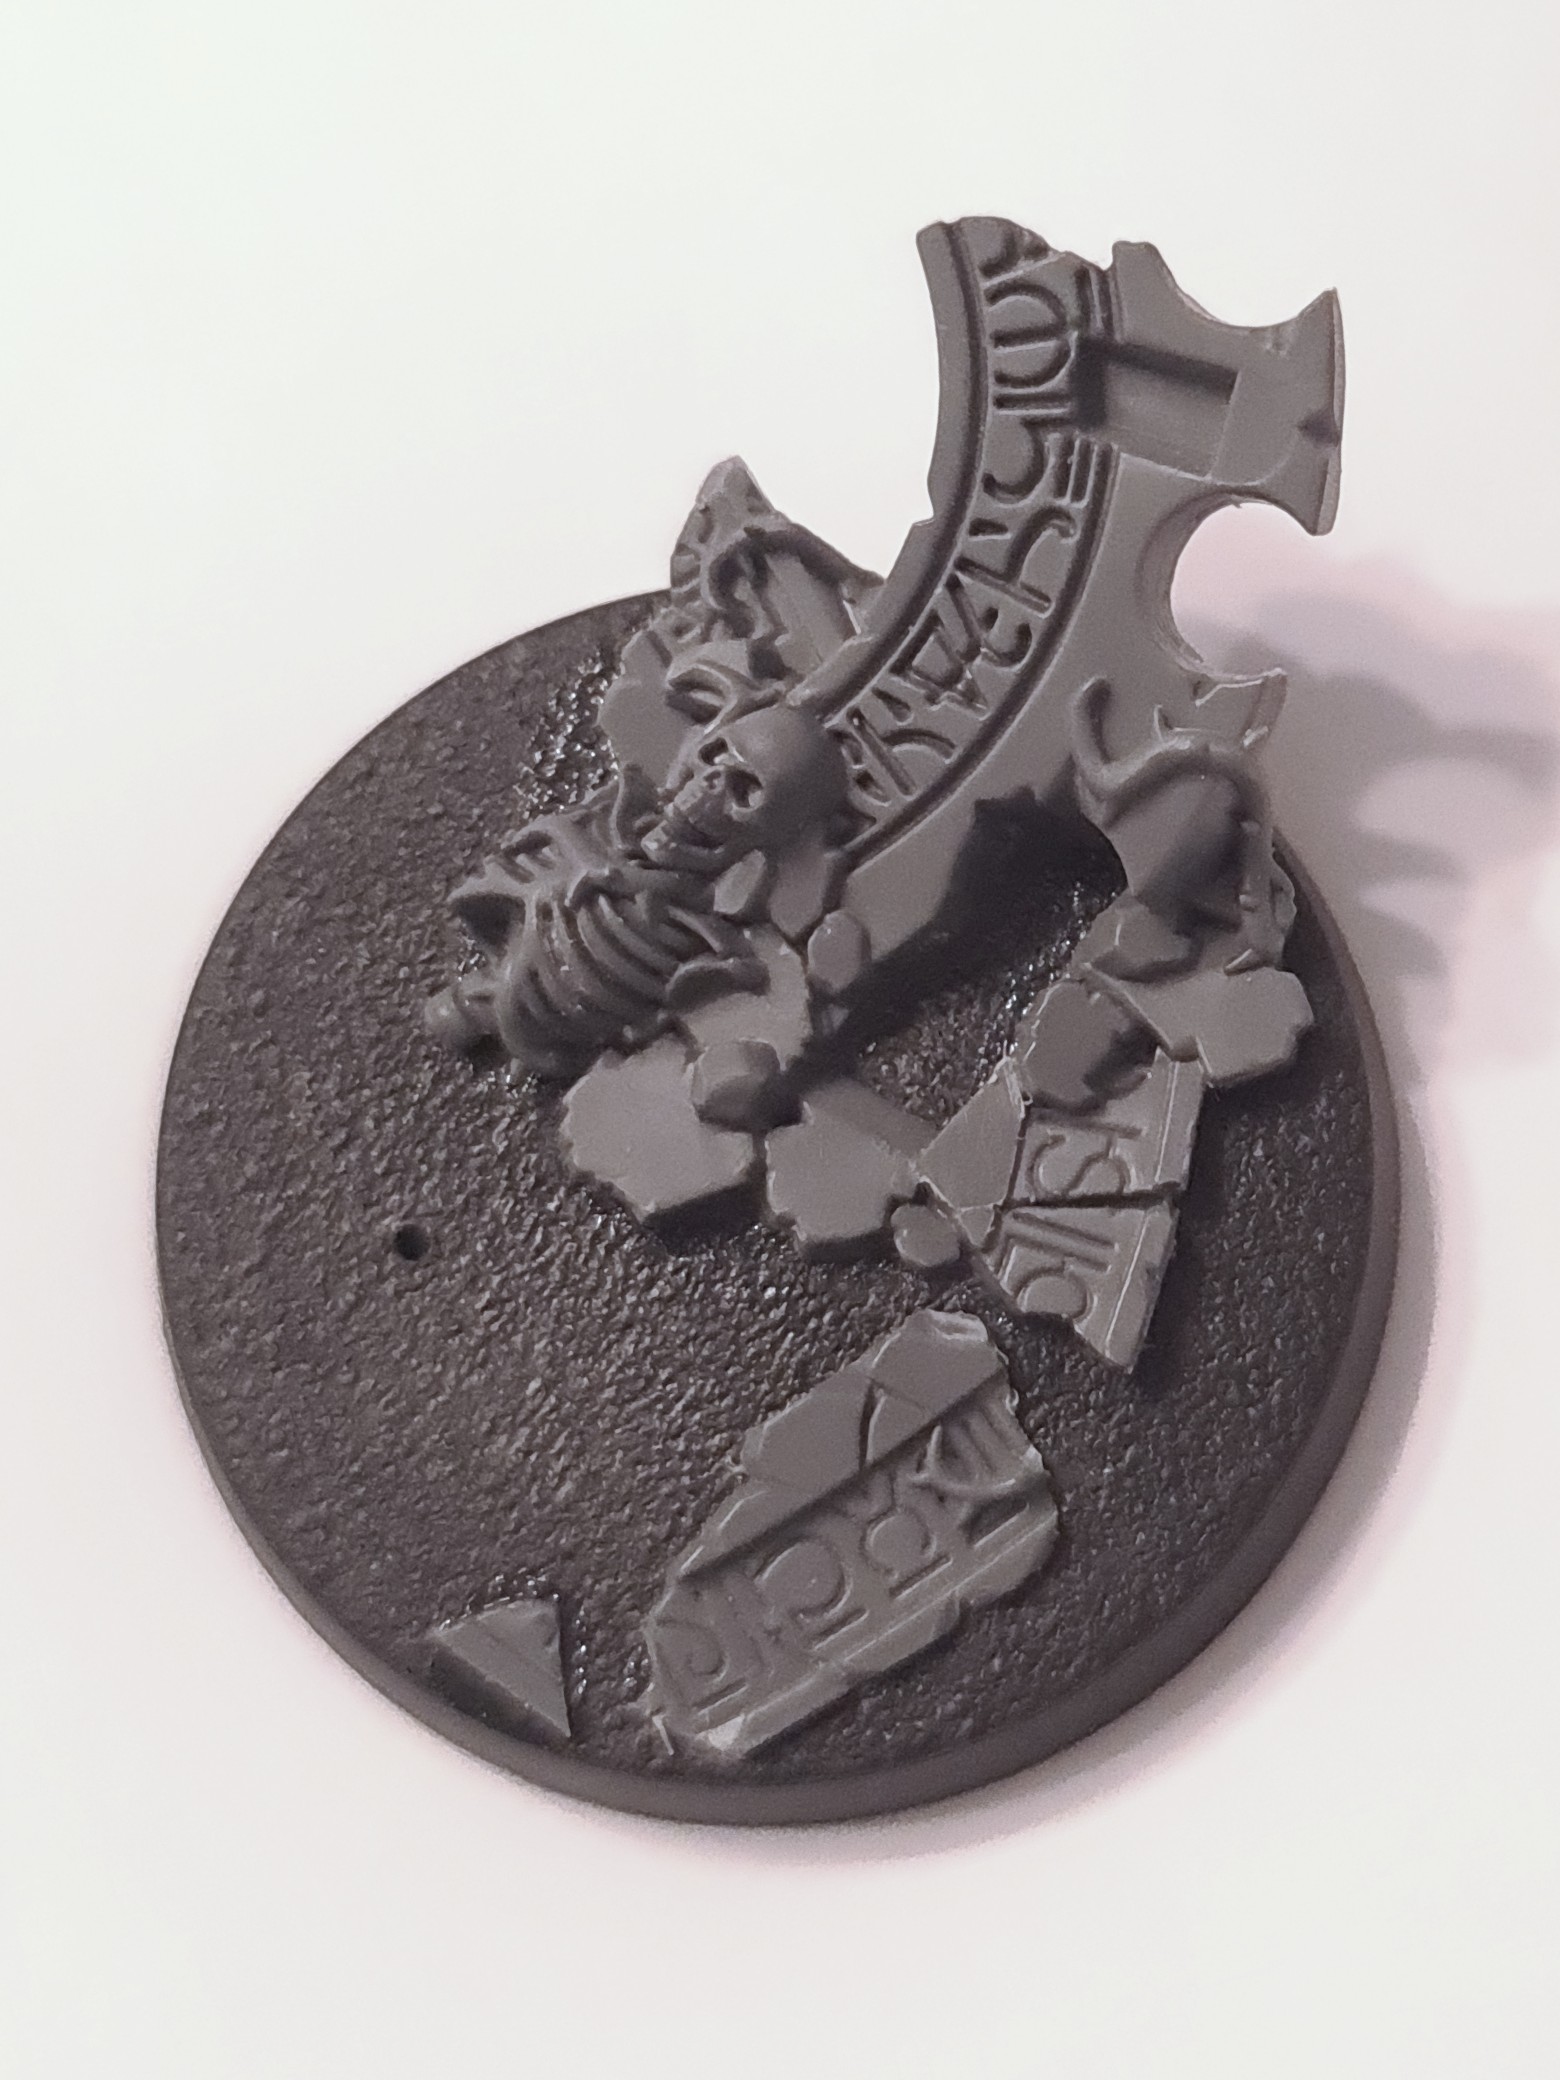
17. The scenic base elements are actually from the Maugan Ra model.
18. At this point all of the Green Stuff work had been completed.
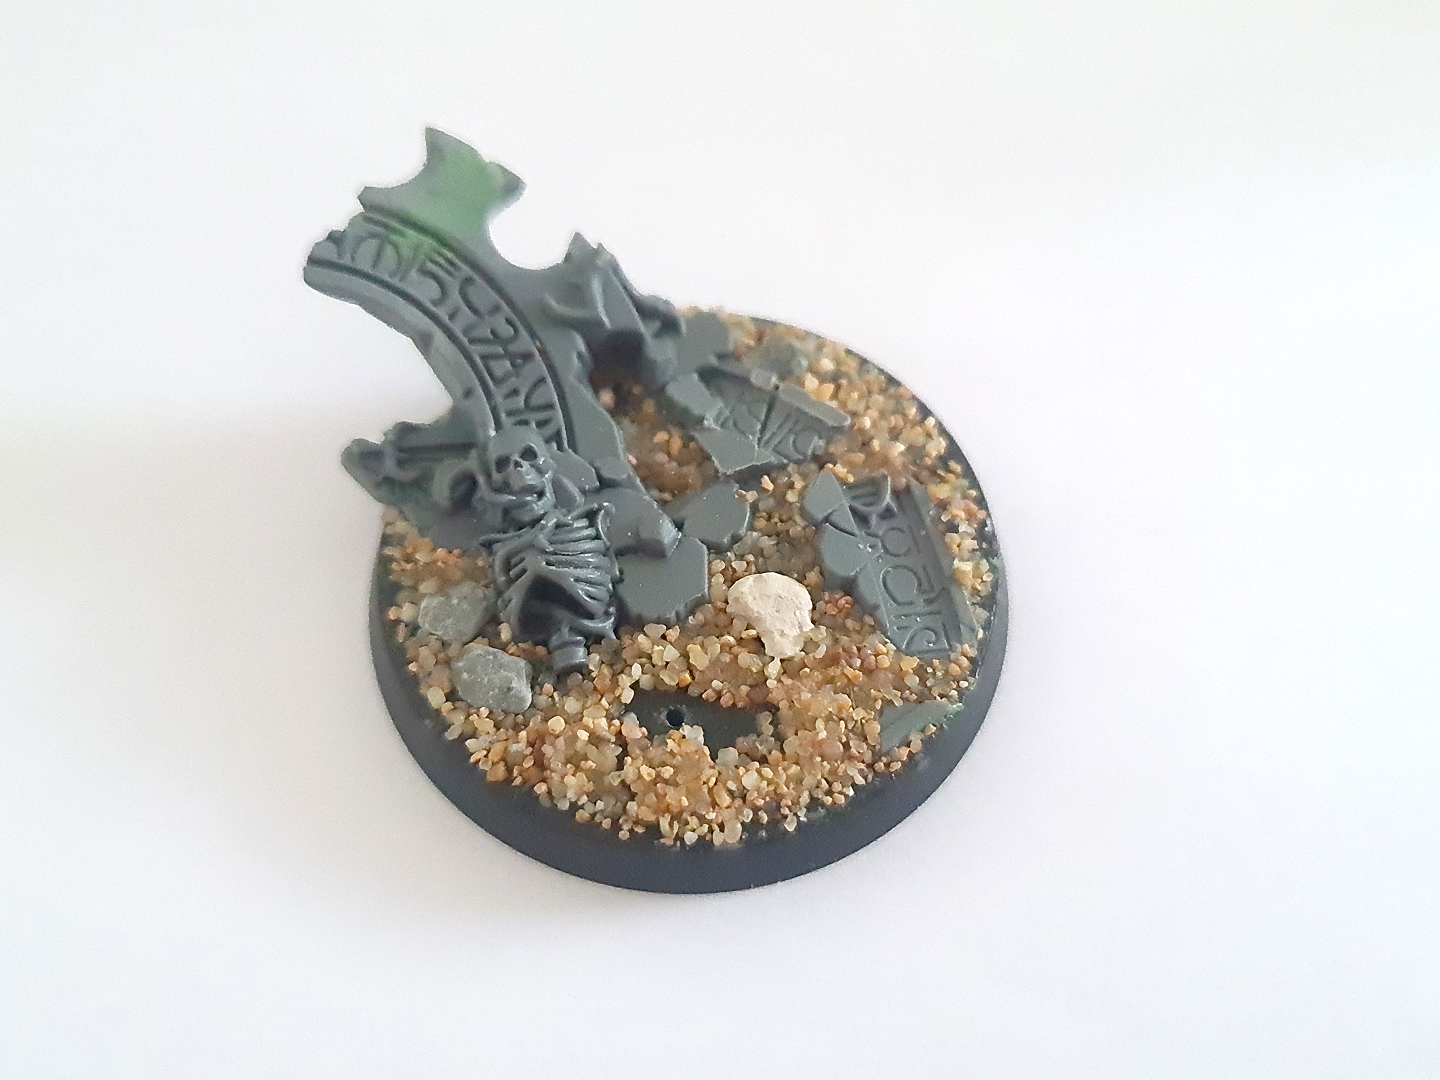
19. Completed scenic base.
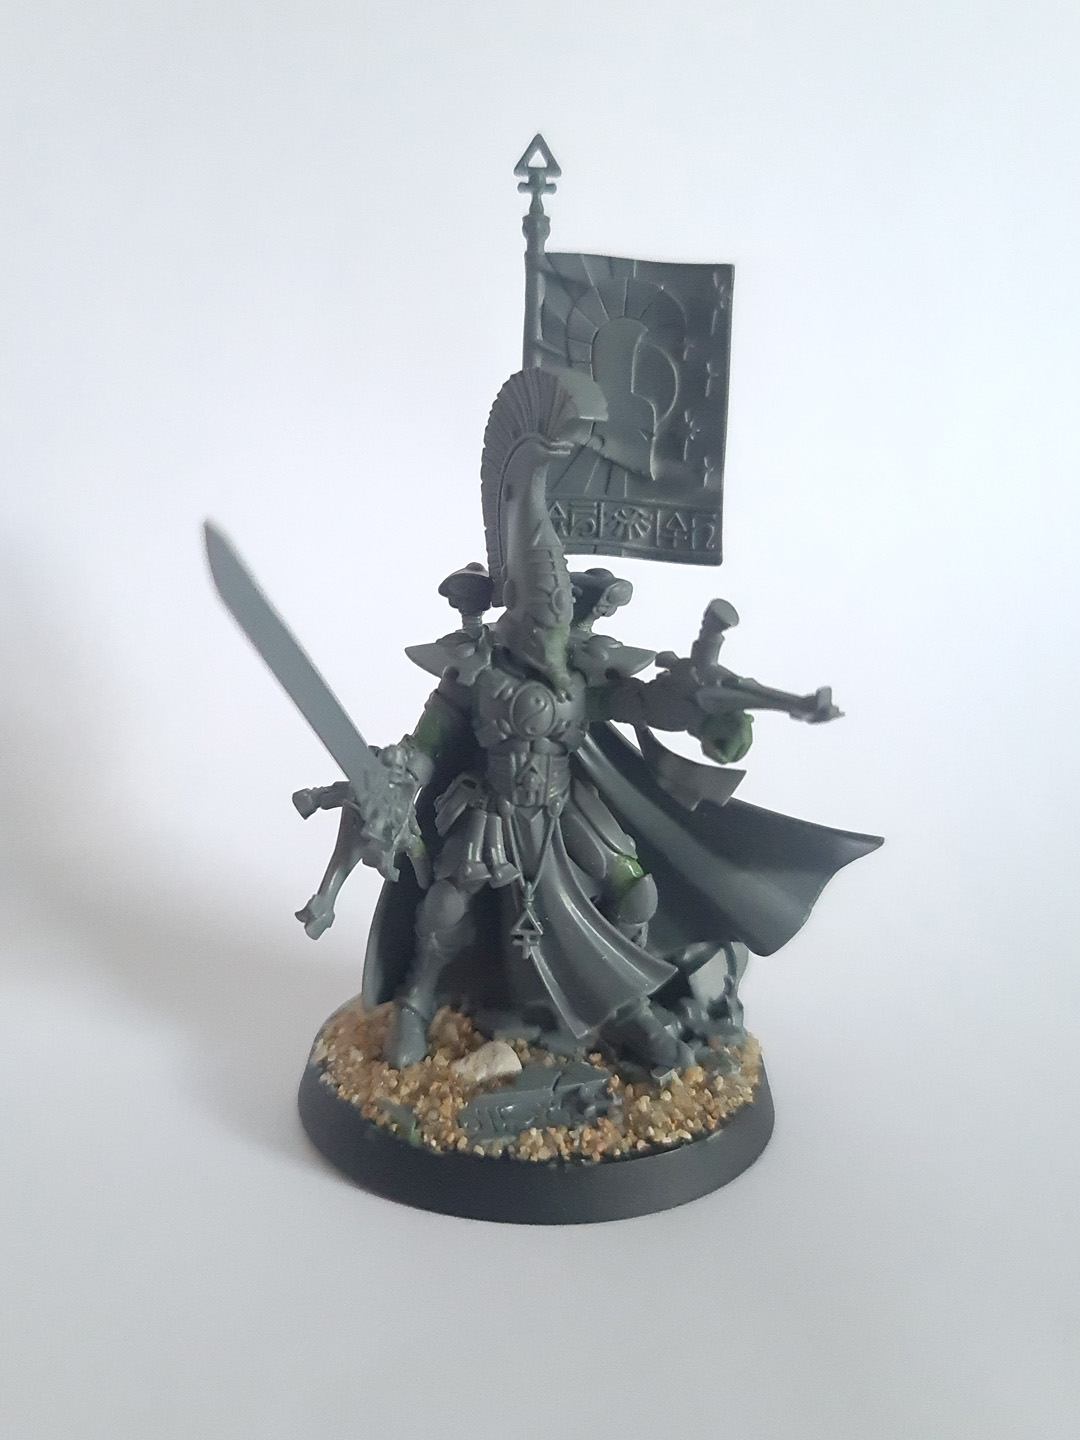
20. The fully-assembled conversion. The pose is less dramatic than in the original model, but the subtlety makes it more realistic in my view.
21. Alternate view of the conversion.
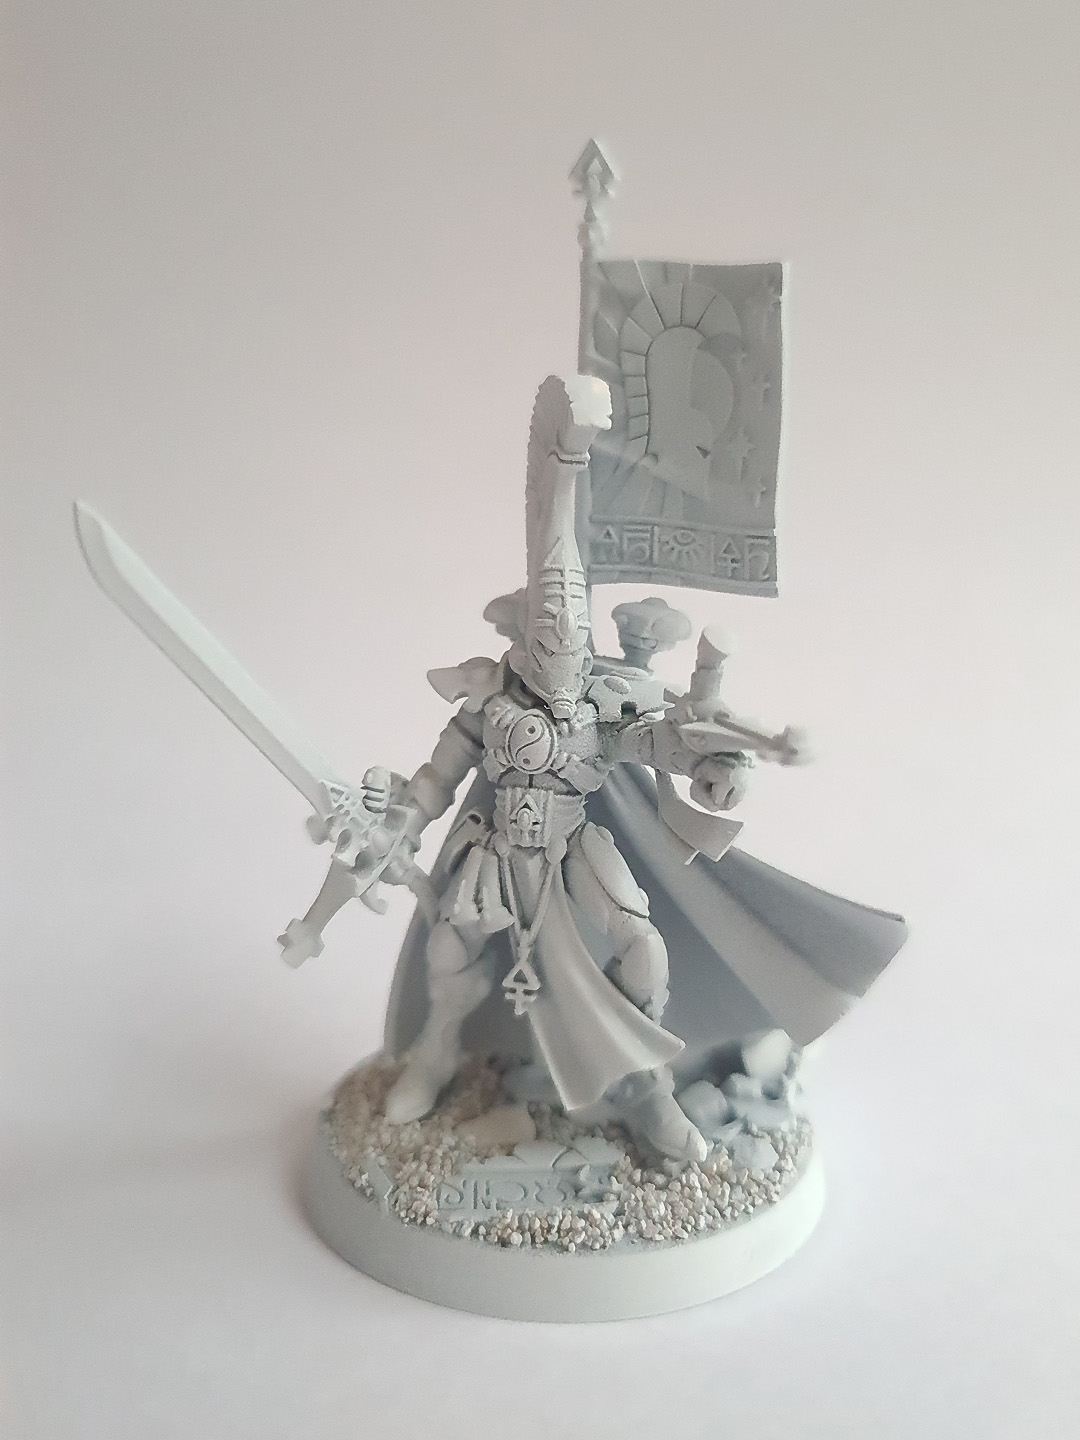
22. The undercoated conversion, ready for painting. It breaks down into four separate sub-assemblies (head, body, base, cloak/banner) to make painting easier.
23. A work-in-progress photo of the Asurmen conversion, partway through painting.
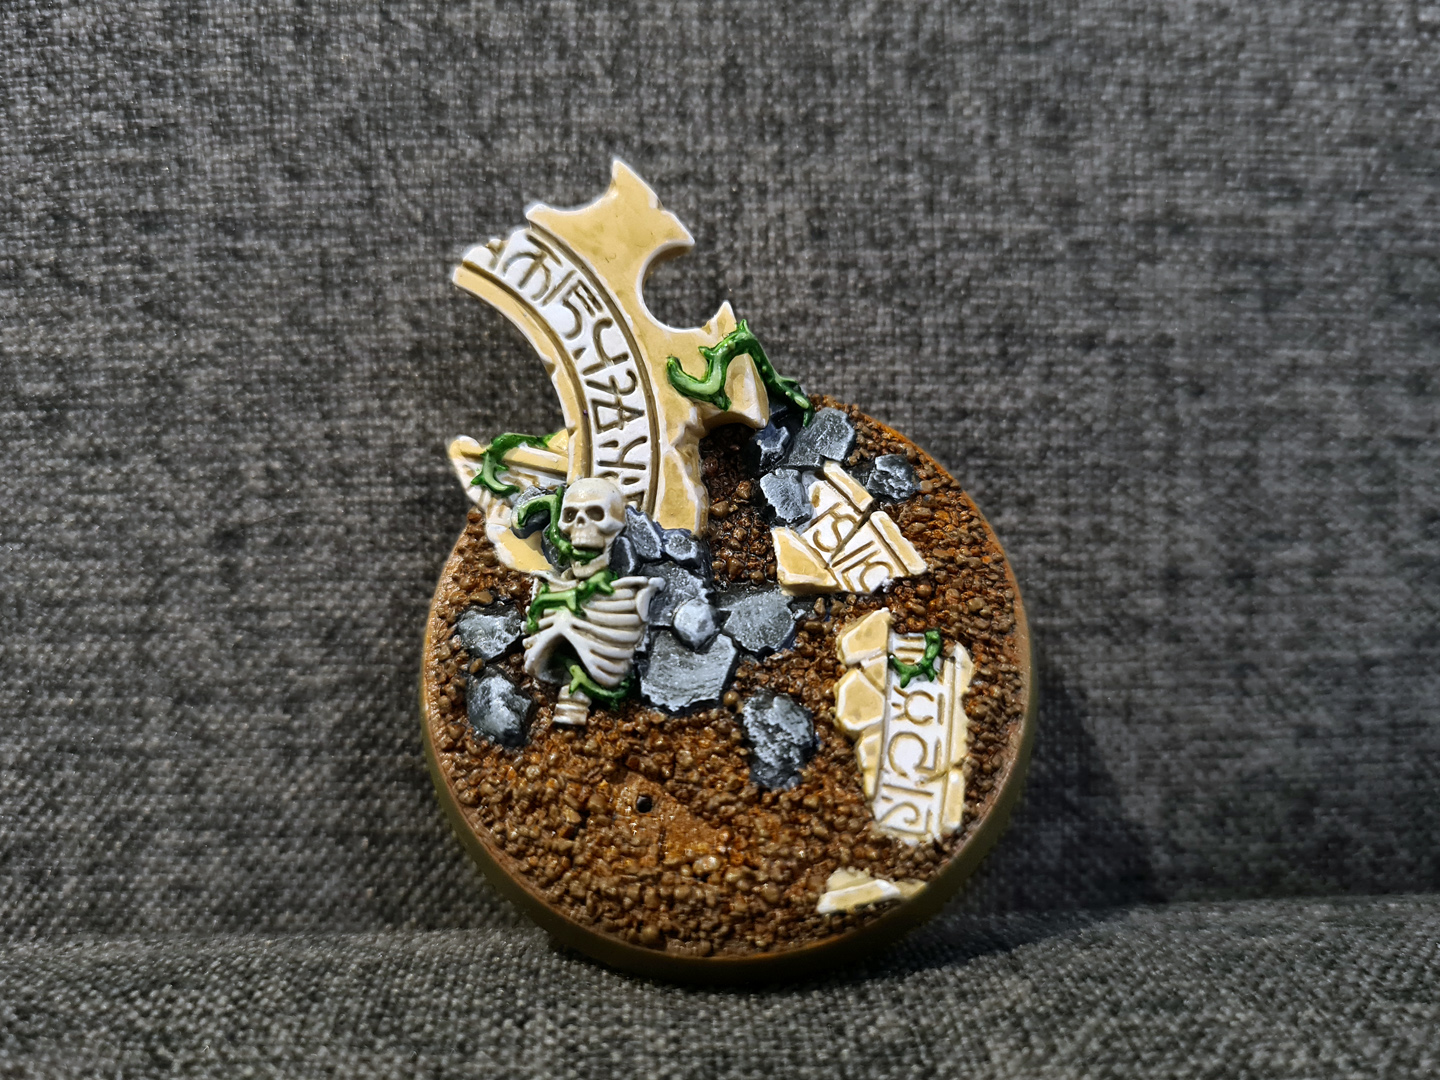
24. A close-up of the scenic base, now fully painted.
25. The blending work on the cloak is some of my best to date.
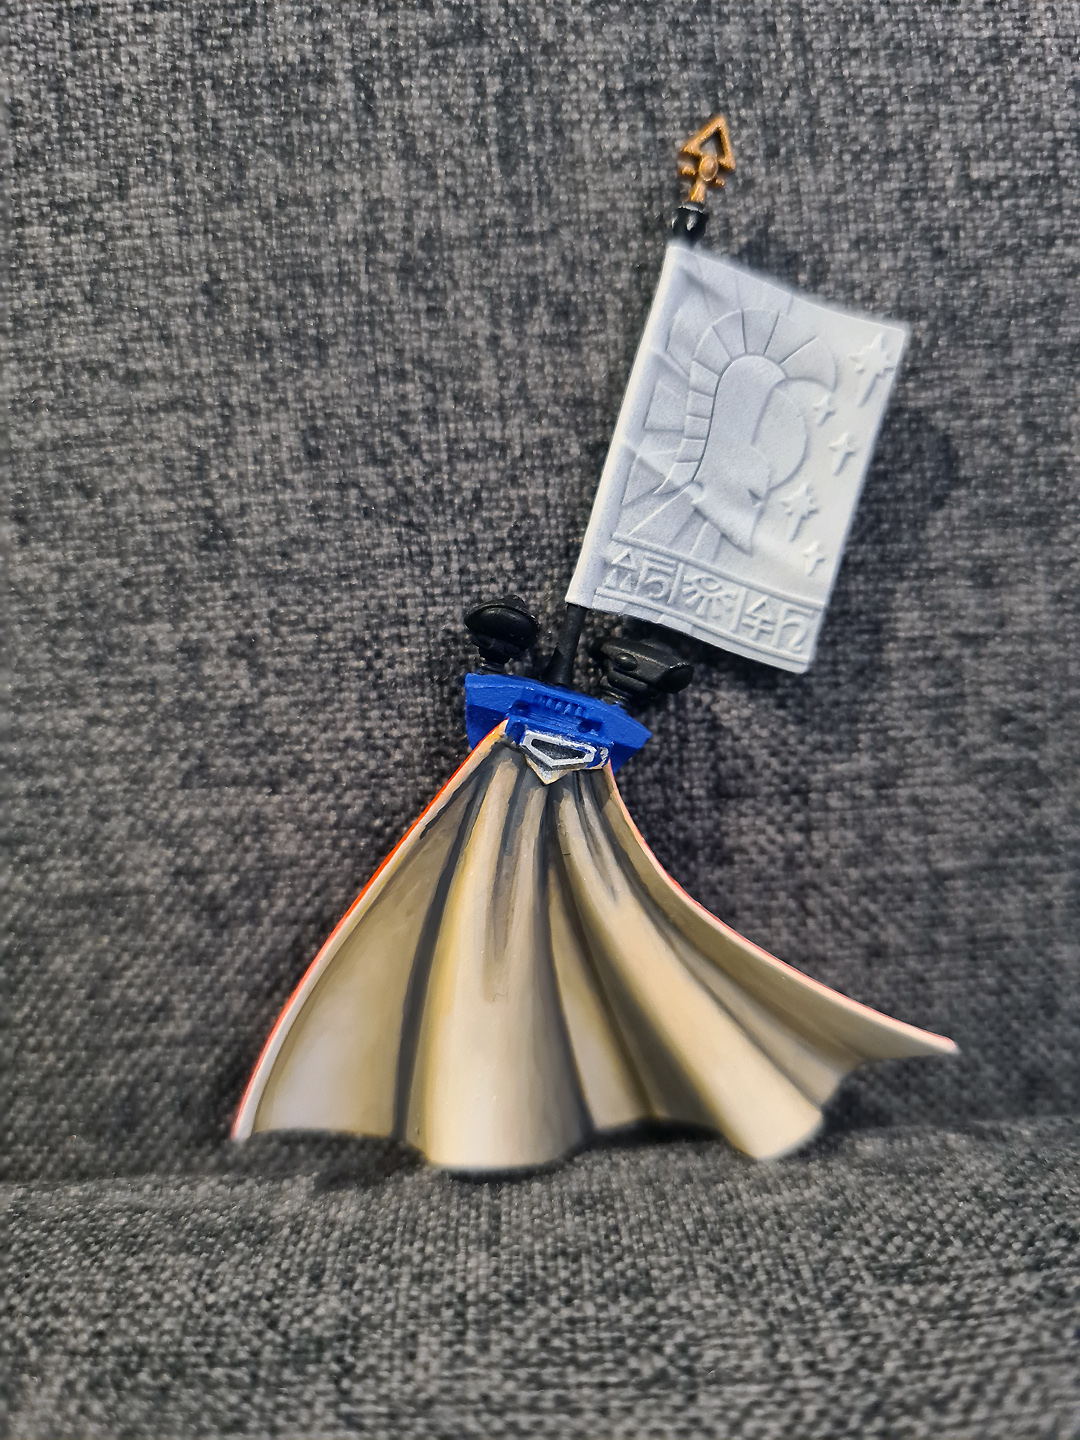
26. The inside of the cloak. Keeping this component separate definitely helped with the painting, as this would have been impossible to achieve otherwise.
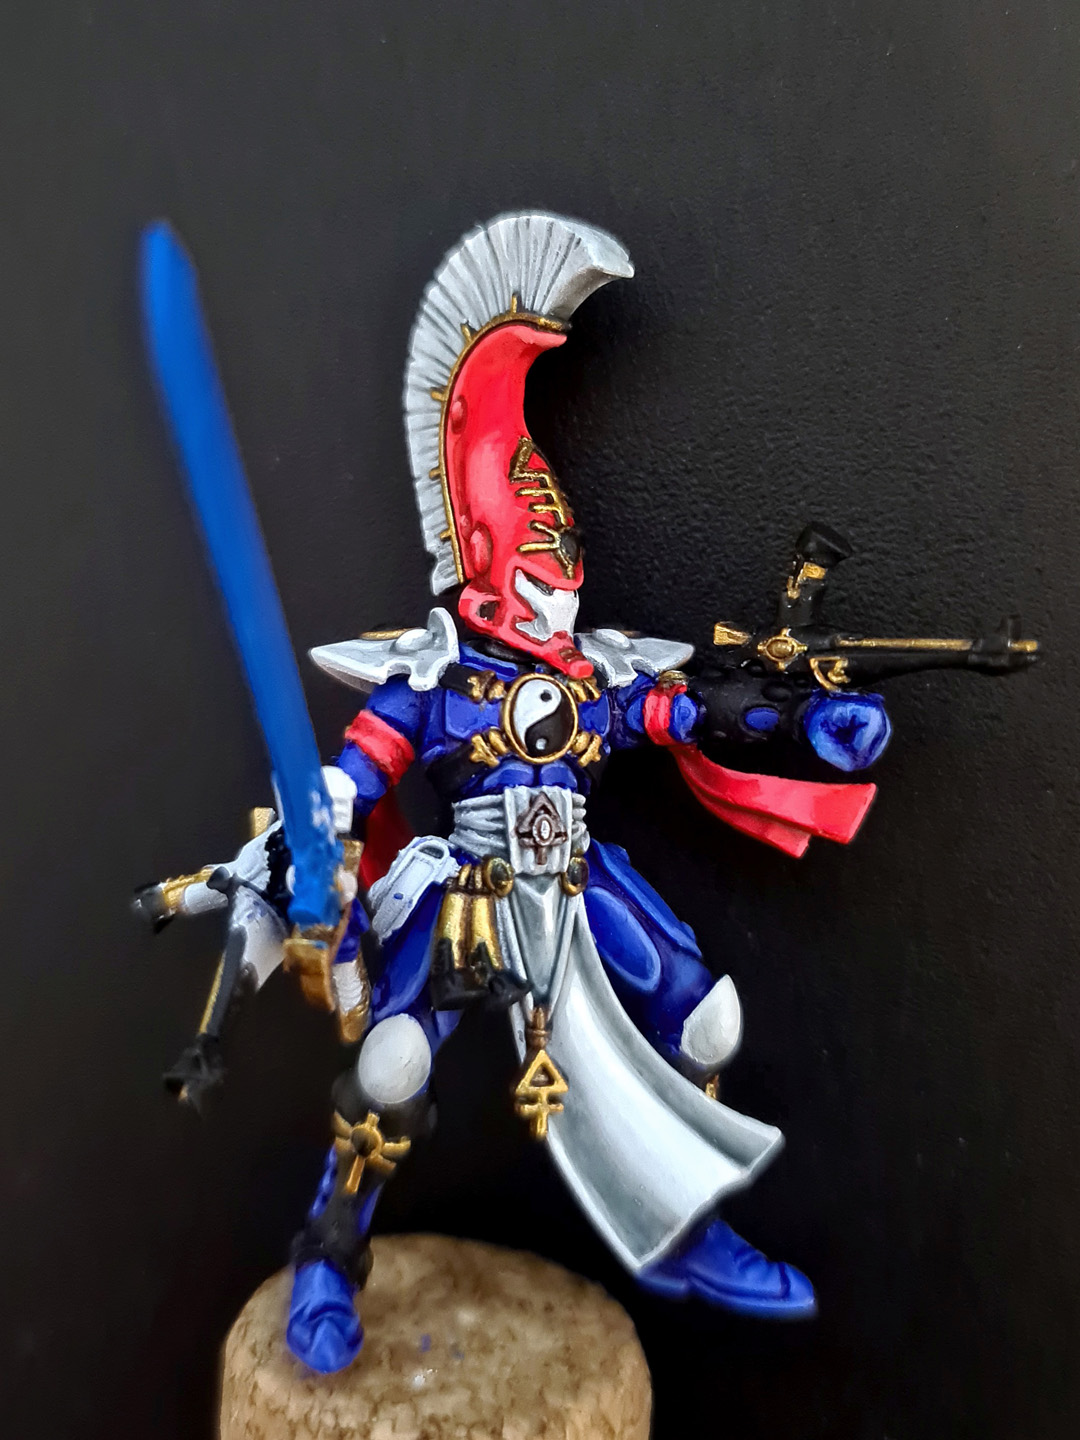
27. Asurmen is nearly finished at this point.
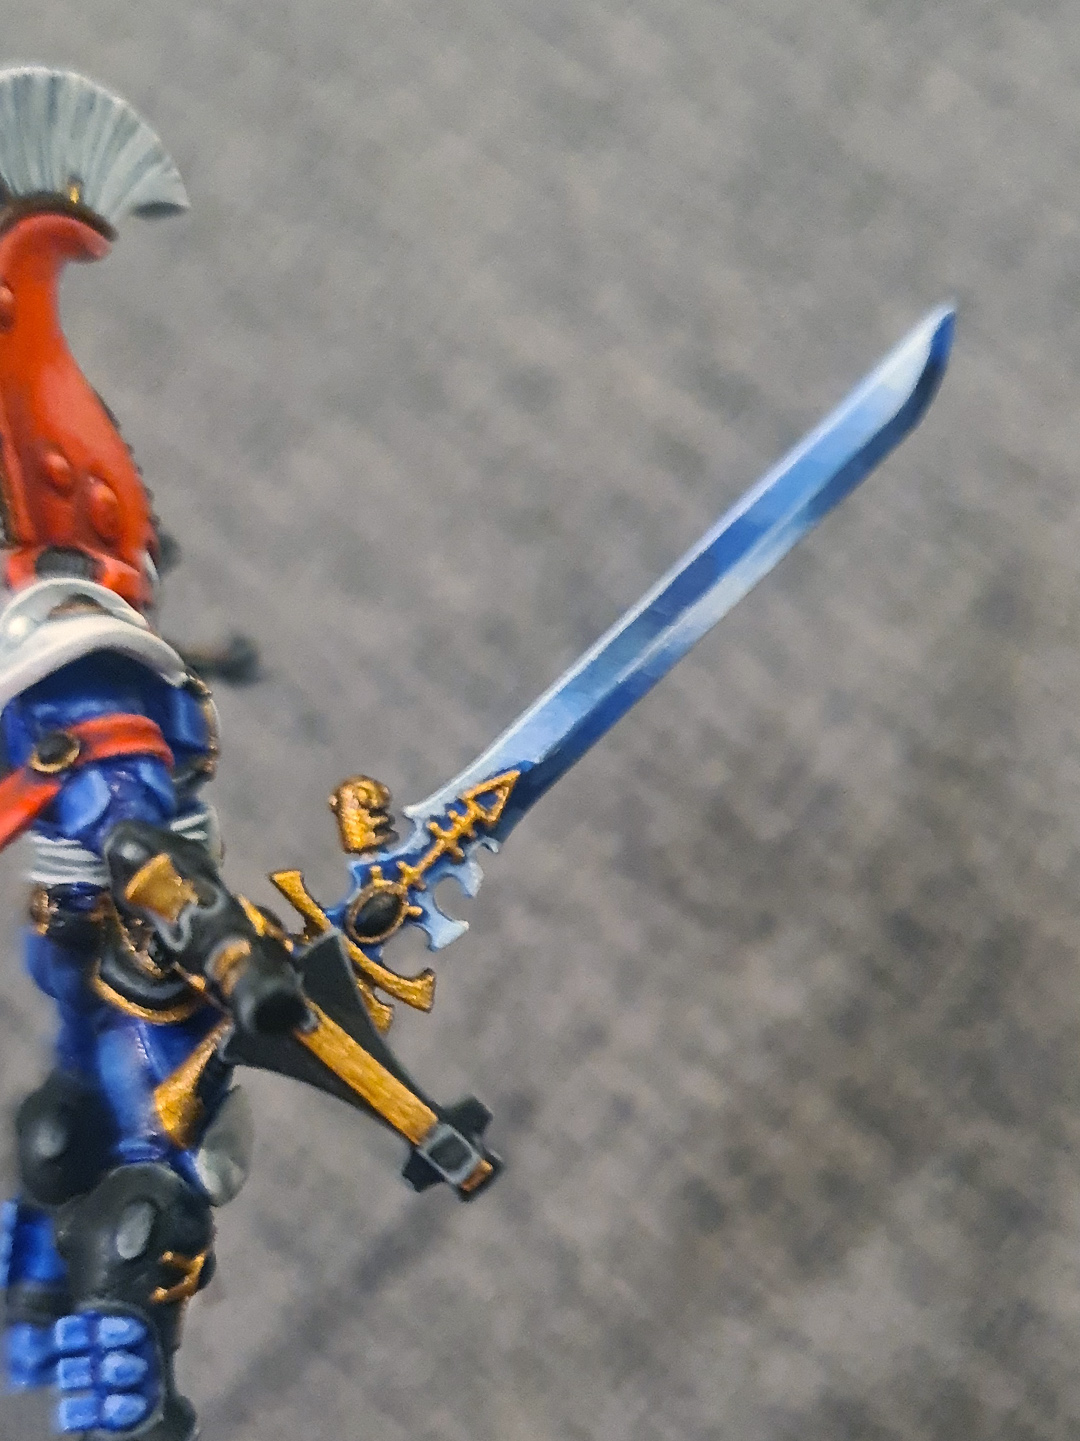
28. A close-up of the Sword of Asur.

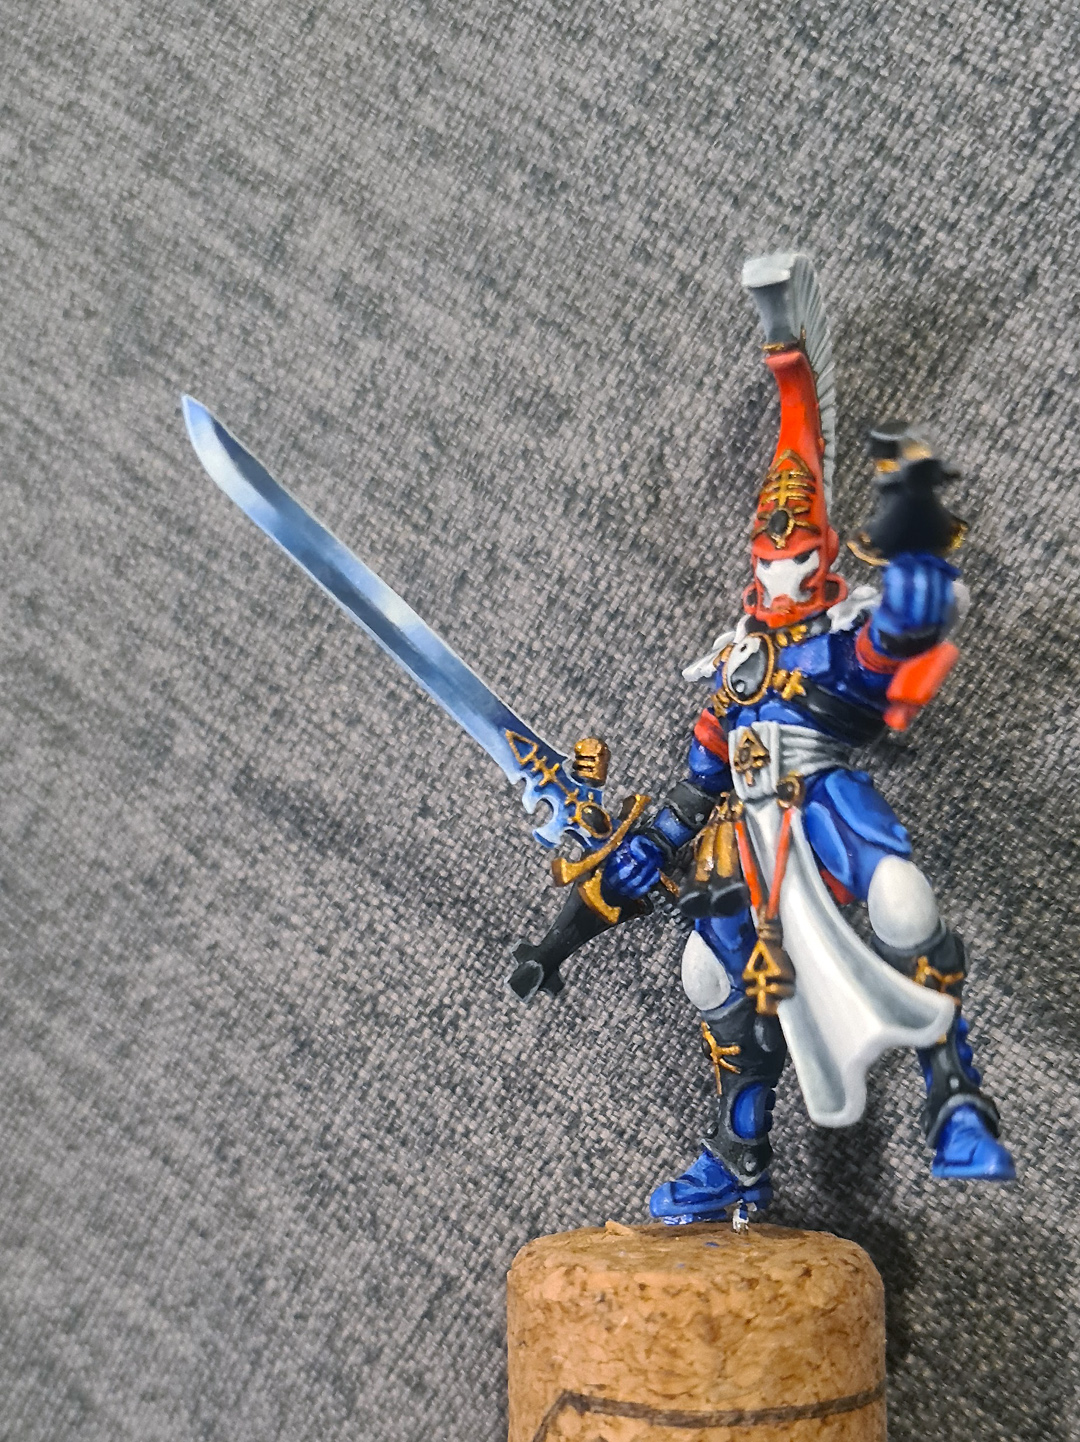
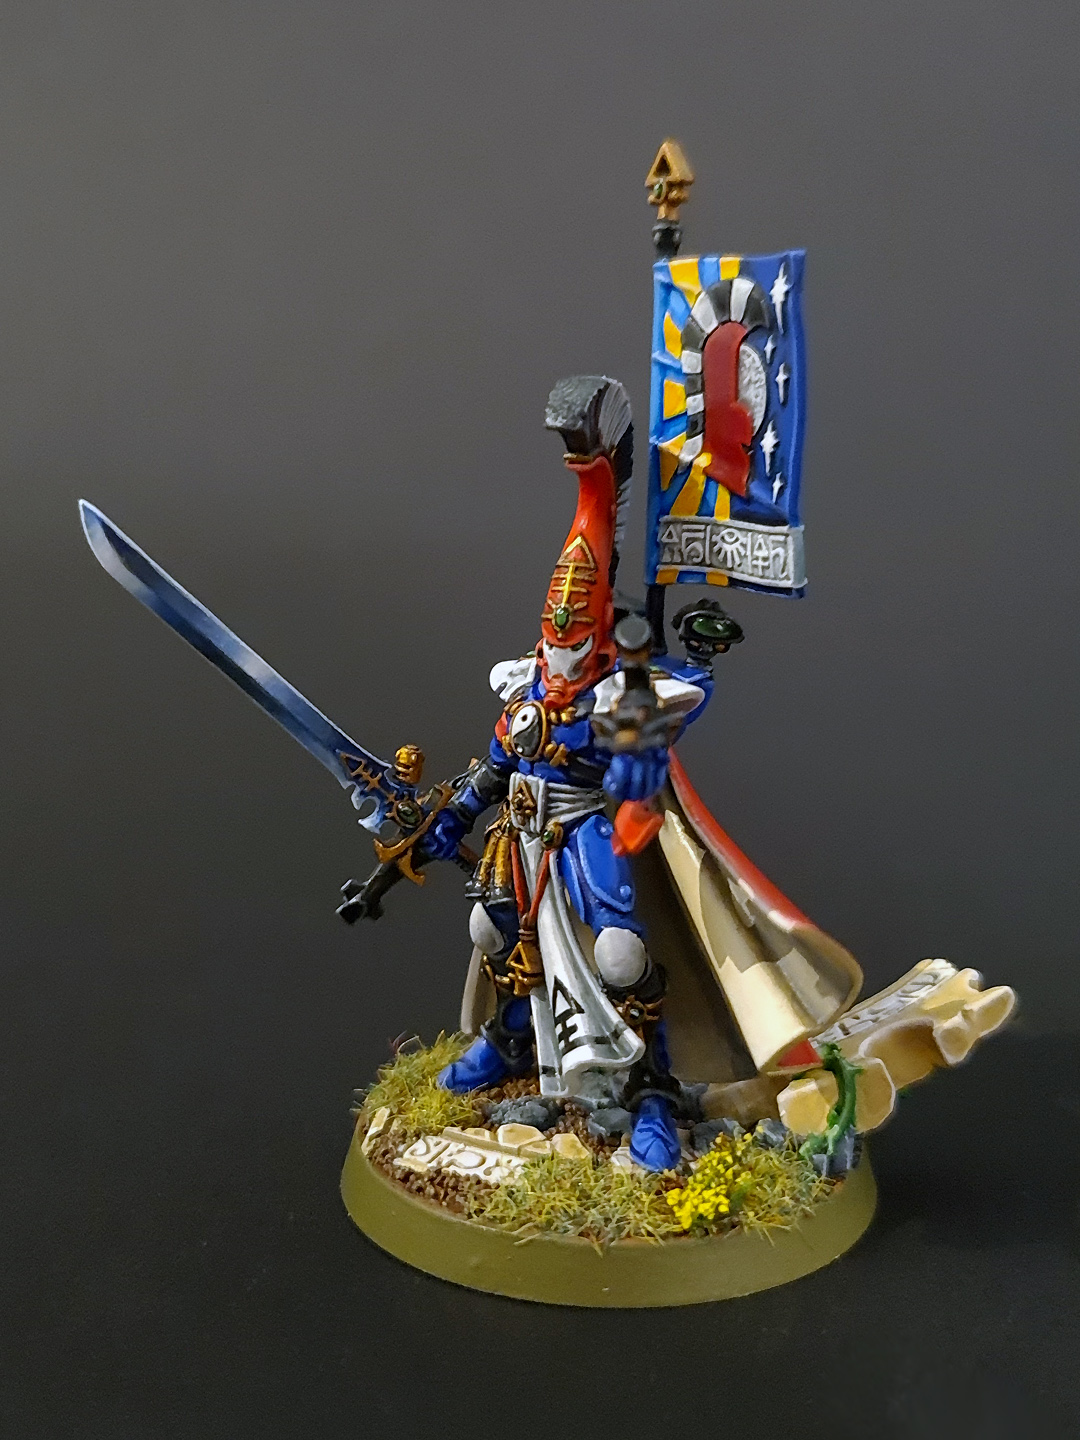
29. Asurmen himself is now completely painted.
30. Most of the detail on the back of the model will be obscured by the cloak, but I still wanted to paint it to the best of my ability.

31. The completed, painted model.
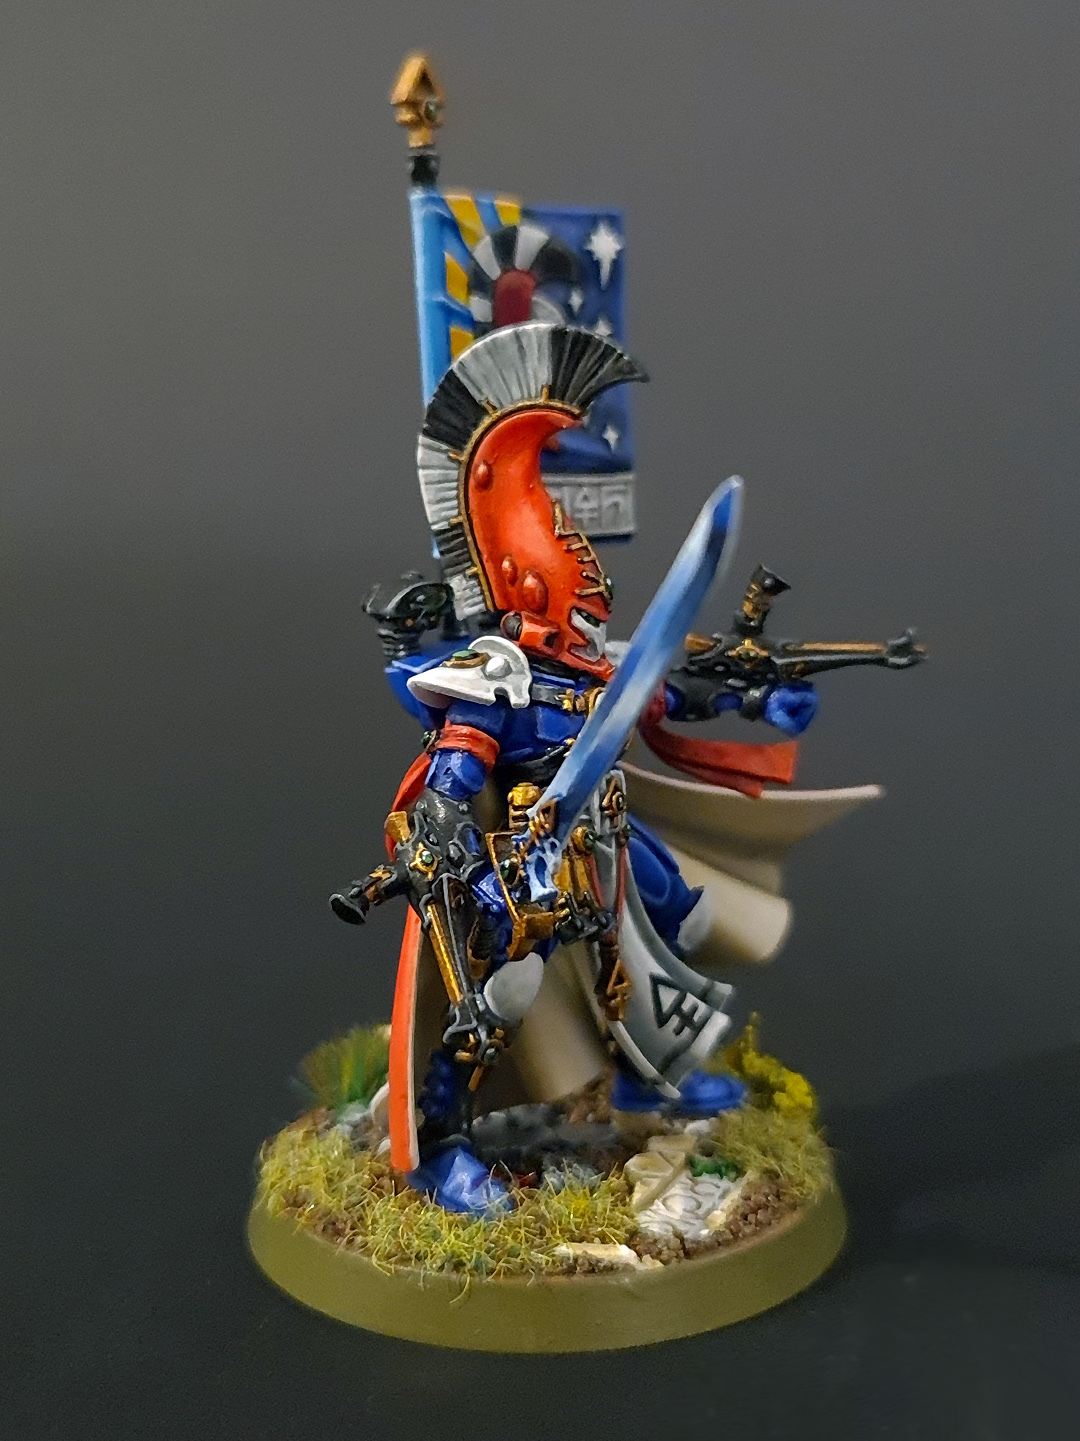
32. A view of the model from Asurmen's right side.
33. A different angle of Asurmen.
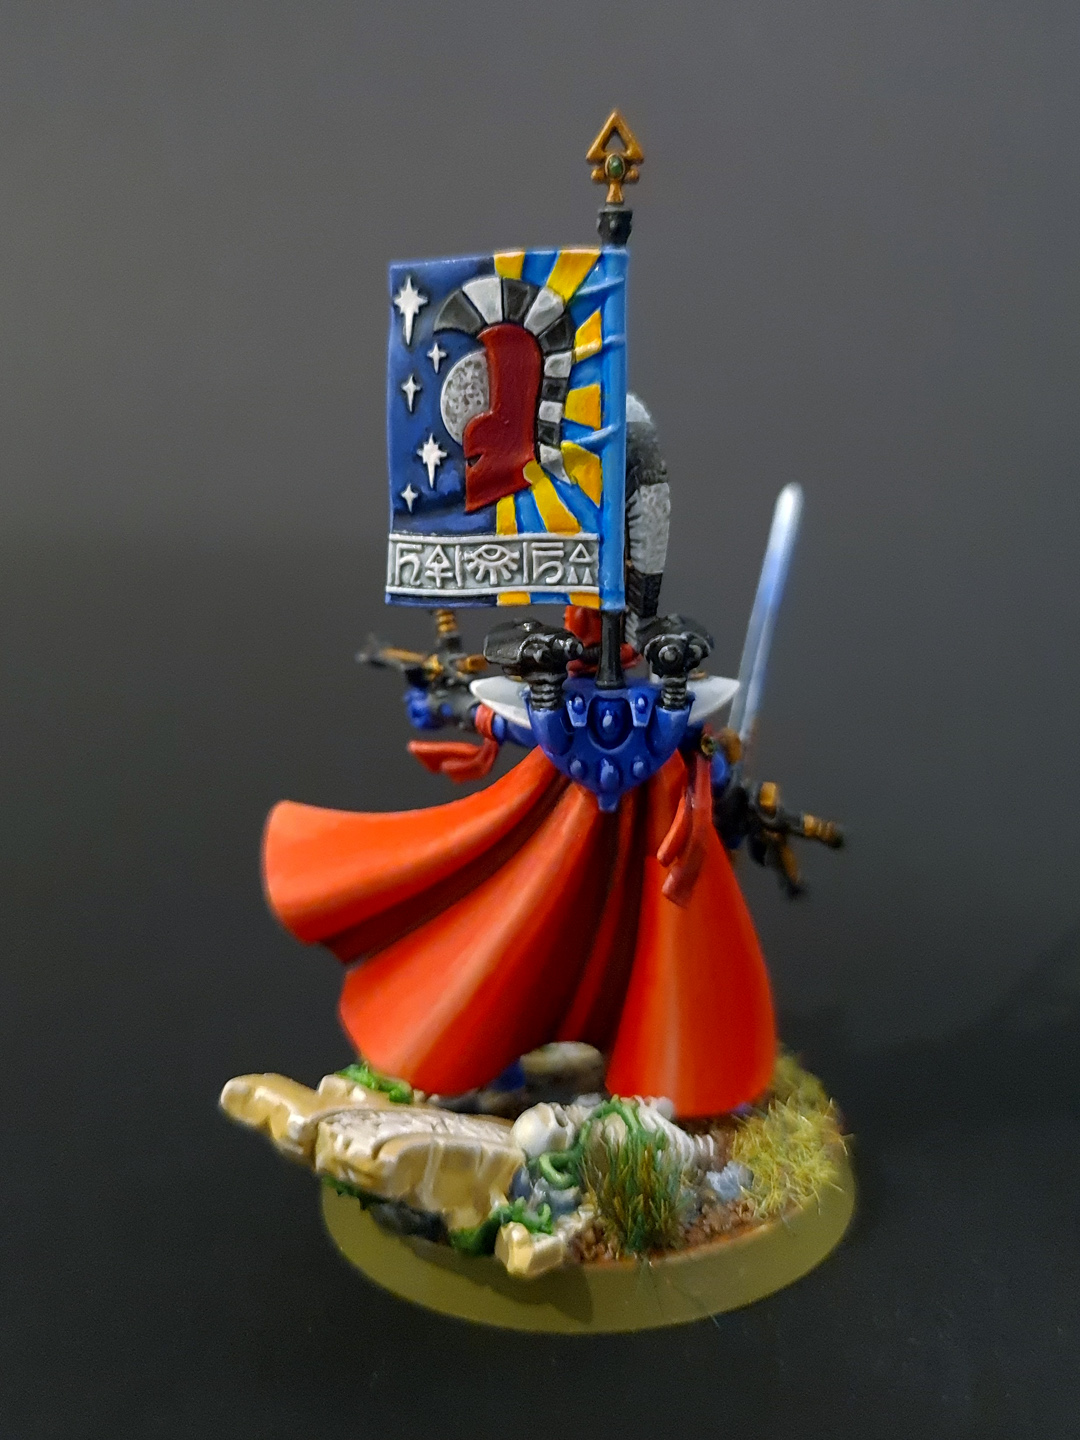
34. Rear view of Asurmen.

35. Side view, focusing on the detail on the left arm.
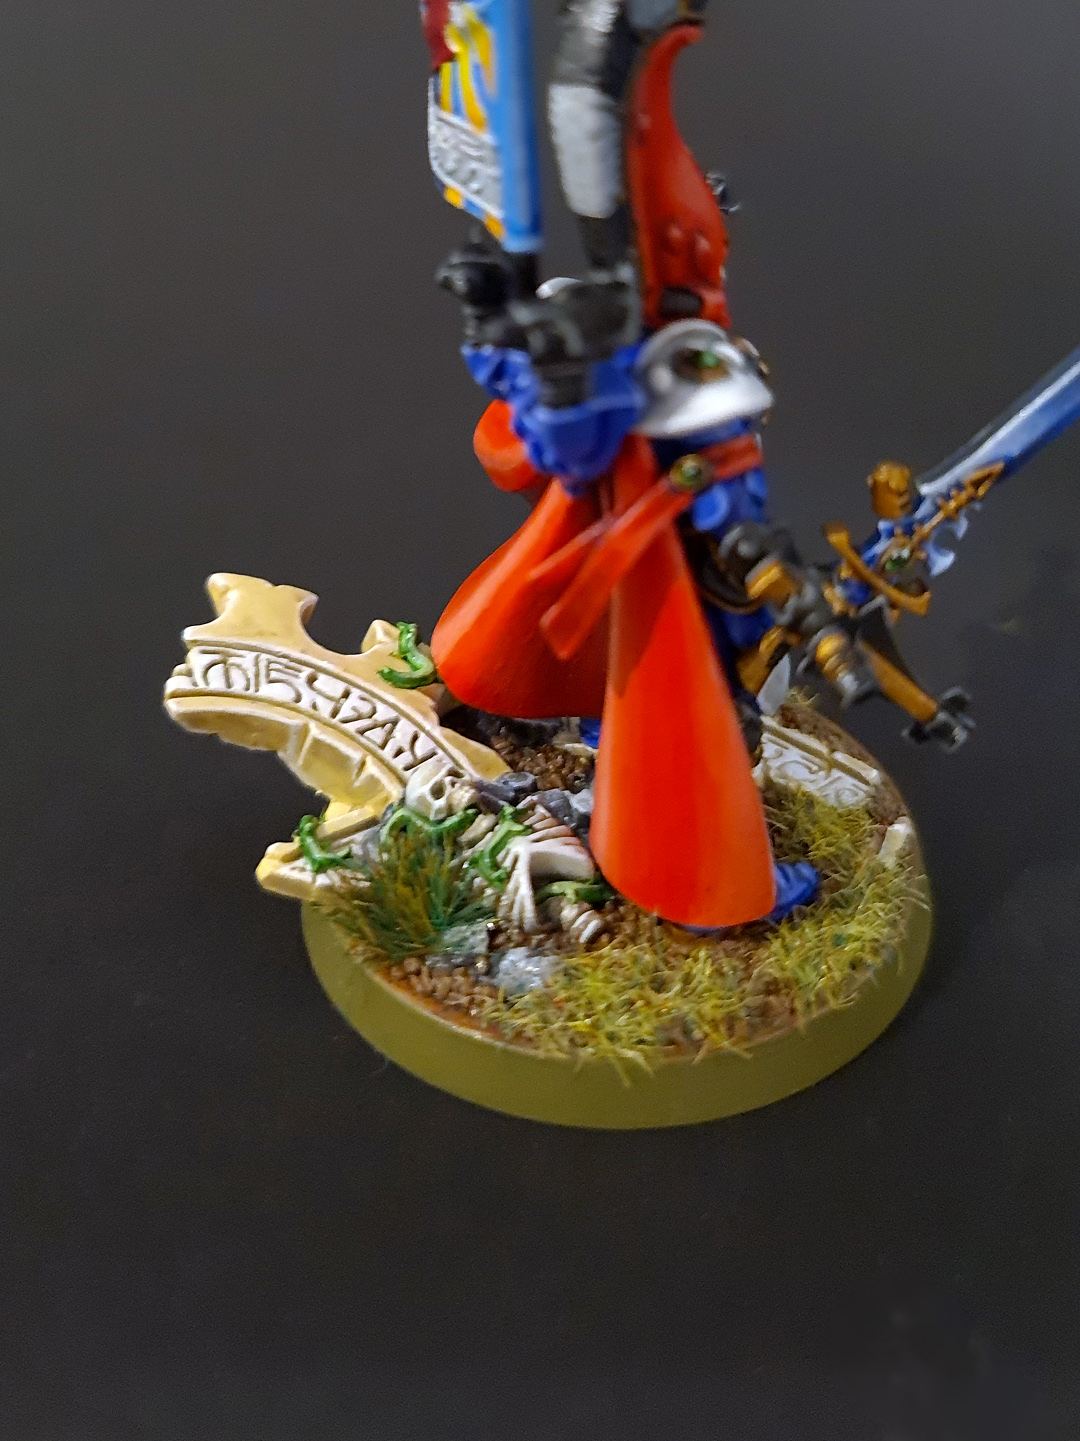
36. A close-up of the scenic base.
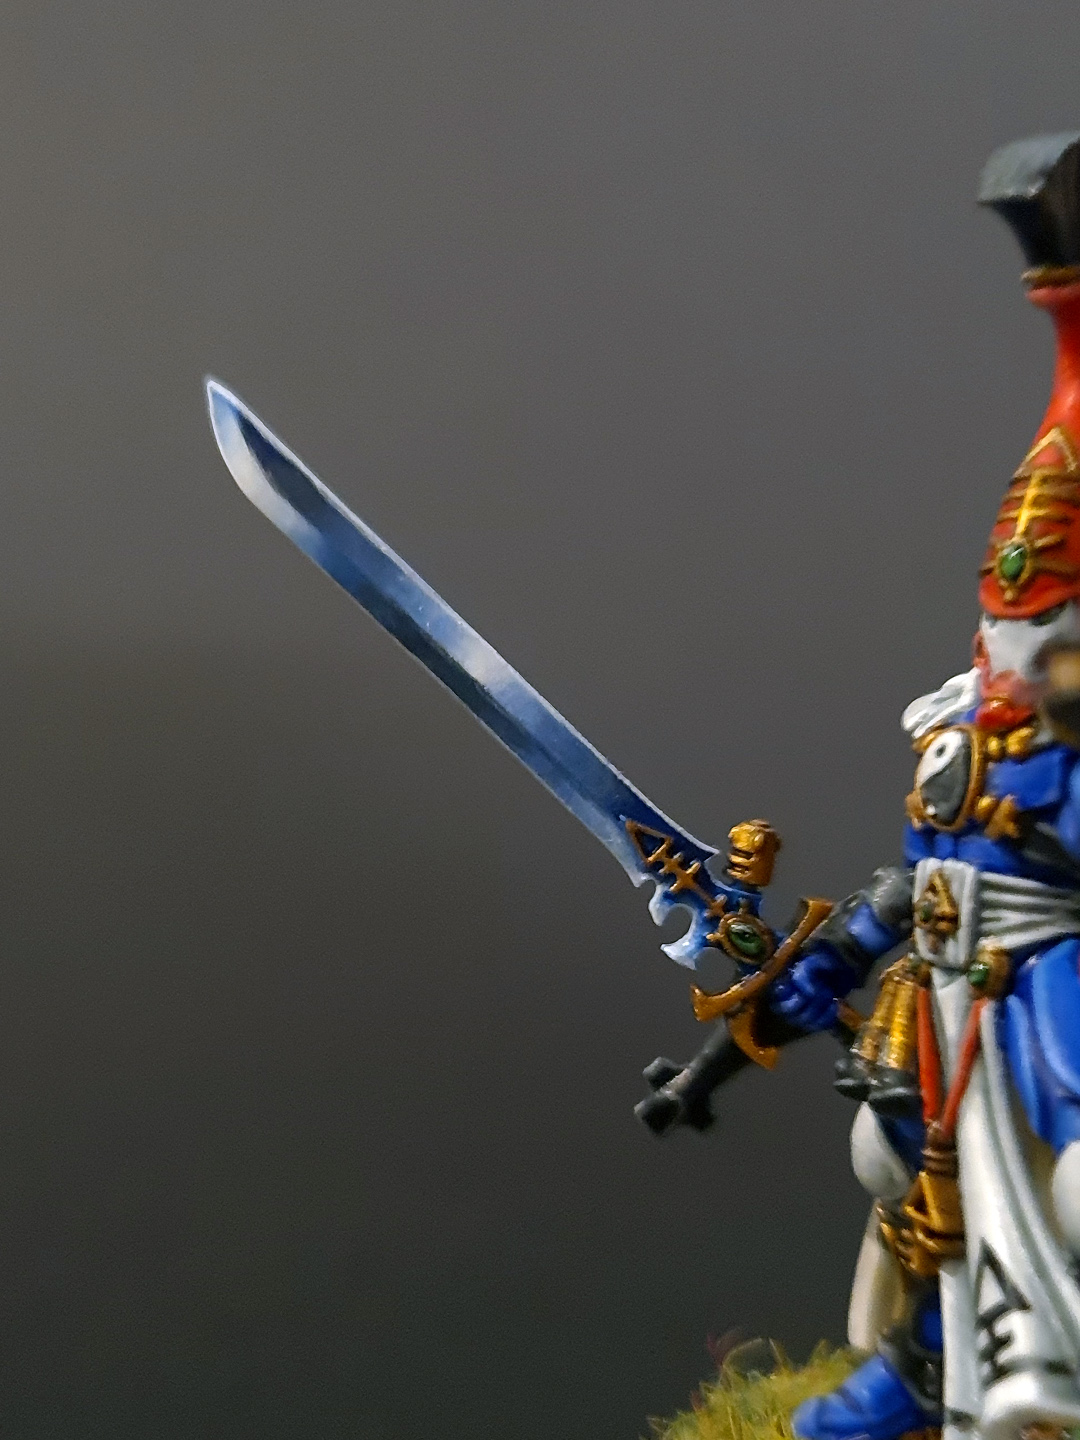
37. A close-up of the Sword of Asur. This features (what I consider to be) some of my best NMM painting to date.
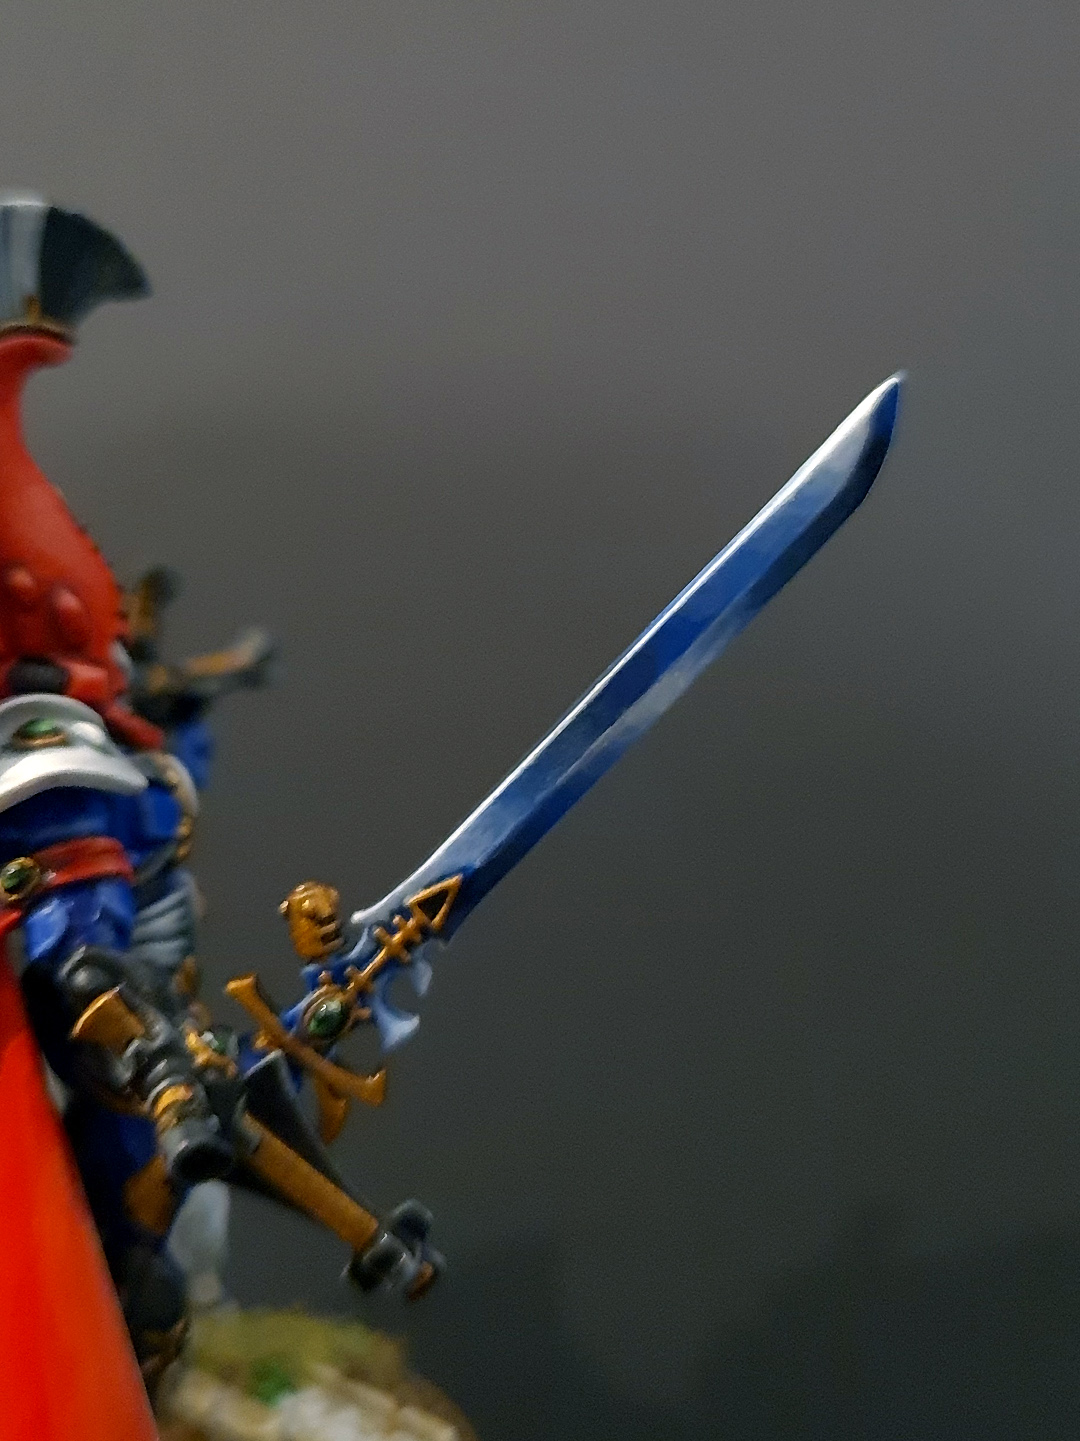
38. Reverse side of the Sword of Asur.
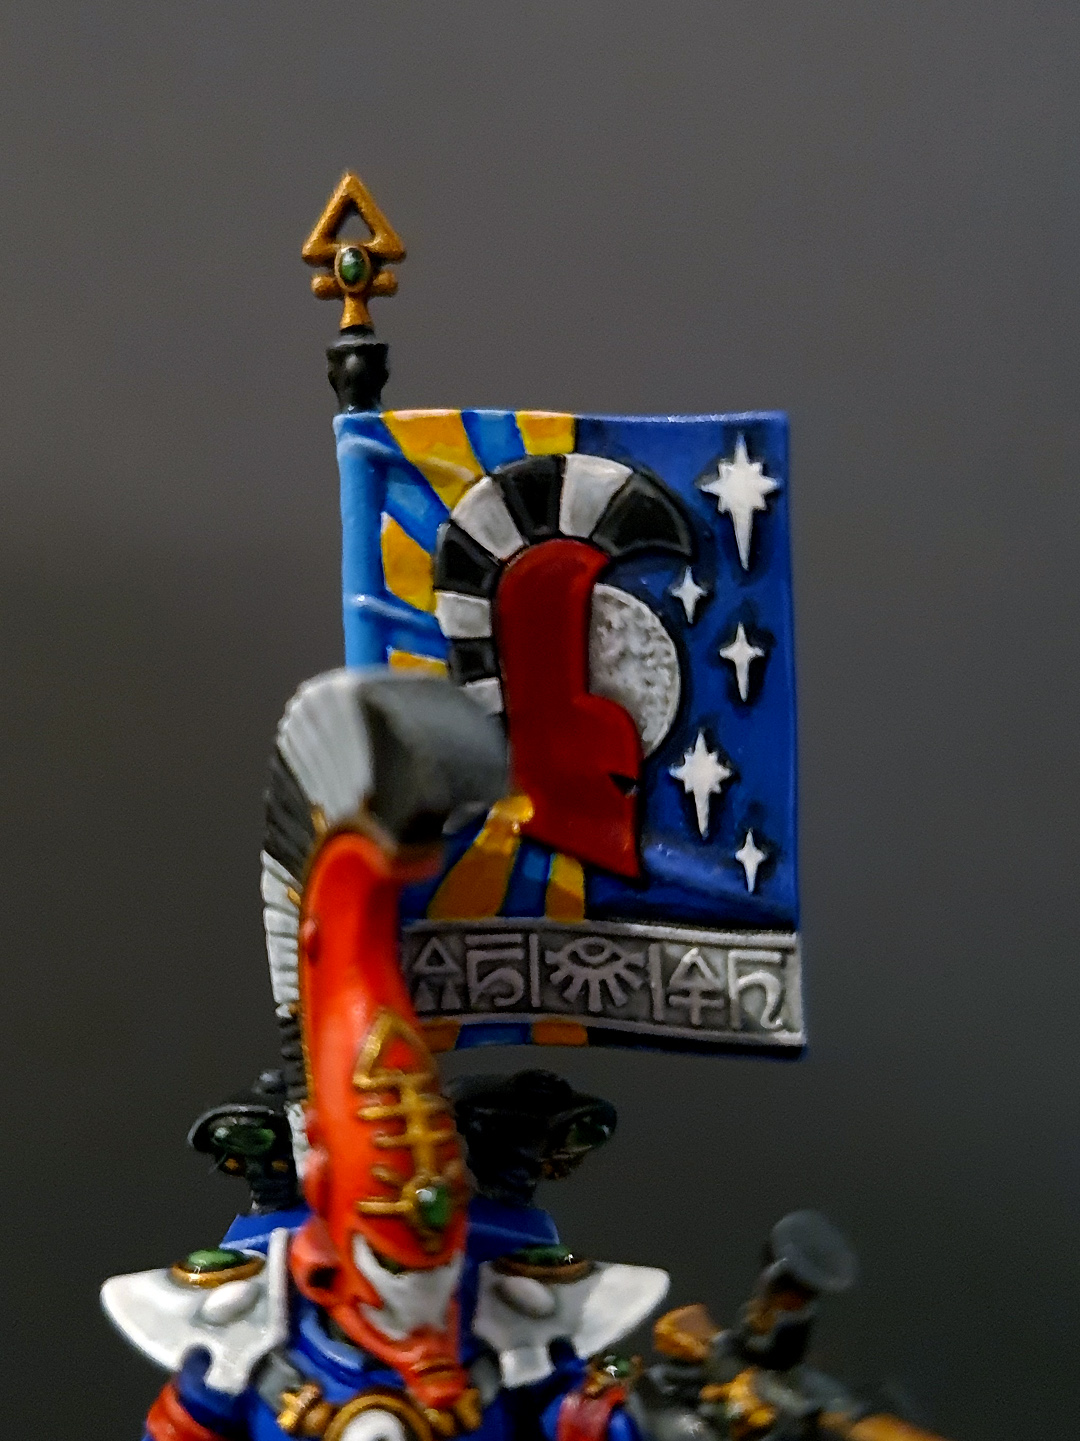
39. A close-up of the banner.

40. Reverse view of the painted banner. I was particularly pleased with how the moon came out, with craters and variation in the surface.
comments powered by Disqus