
Eldar Falcons
The Falcon is the Eldar's primary battle tank. I've always liked the timeless design of these vehicles but I also wanted to make a few small changes. I have a total of three magnetised Falcon hulls that allow me to switch between different turret options to field different Falcon variants such as the Warp Hunter, Fire Prism and Firestorm.Date: 2007 - present (work-in-progress)
components (per Falcon): 1x Falcon, 1x Forge World Type II Falcon conversion kit, 2x Forge World holoprojectors, 1x metal Fire Prism probe, 2x Forge World Eldar Hornet pilots, plasticard (various thicknesses), Green Stuff, 120mm oval base, 6mm diameter clear acrylic rod, neodymium rare earth magnets (various sizes)
Colour scheme: Craftworld Miruaun colour scheme (PDF), Basing colour scheme (PDF)
Related:

1. Two of the Falcons, part-way through early construction.
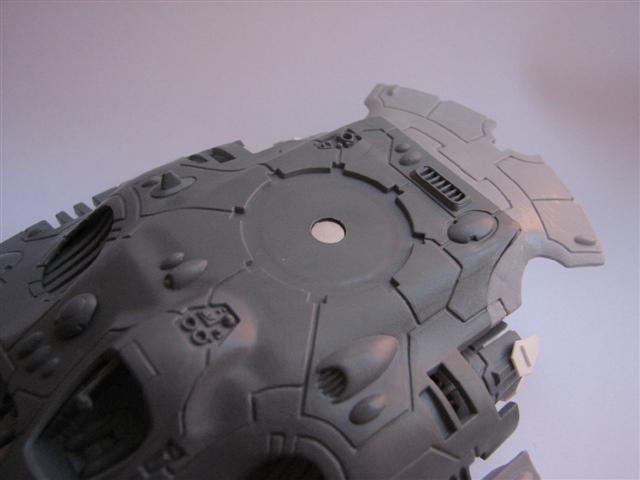
2. The underside of the hull.
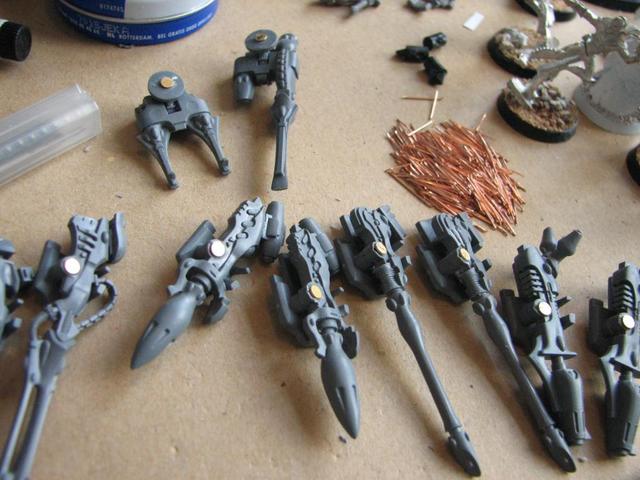
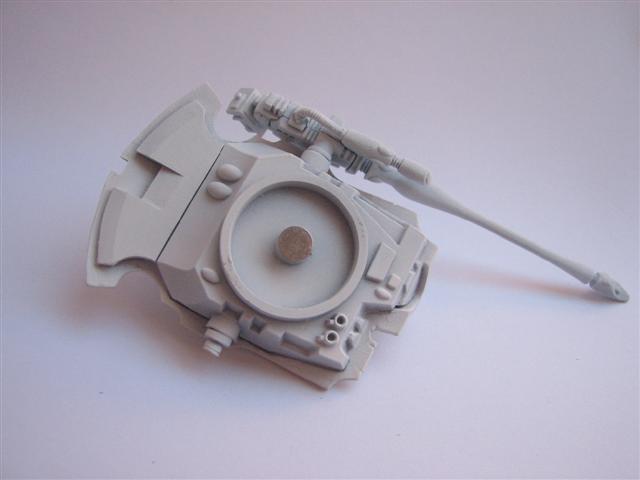
3. An array of weapon possibilities; all magnetised to allow them to be switched around as necesary.
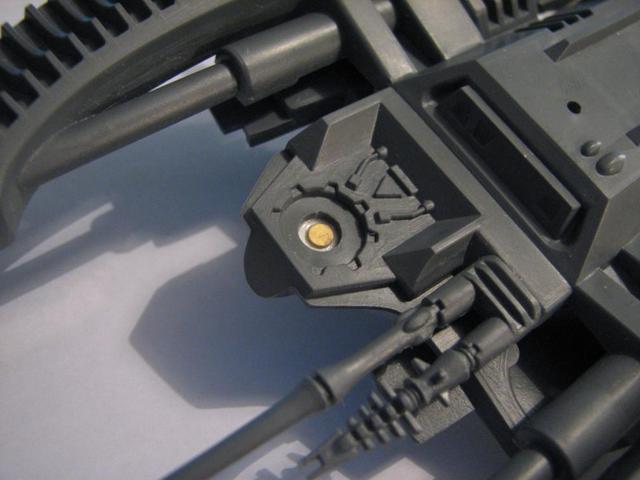
4. A close-up of the hull. Magnets were added to both sides.
5. The Apocalypse command vehicle upgrade in place - held on to the hull by the concealed magnets.
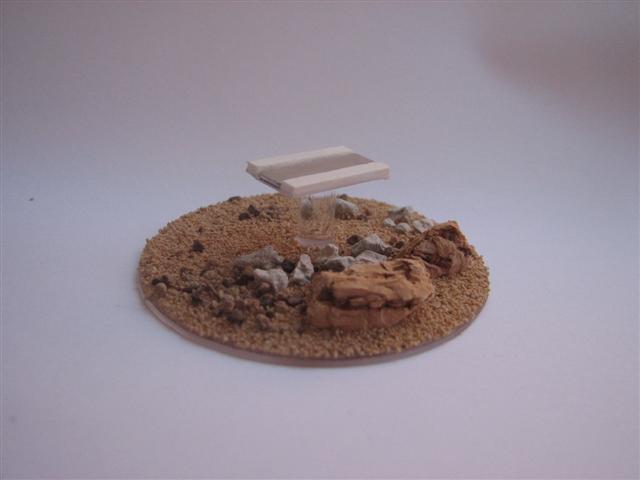
6. One of the magnetic flying bases.
7. The turret mount was magnetised too; this allows different Falcon variants (Fire Prism, Firestorm, Night Spinner) without the need for multiple tanks.
8. One of the standard Falcon turrets.
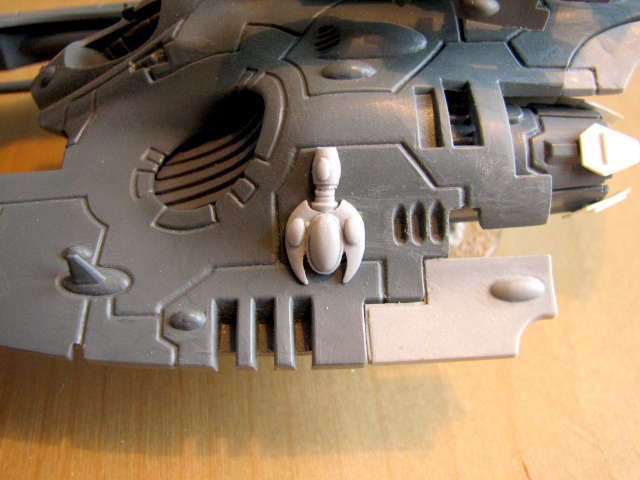
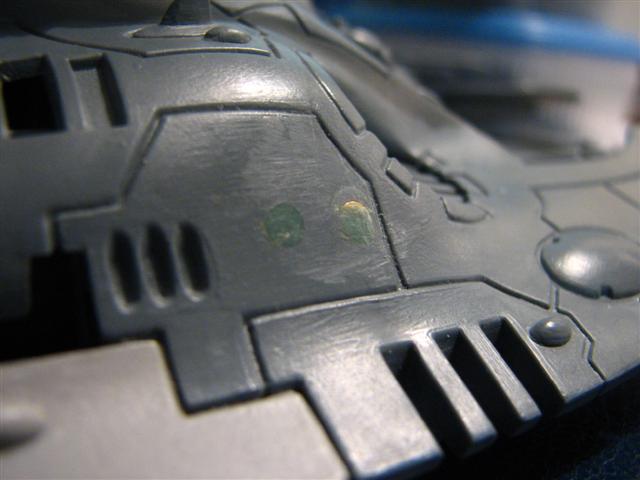
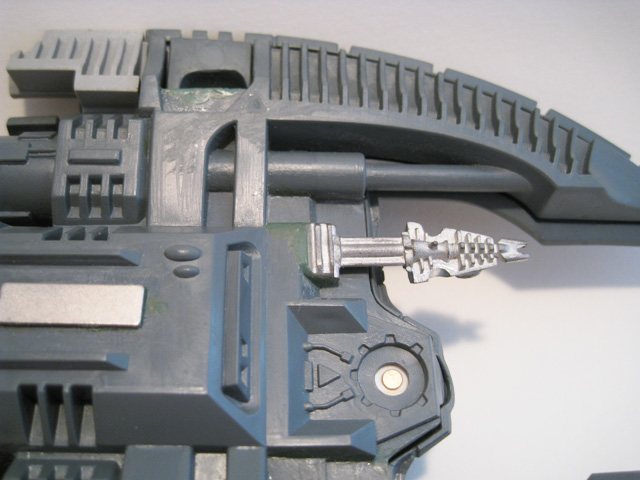
9. I have also magnetised the holoprojectors from Forge World's Eldar Vehicle Upgrade kit. These are held in place using the recessed magnets in the hull.
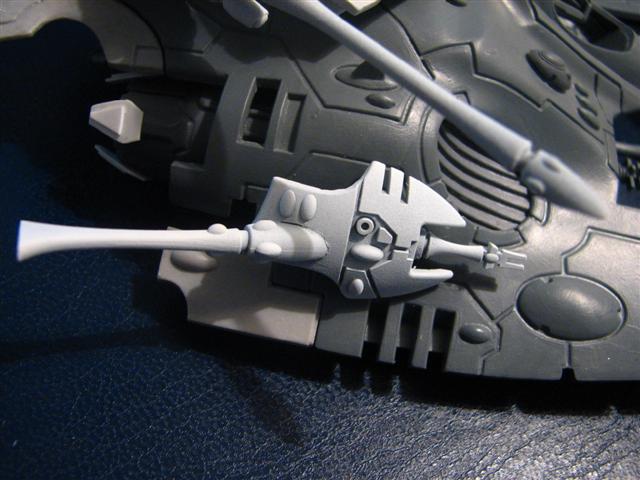
10. The turret were further modified so that the Pulse Laser weapon mount is also magnetised.
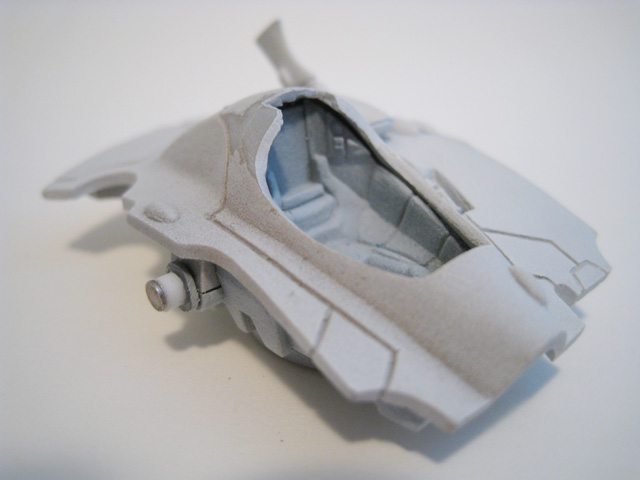
11. I used Green Stuff to fill in the slight dip in the top of the hull to make the Falcon slightly more streamlined.
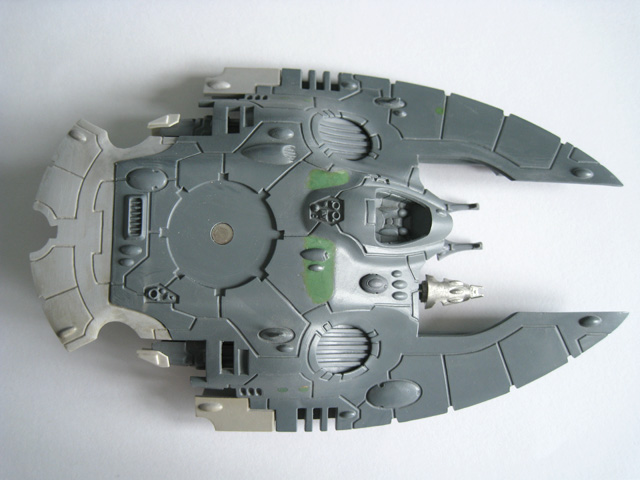
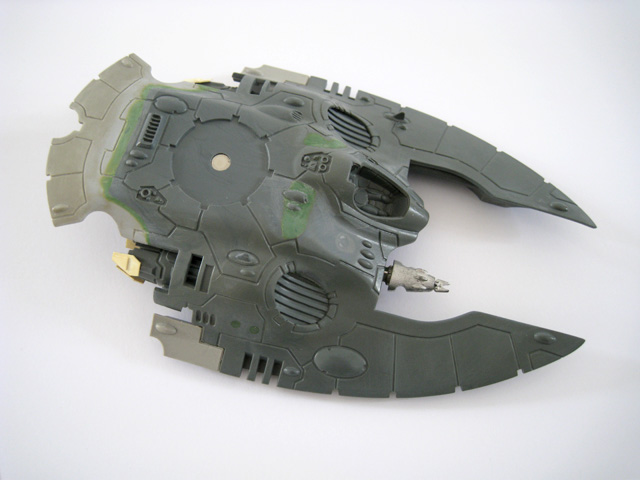
12. A dorsal view of one of the Falcon hulls.
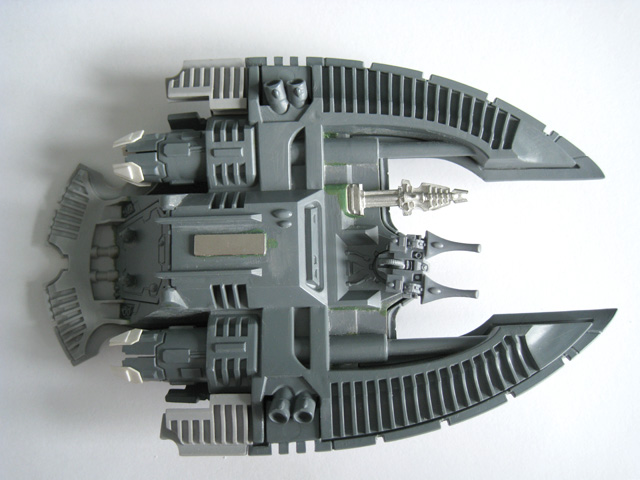
13. A ventral view of the converted Falcon.
I decided to remove the small thrusters from the underside of my Falcons. This area will be filled in with Green Stuff.
14. A close-up of the underside of a Falcon.
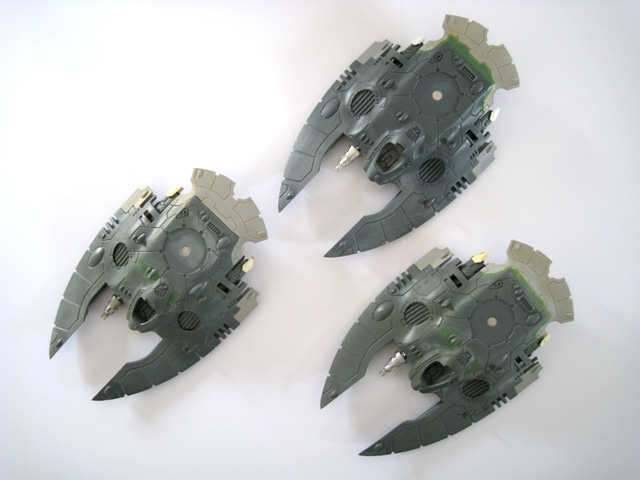
15. The three Falcon hulls. All three are virtually complete at this point.
With this Falcon's upper hull glued in place, the resin Forge World parts could be properly blended into the rest of the model with Green Stuff.
16. One of the Falcons hulls, near completion.
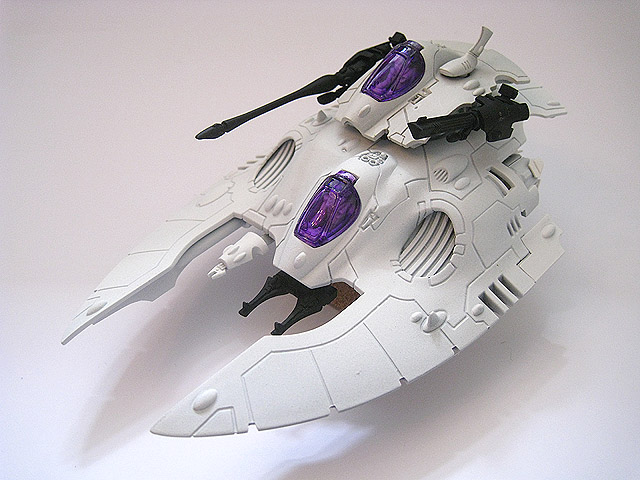
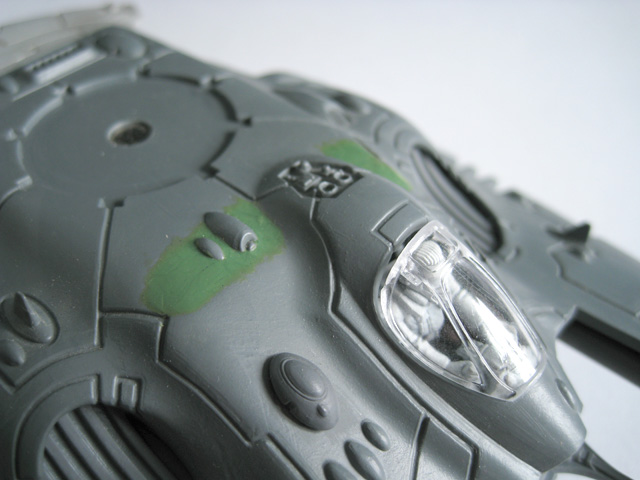
17. The first of my three Falcons to be completed and undercoated. The cockpit canopies have been tinted a deep purple and are magnetised so that they can be removed to see the pilots within.
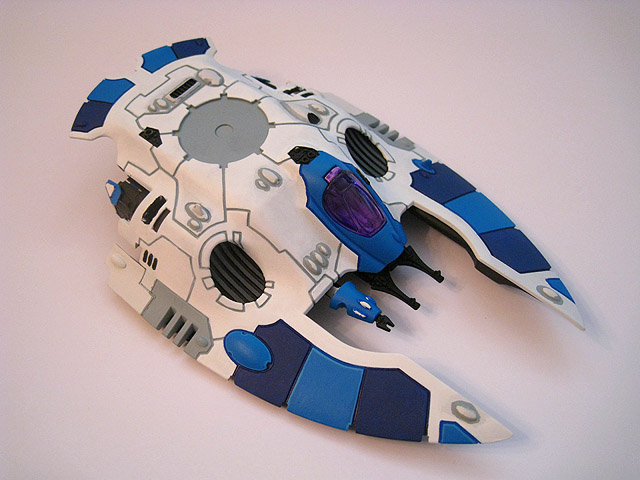
18. A work-in-progress shot of the paintscheme for the first Falcon's hull. I have begun to neaten up the edges around the panels and have started to layer the white paint to build up to the crisp, brilliant white that I want to achieve.
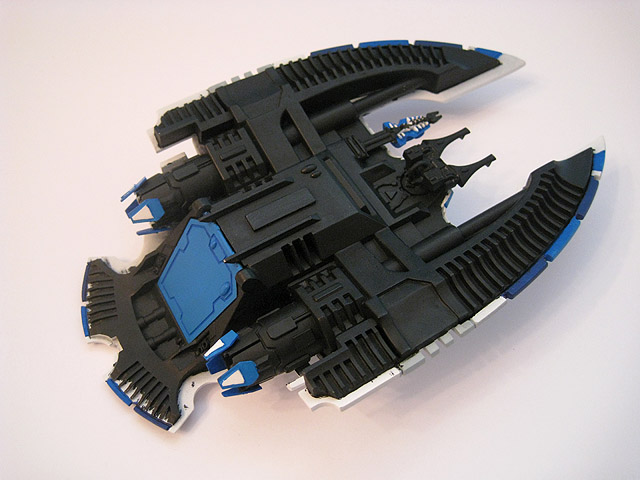
19. Underside shot of the Falcon's hull; the basecoat has mostly been applied at this point; grey edge highlights will be added to the black areas.
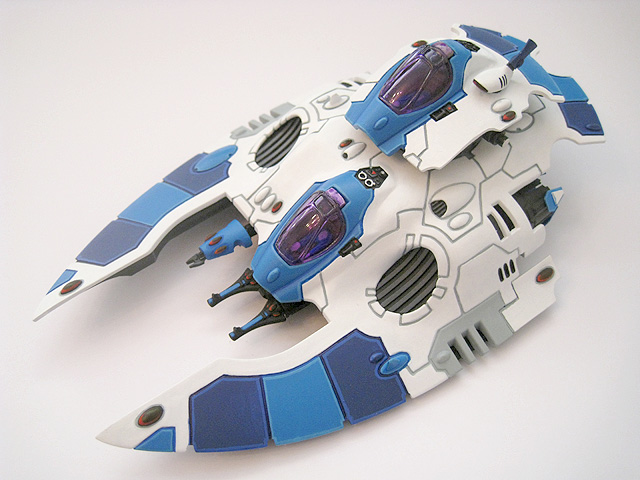
20. The painting of the upper hull is nearly complete at this point.
21. The first of the three flying bases for my Falcons. I decided to switch to using larger oval bases instead of the standard round ones, as it gives the model a bit more presence and allows for more detail to be included.
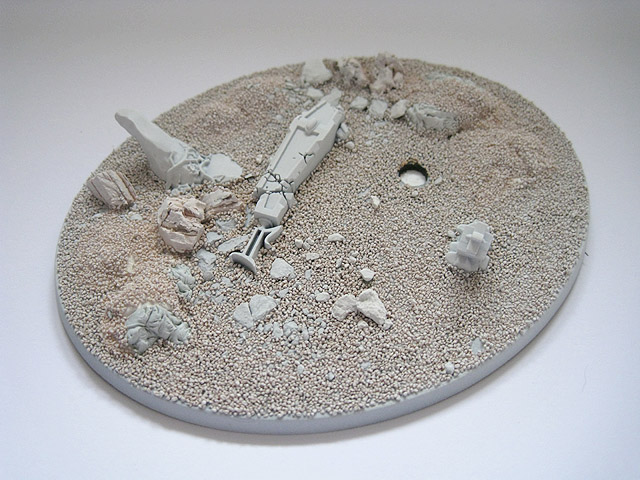
22. The first base, now undercoated.
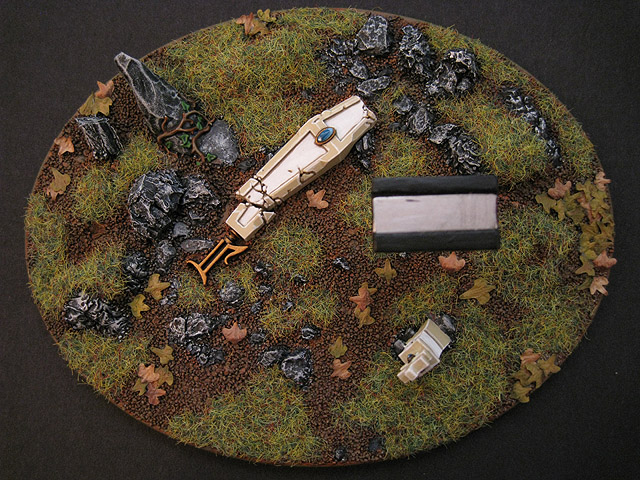
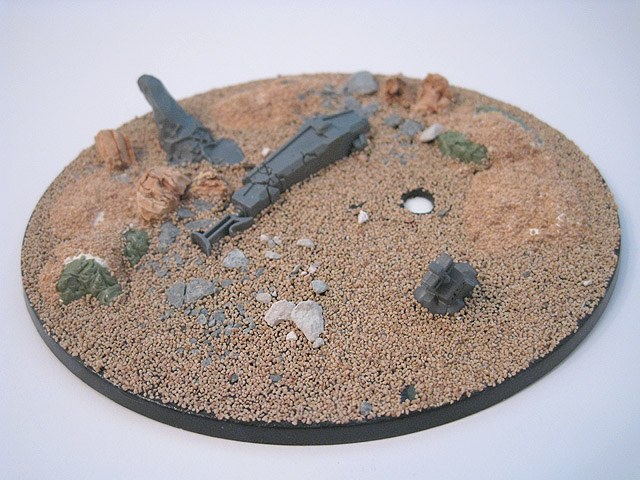
23. The first base, painted and fully complete, with static grass and leaf litter added.
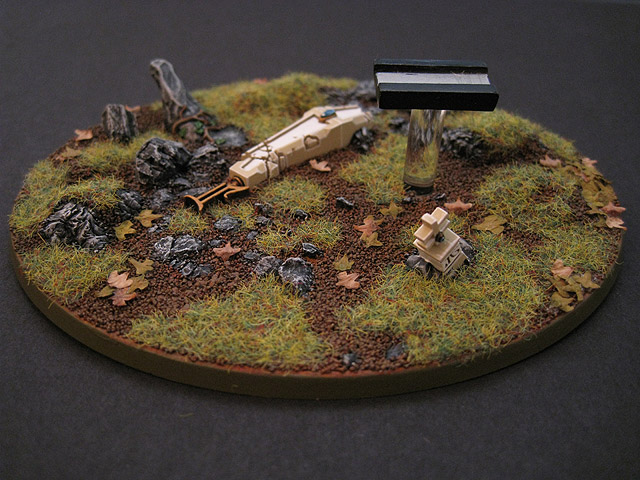
24. Alternate view of the completed base.
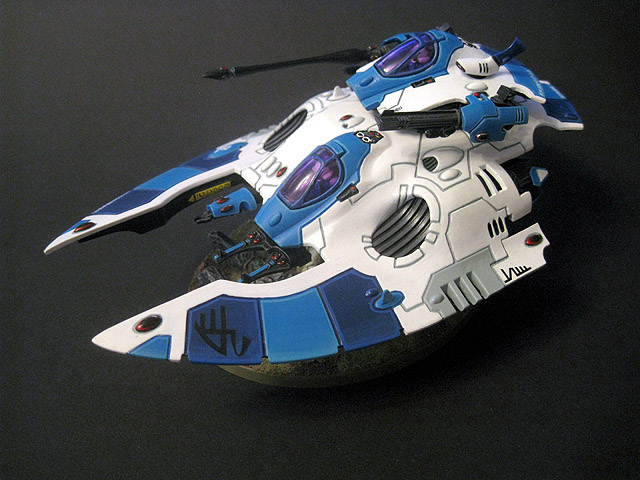
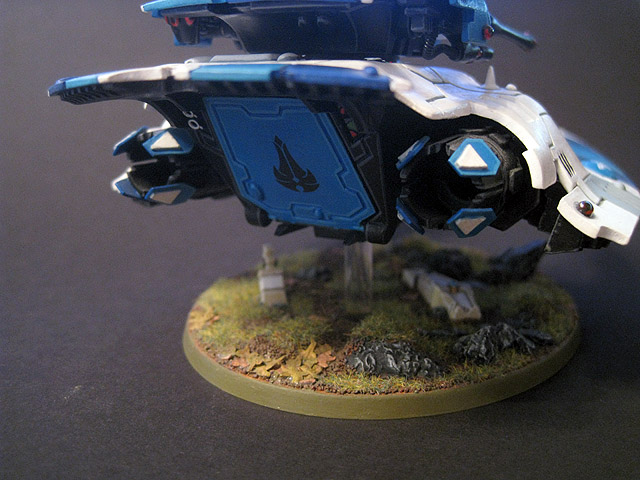
25. My first completed Falcon; fully painted, with transfers applied.
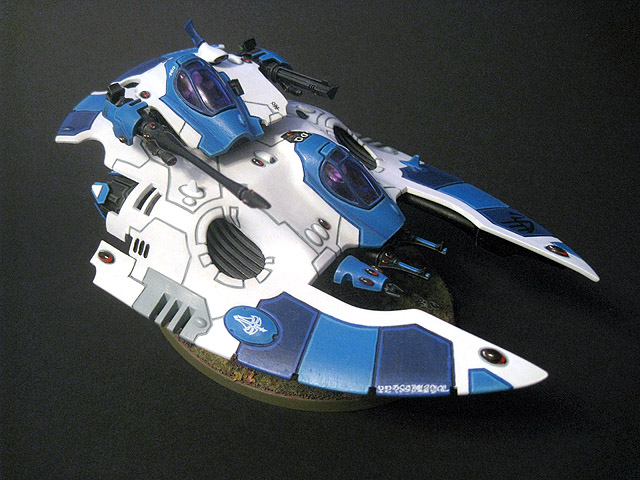
26. Alternative side view of the Falcon.
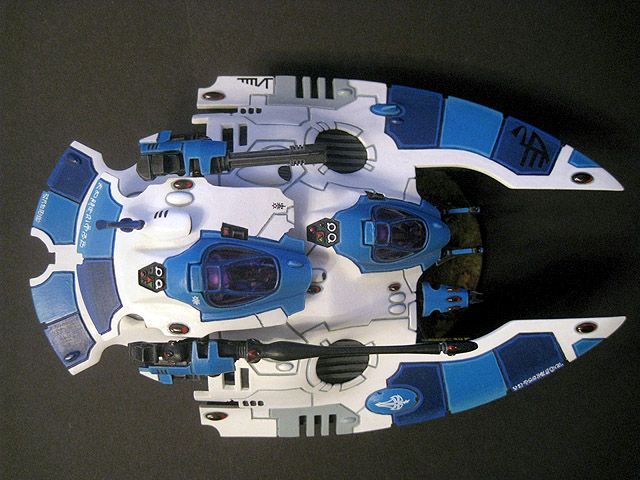
27. Dorsal view of the completed Falcon.
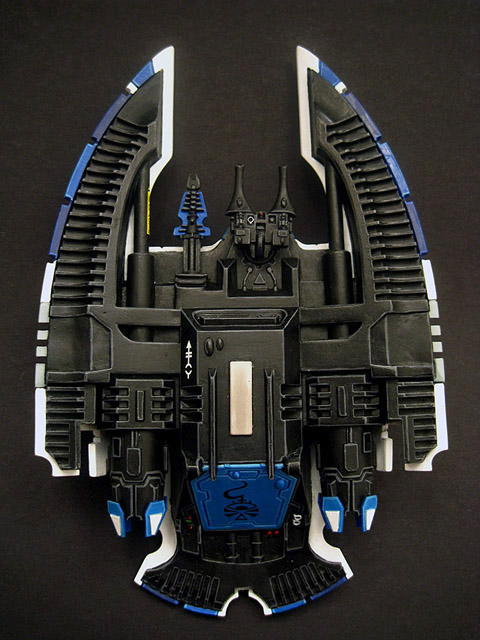
28. The underside of the Falcon.
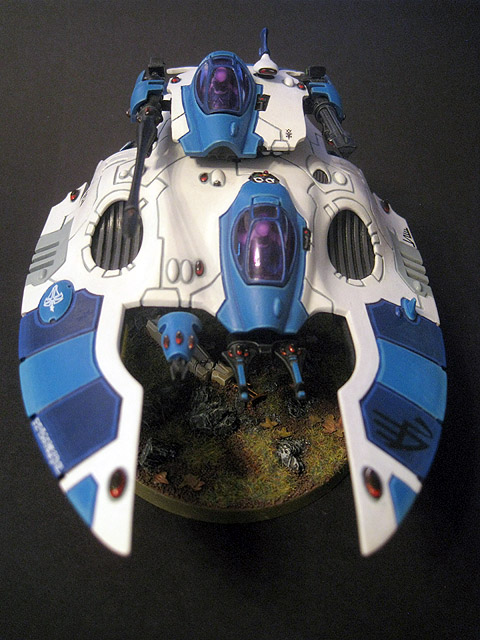
29. Head-on view of the Falcon.
30. Rear view of the Falcon. I used one of my custom printed Craftworld Miruaun runes on the access ramp.
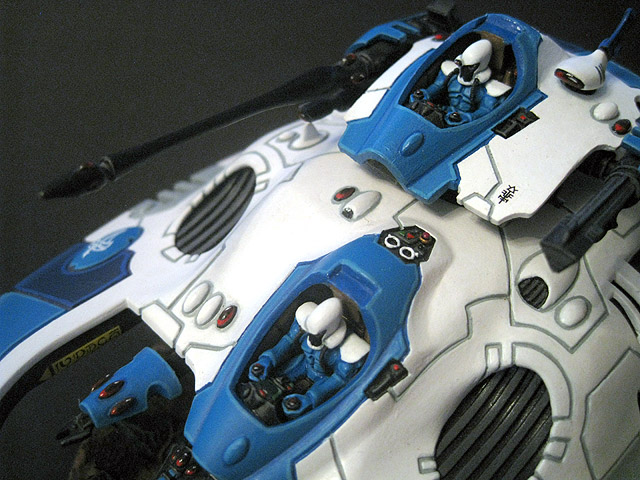
31. With the magnetic canopies removed you can see the more modern design of Eldar crew, which I've used for all of my vehicles.
comments powered by Disqus