eldar panther
The concept for this project had been rolling around in the back of my head ever since Forge World first released the Lynx. In 2016 I decided to attempt to build it and purchased the kits that I would need; in essence it is a kitbash of the Lynx and Falcon. It is constructed in such a way that it can utilise most of the magnetised turrets that I have created for the various tank configurations based on the standard Falcon hull.date: 2016 - present (work-in-progress)
components: 1x Forge World Lynx, 1x Forge World Eldar Type II Falcon kit, 1x metal Fire Prism sensor, 1x Scatter Laser, 1x Wave Serpent shuriken cannon, plasticard (various thicknesses), Green Stuff, White Milliput, neodymium rare earth magnets (various sizes), 220 x 140mm MDF base, cork, Eldritch ruins scenic element
see also:
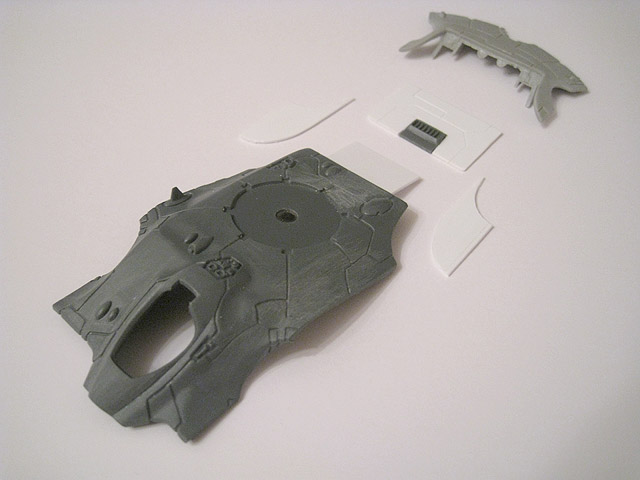
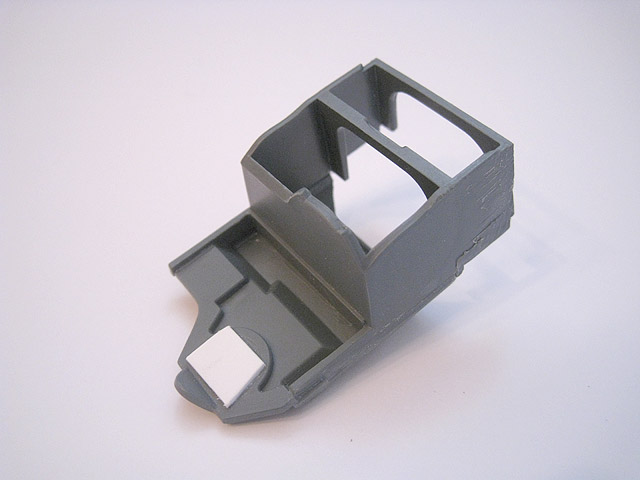
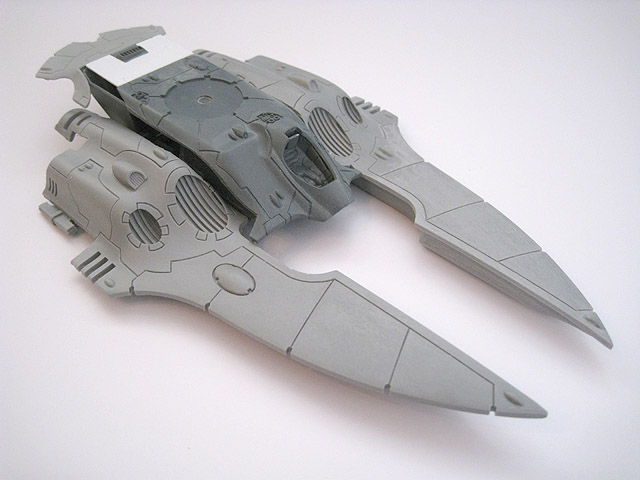
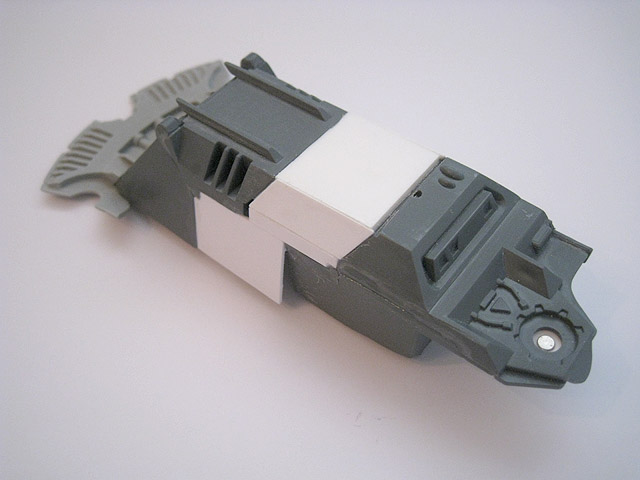
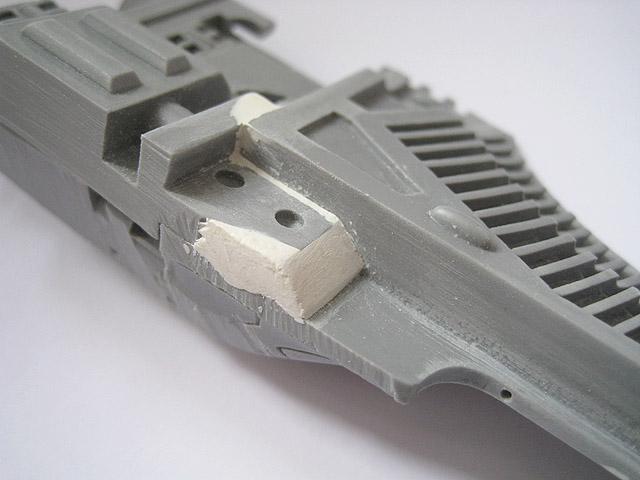
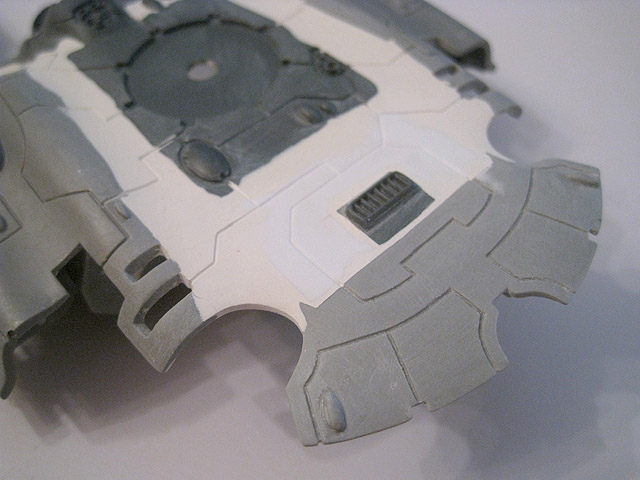
1. The basic components of the central upper hull. The Panther was constructed using the middle section of a Type II Falcon kit, combined with the forward prongs and engines of a Lynx.
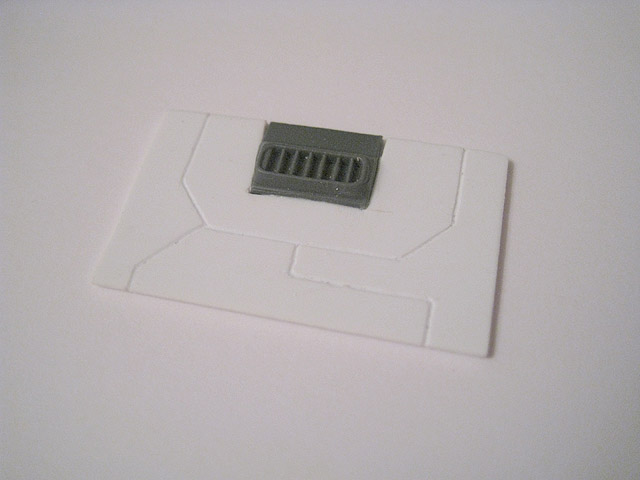
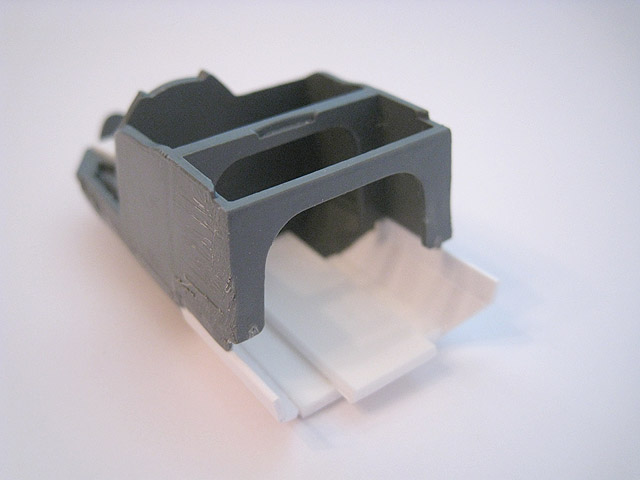
2. This section of plasticard was used to extend the upper hull. The panel lines were etched into the plasticard using the point of a needle file.
This underslung scatter laser was originally intended to be used with the Pegasus, but has now found a home as an upgrade option for the Panther.
As with most of my grav tanks, I've used a classic metal Fire Prism sensor instead of the standard plastic Falcon component, as I prefer this design.
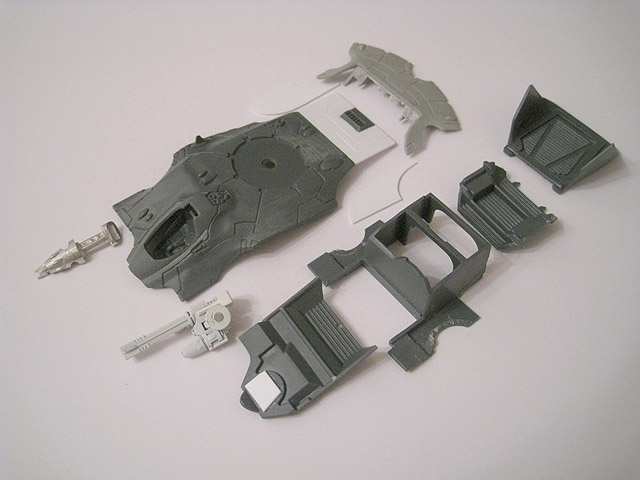
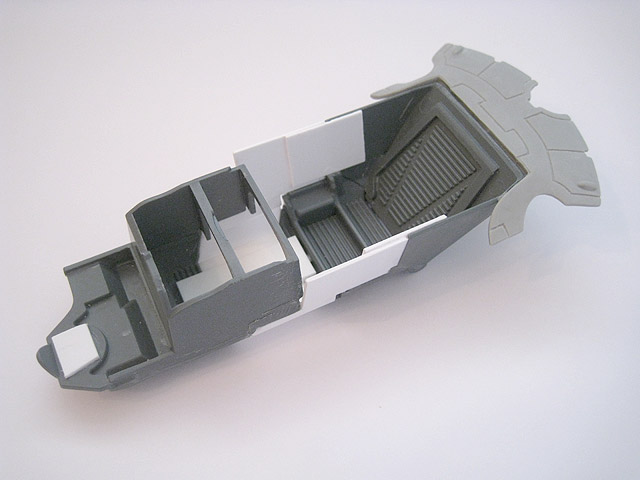
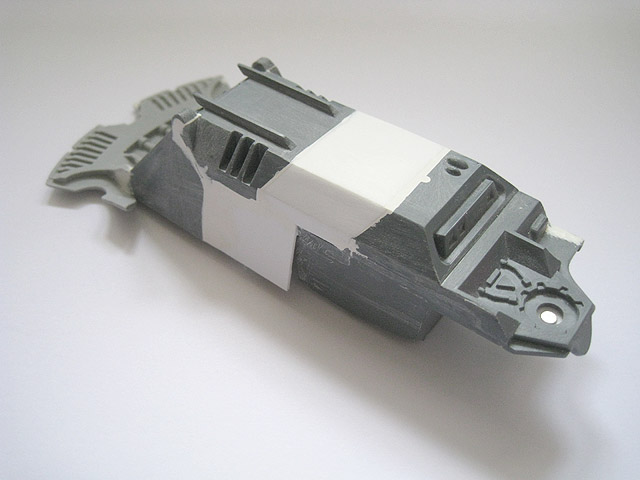
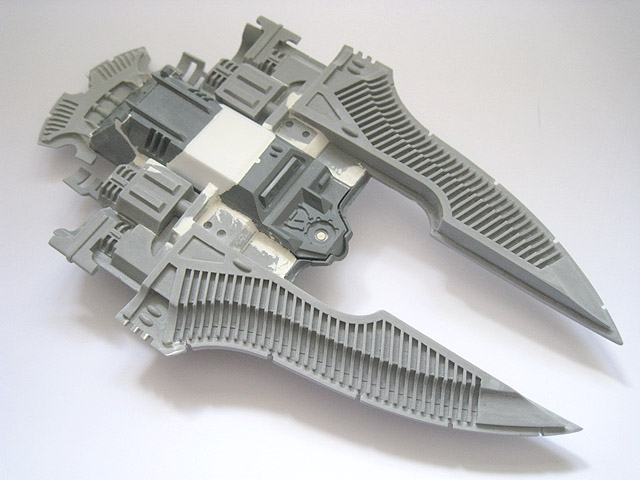
3. The central section of the Panther starts to take shape.
4. The underside of the central hull was cut in half to elongate it, whilst preserving the detail.
5. I significantly cut down the internal frame of the Falcon, removing the engines entirely. This section will support the upper hull and provide strength to the construction.
6. The rear access hatch was glued shut and attached to the back half of the underside.
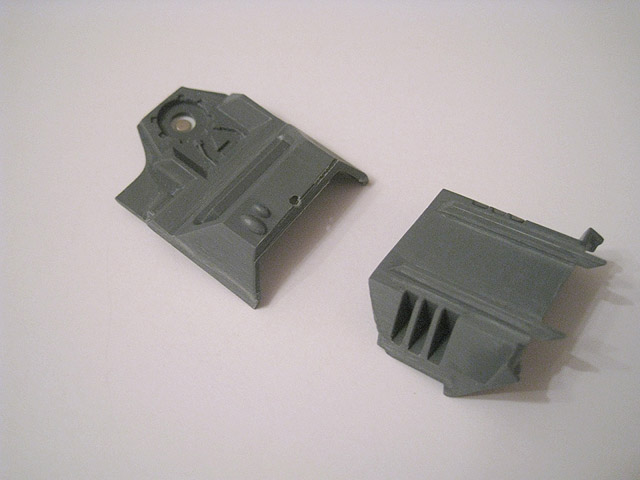
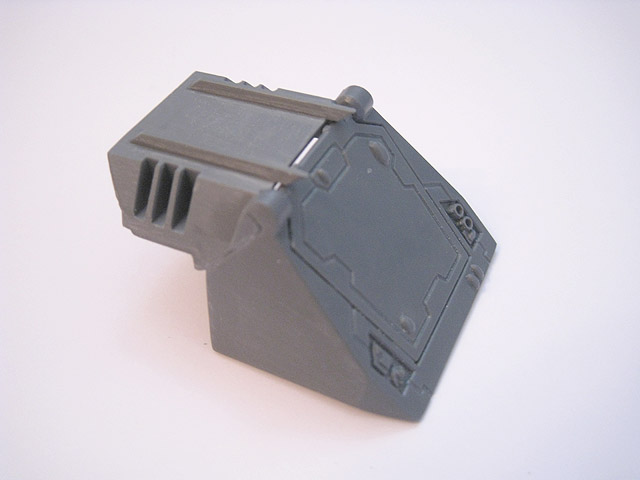
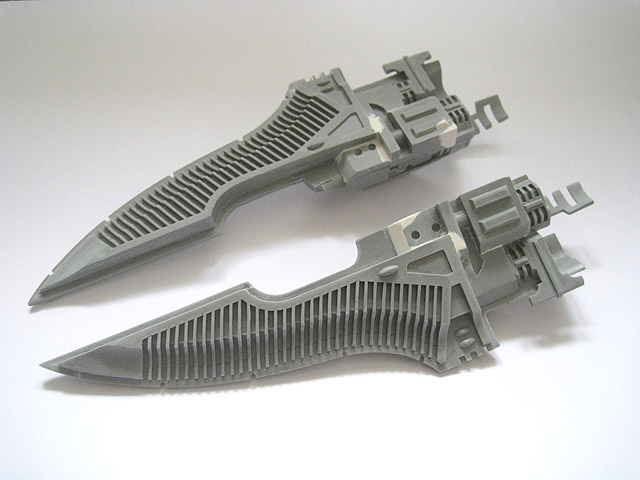
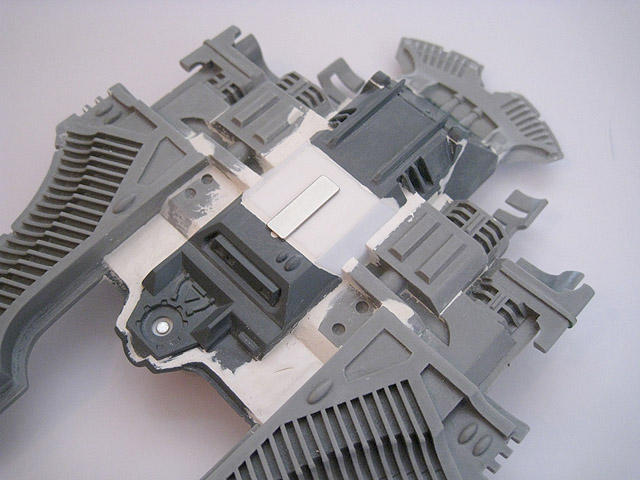
7. The first of the two Lynx engine assemblies takes shape.
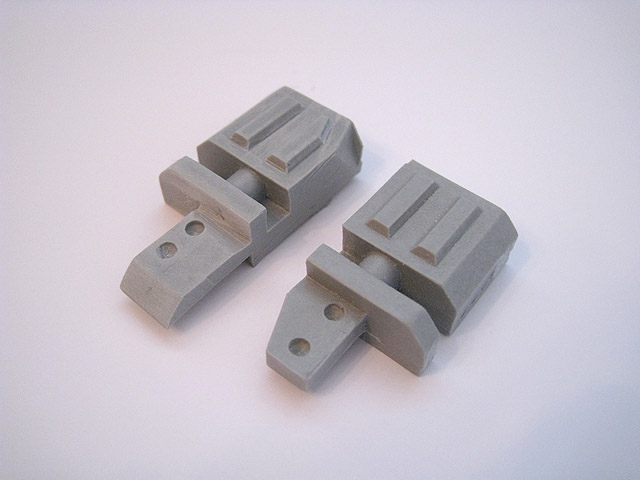
8. These two pieces of the underside were separated from a single, larger component from the Lynx kit.
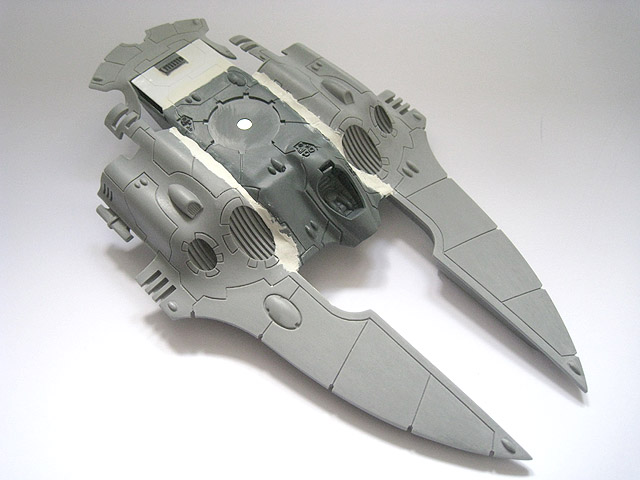
9. A mock-up of the Panther, at any early stage of its construction.
10. The central section of the hull was extended using angled sections of plasticard.
One of the three gems/blisters was removed.
Brass rod pins were inserted into the hull. These will help to secure the resin Lynx components.
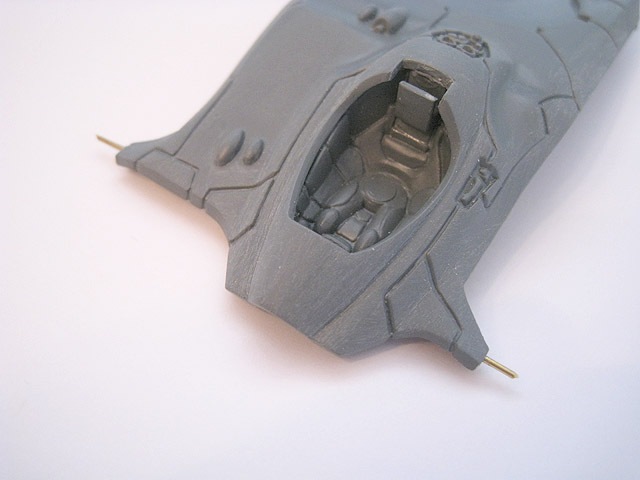
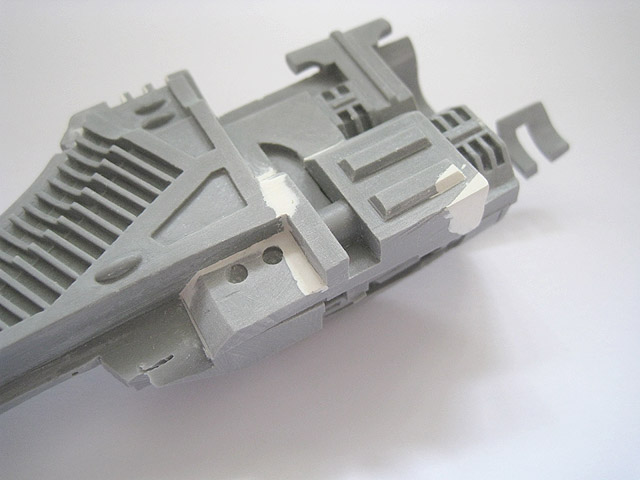
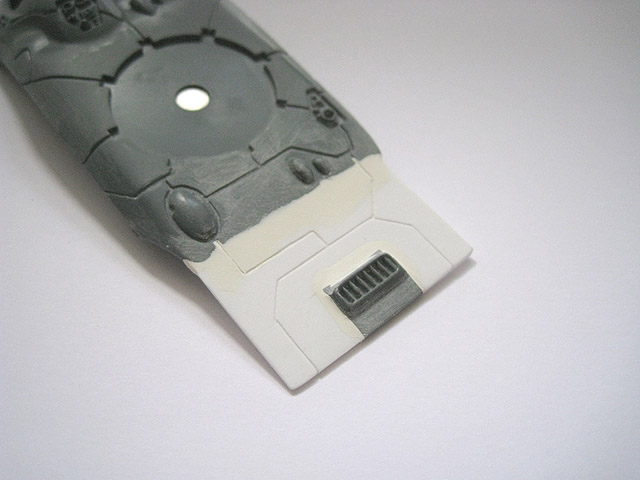
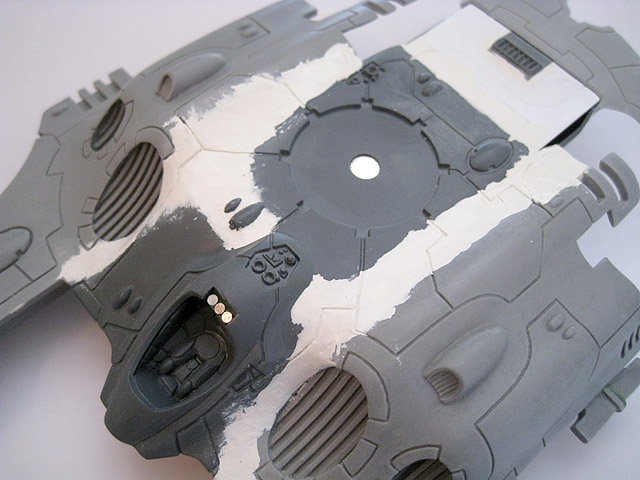
11. A close-up of the cockpit.
12. The central section of the hull has now been glued together.
13. The underside of the central section of the Panther.
14. The same section of hull, after White Milliput had been applied, dried and sanded to fill in the gaps between the plasticard and plastic components.
15. The resin engine assemblies. White Milliput was used extensively to fill in gaps and reshape/extend some of the sections.
16. A close-up of the port-side engine underside detail.
This section now matches the same area on the port side.
This is where one of the two brass rod pins that are attached to the central hull will be glued. This will help to hold the heavy resin piece in place.
17. Another close-up, this time focusing on Milliput work on the starboard side.
18. The upper hull starts to come together. Milliput was again used to blend the component pieces together.
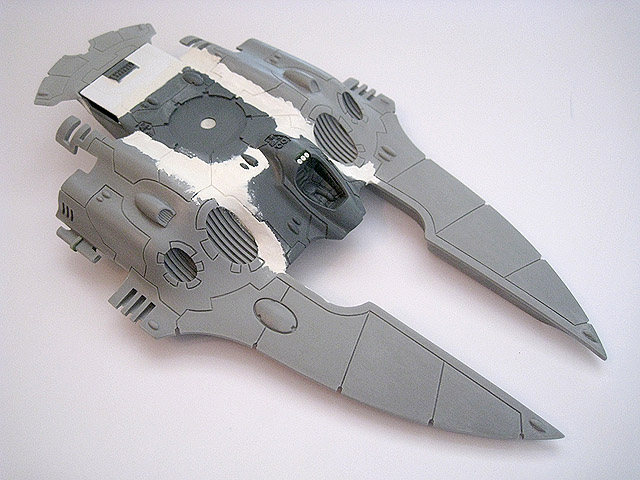
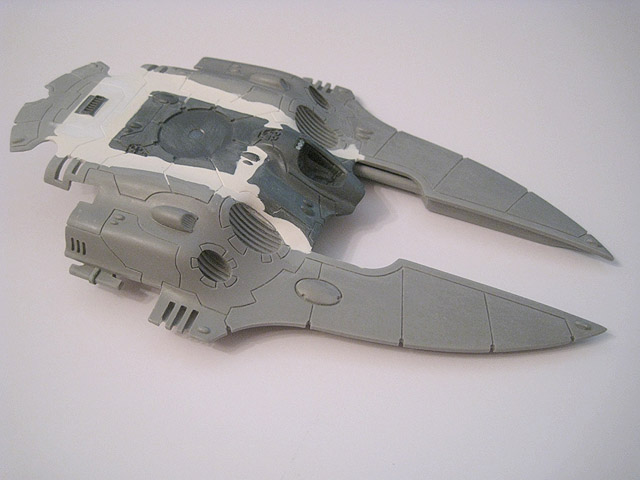
19. The Panther has now been mostly assembled, with the Lynx components glued to the central section of the Falcon kit. There is still a lot of Milliput work left to do, in order to blend the pieces together and mask the joins.
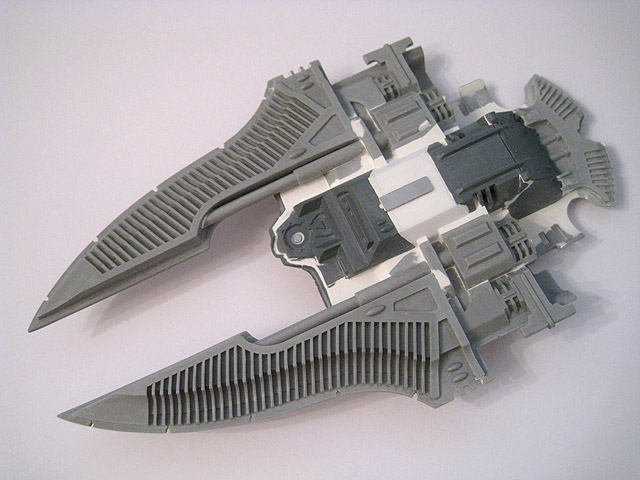
20. The underside of the assembled Panther.
21. Progress continues on blending the components together.
22. A close-up of the panel lines on the upper hull. These were made using a sculpting tool, whilst the Milliput was still pliable. Once it has set, they will be neatened and widened using a needle file.
23. An updated shot of the underside. Milliput has been used to bridge the gaps between the component pieces.
24. Close-up of the completed rear section of the upper hull.
25. The underside of the upper hull. I was particularly happy with the way that I was able to incorporate the engine cowlings into the flowing lines of the resin Type II fin.
26. The underside, now virtually complete.
27. An updated shot of the hull.
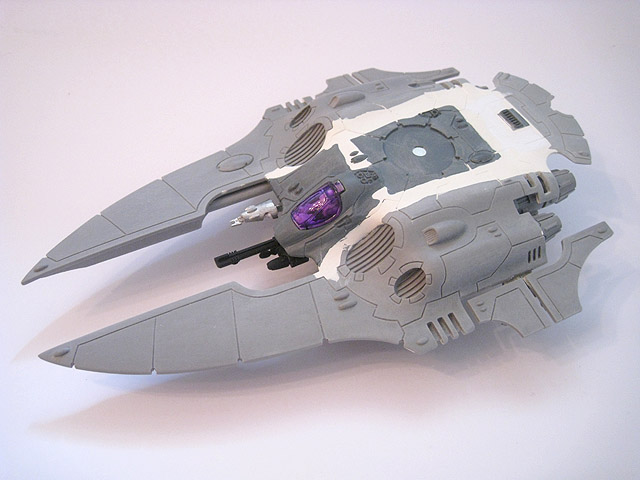
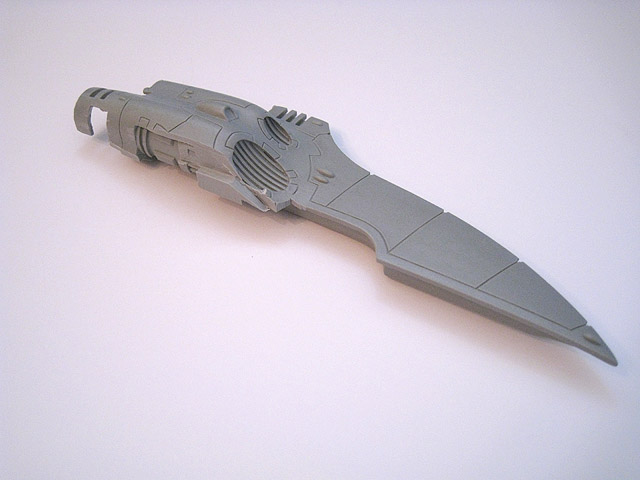
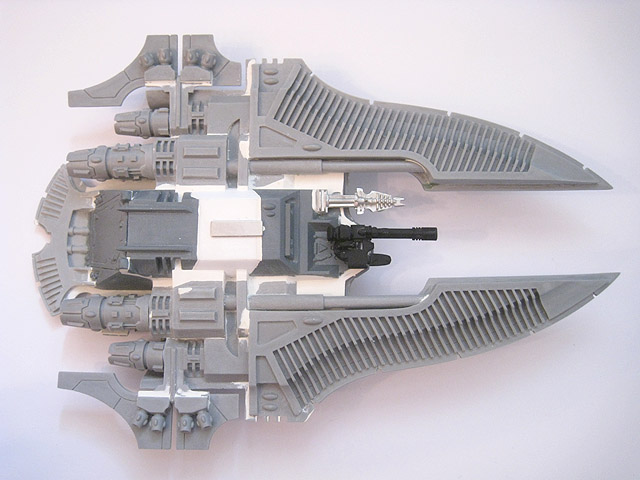
28. The completed Panther hull, armed with an underslung Scatter Laser.
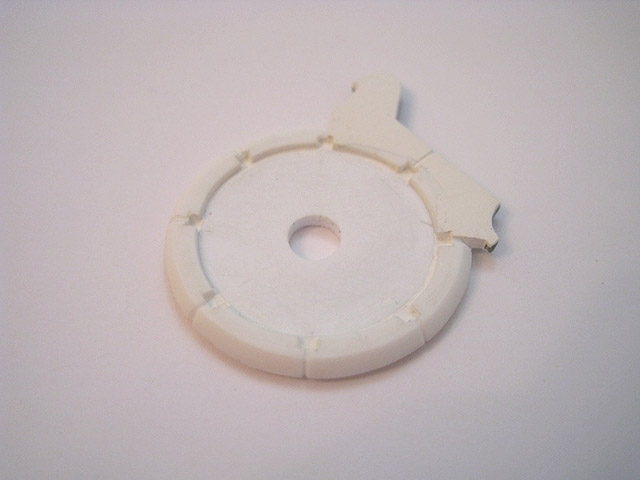
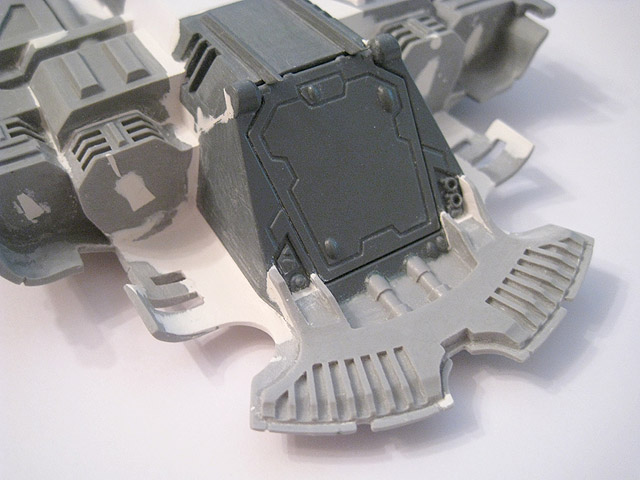
29. I found that some of the magnetised turrets sat too low on the hull to rotate cleanly, so I decided to create an optional raised turret mount. This is entirely made from plasticard.
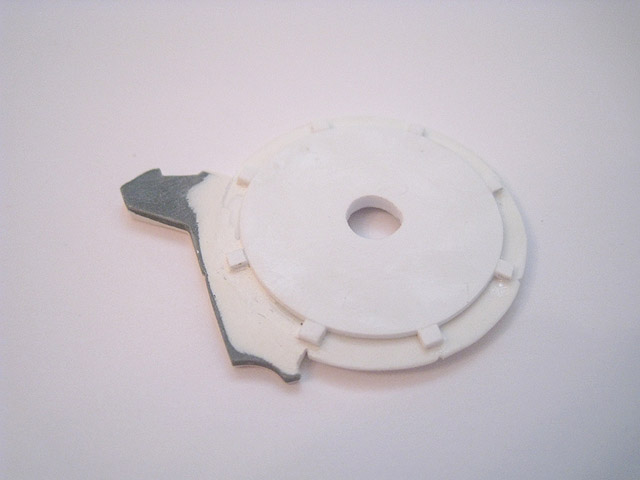
30. The underside of the removable turret mount.
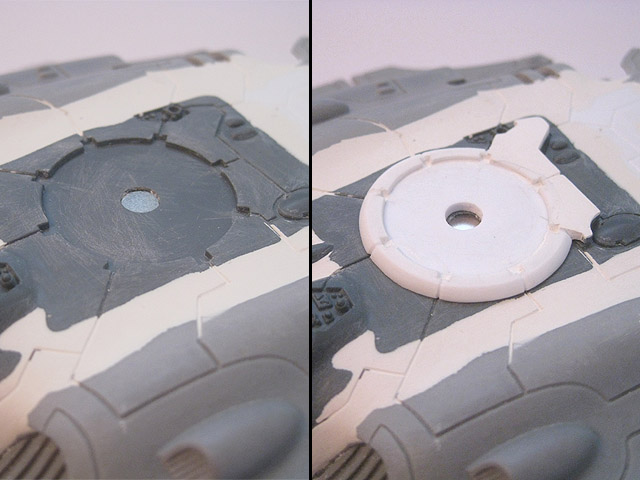
31. A comparison of the upper hull, with and without the optional removable turret mount. This allows a wider range of turrets to be used on the Panther and rotate smoothly without snagging on the raised details on the upper hull.
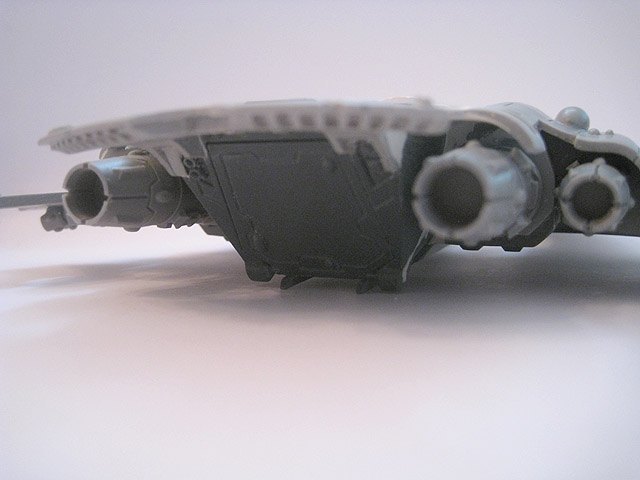
32. A close-up of the rear of the Panther.
33. The underside of the completed Panther.
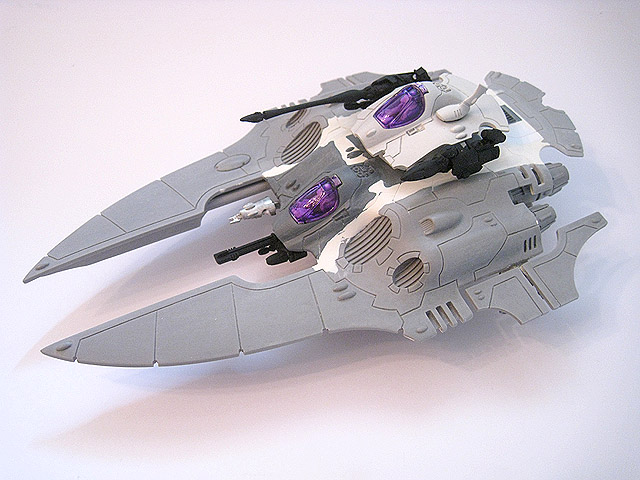
34. The completed Panther, with a standard Falcon turret.
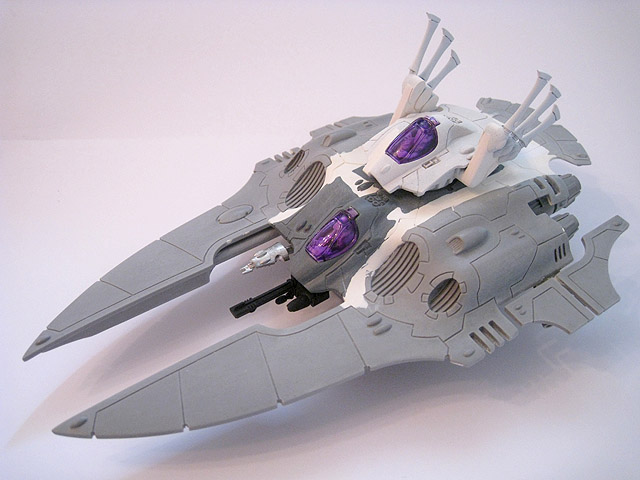
35. This alternate configuration uses the Farseer Falcon turret. In essence, this is what I'd originally envisaged my abandoned Eldar Eagle grav tank to be. This new version is a lot more satisfying than my first attempt.

36. The Panther has now been undercoated.
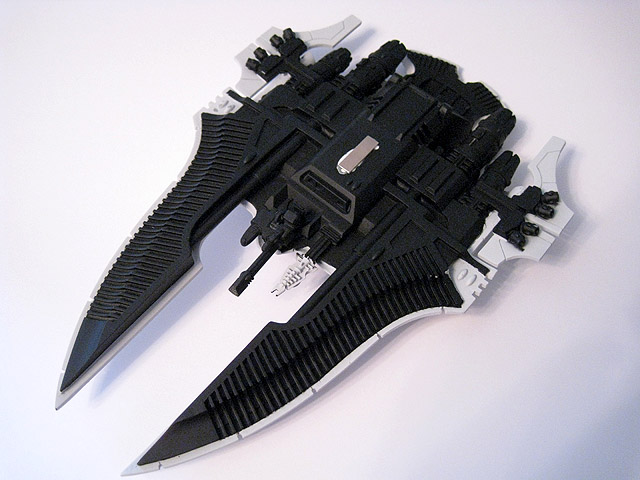
37. The underside of the Panther. I used masking tape to enable me to undercoat the underside in black whilst preserving the white undercoat of the upper hull, which will cut down the amount of time needed to paint the model.

38. I had some large (220 x 140mm) MDF bases specially made for the Panther and Lynx.

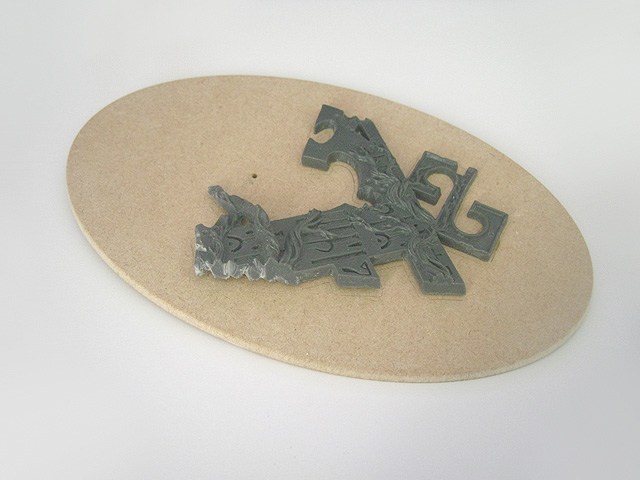
39. The Eldritch Ruins kit includes some ruined Eldar architecture. Rather than using this ruined statue as originally designed (standing upright), I cut it in half lengthwise so that I could lie one half of it flat on the base.
40. The scenic base starts to come together.
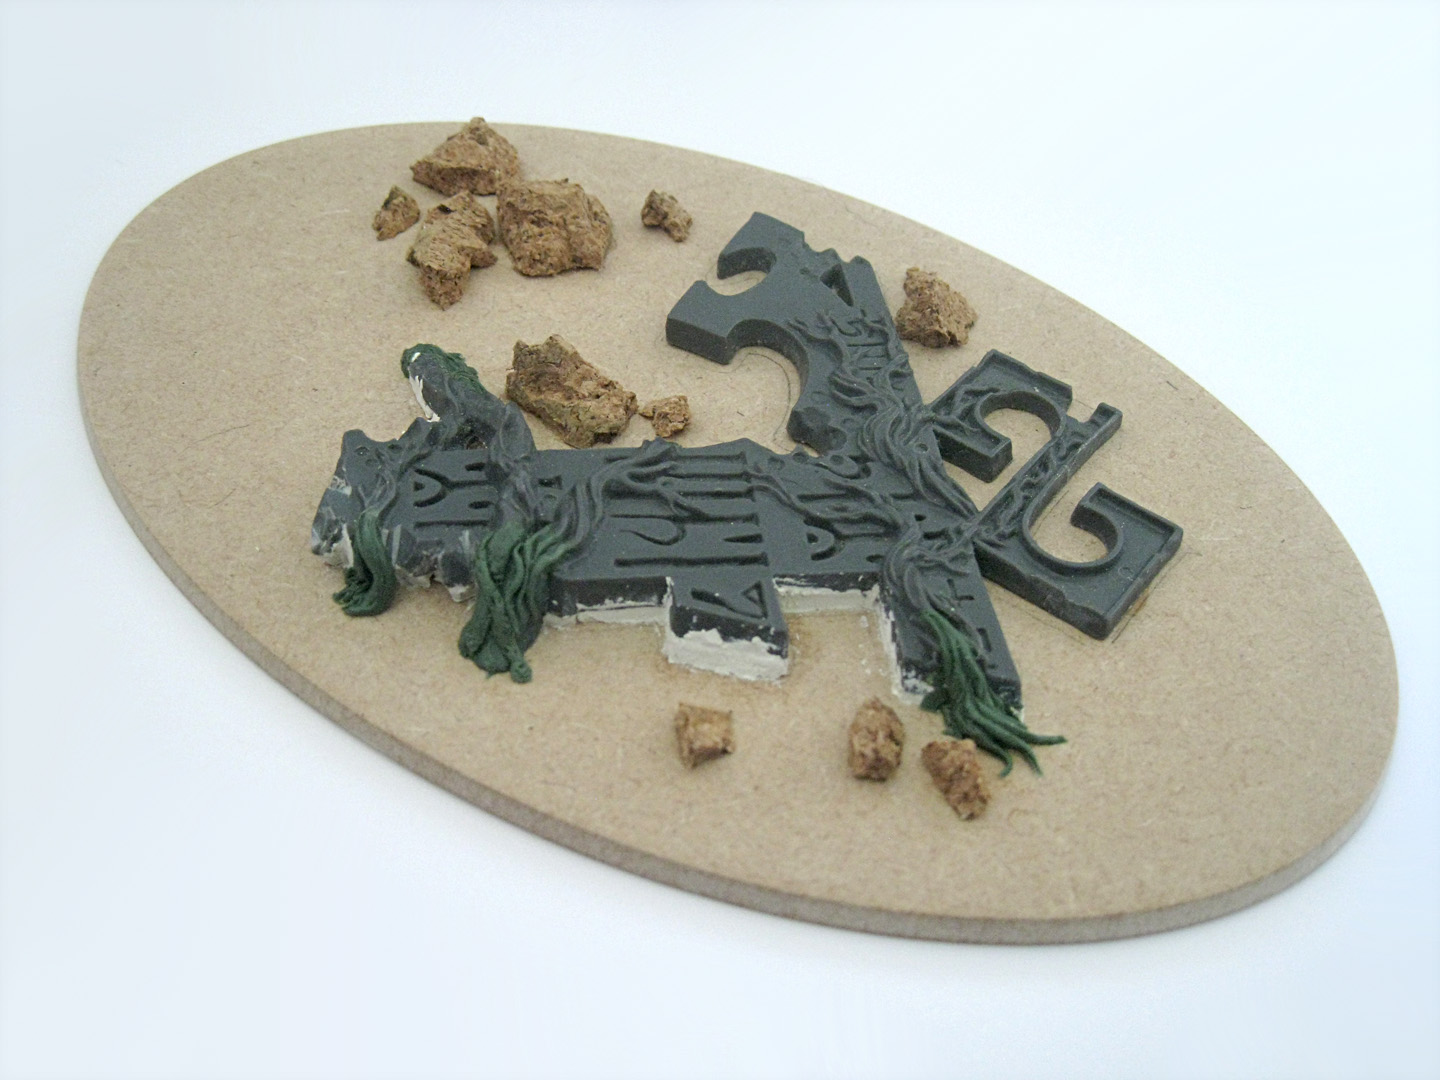
41. Work continues on the scenic base.
comments powered by Disqus