
eldar hemlock wraithfighter
My main issue with the design of the Hemlock Wraithfighter is that the wings are angled downwards at a steep angle, which makes the underside appear more bulbous by drawing attention to the large intakes for the engines. It also makes the craft look a lot less sleek. With that in mind, it was clear what I felt I needed to do to correct the minor design problem, but like the subtle conversions on my Fire Prism turrets, minor changes often require a disproportionate amount of time and effort to achieve!date: 2013 - 2015 (complete)
components: 1x Hemlock Wraithfighter, 1x Female Eldar Guardian torso, plasticard, Green Stuff, White Milliput, 6mm diameter clear acrylic rod, styrene tubing, styrene I-beams, large oval base, High Elf Dragon rock formation, 2x Eldar War Walker scenic elements, neodymium rare earth magnets (various sizes), brass rod, coiled brass wire
colour scheme: Craftworld Miruaun colour scheme (PDF), Basing colour scheme (PDF)
see also:
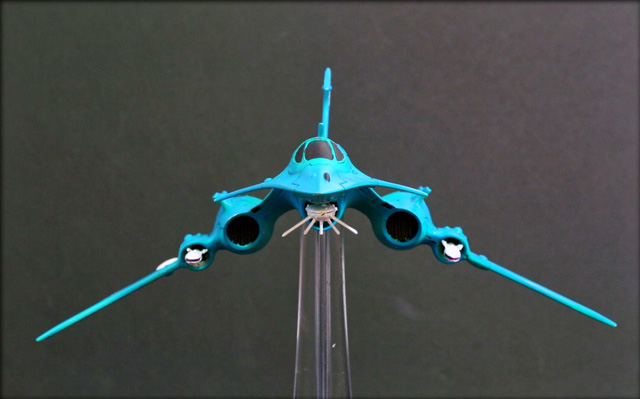
1. A front view of the Hemlock Wraithfighter
Original source image taken from Lamentum for reference purposes
Original source image taken from Lamentum for reference purposes
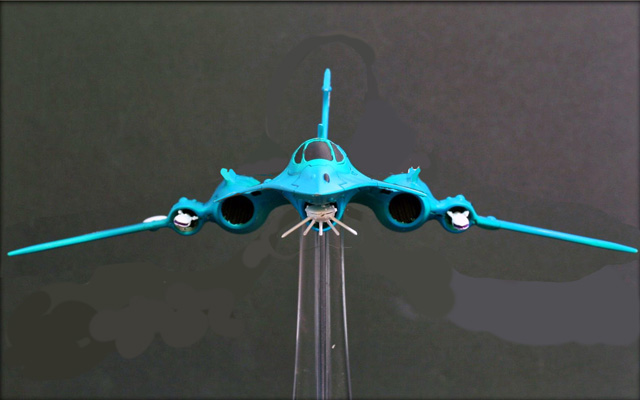
2. My Photoshop concept showing the dramatic change in the angle of the wings hopefully making the Wraithfighter look more like a fast, conventional plane and less like a duck in mid-flight.
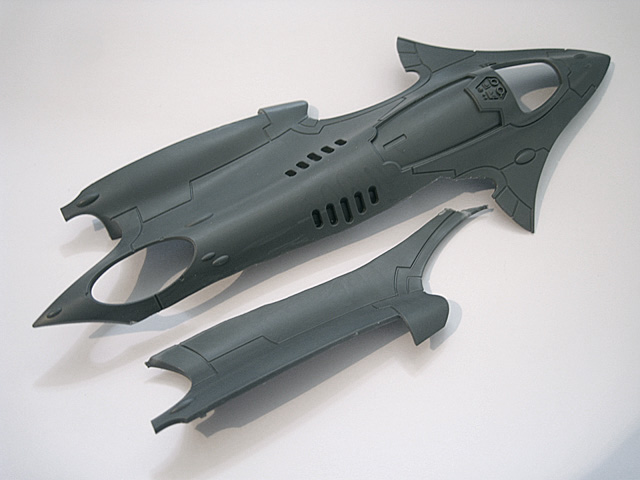
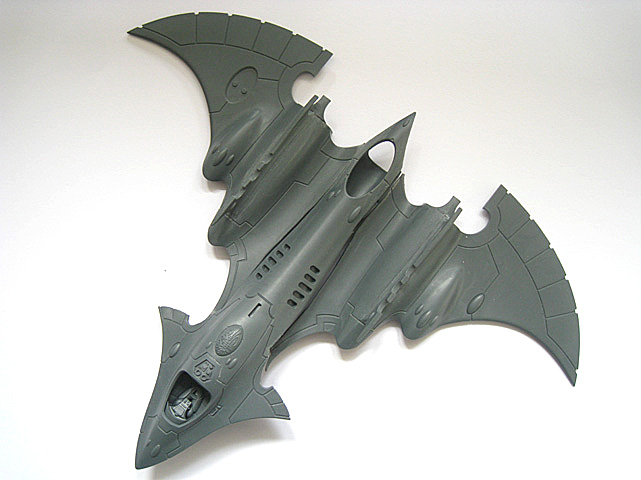
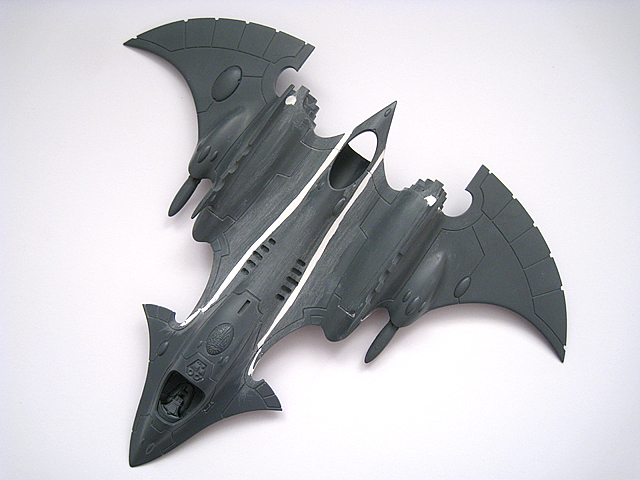
3. The upper hull, after I'd separated the right wing.
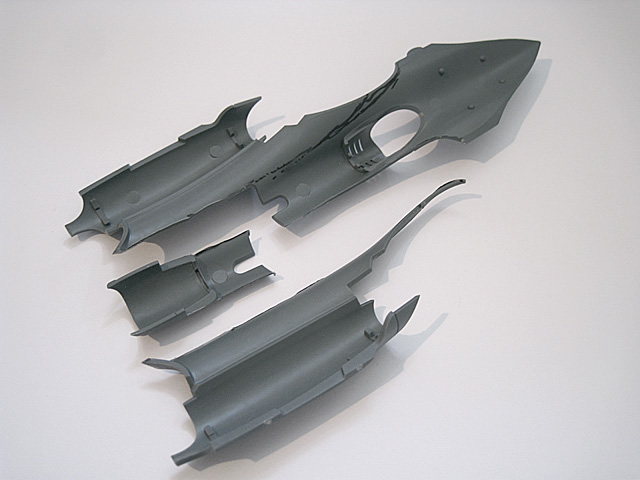
4. The lower hull - the right wing has been removed and you can see the rough guidelines that I've drawn on the left-hand side.
5. With both wings separated from the hull and partly assembled, the Wraithfighter begins to take shape (again).
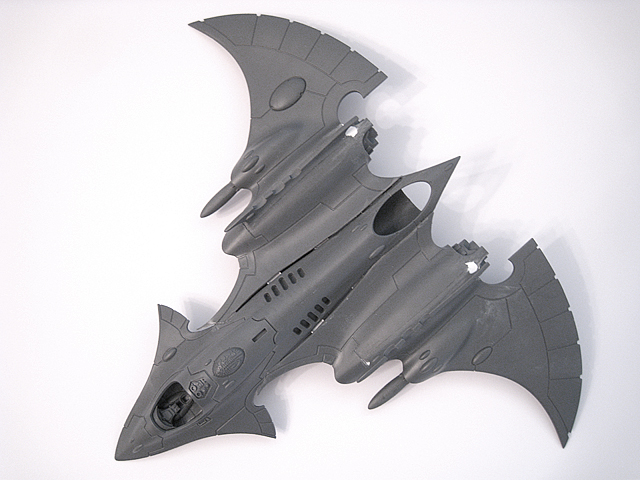
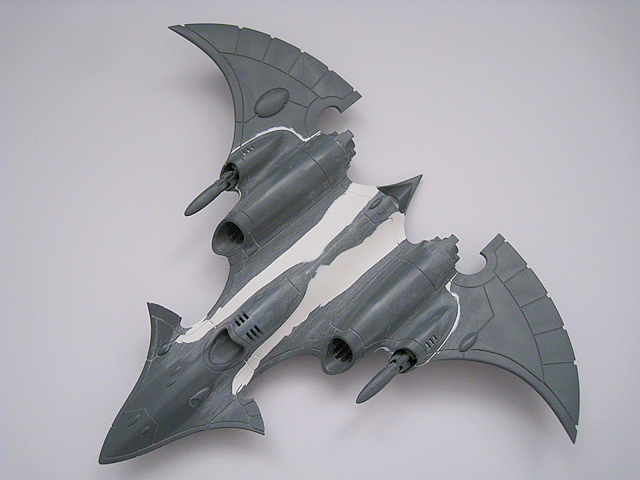
6. The wings have now been assembled and reattached.
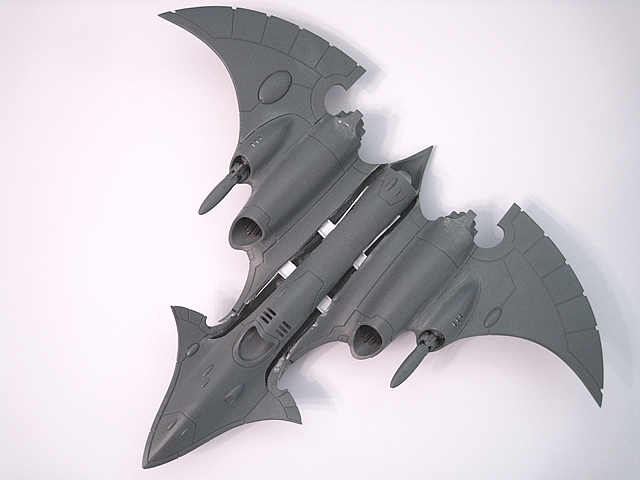
7. An underside view of the assembled Wraithfighter.
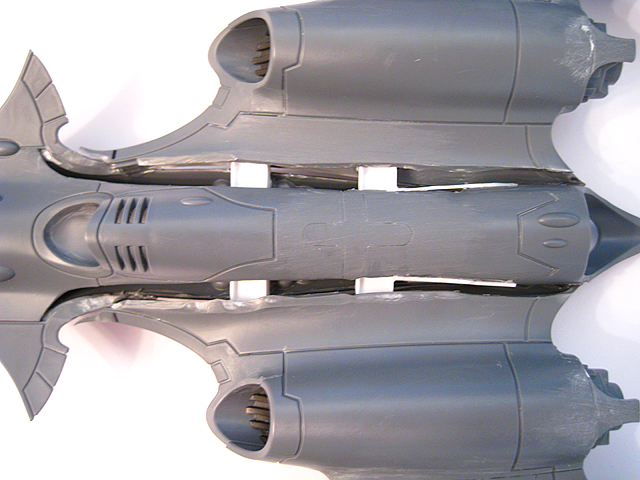
8. Two styrene crossbeams were used to reinforce the assembly and hold the wings in their new positions.
9. White Milliput was used to fill in the gaps and blend the wings back into the main fuselage.
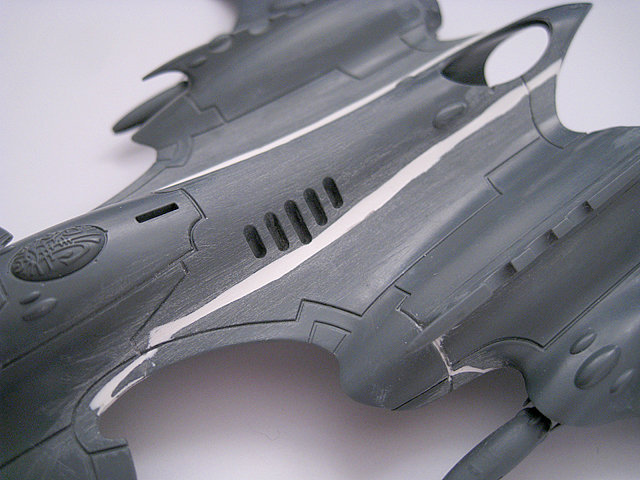
10. A close-up of the repaired hull. The wings smoothly blend into the hull, despite being attached at a much less acute angle than they were originally.
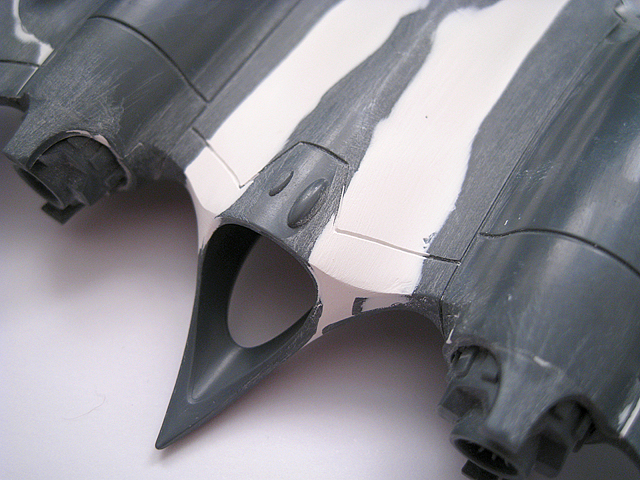
11. The underside of the Wraithfighter. Because of the change in the angle of the wings, a lot more Milliput was needed to fill in these gaps and make a smooth transition to the fuselage.
12. A close-up of the tail. New panel lines were carefully sculpted whilst the Milliput was still pliable.
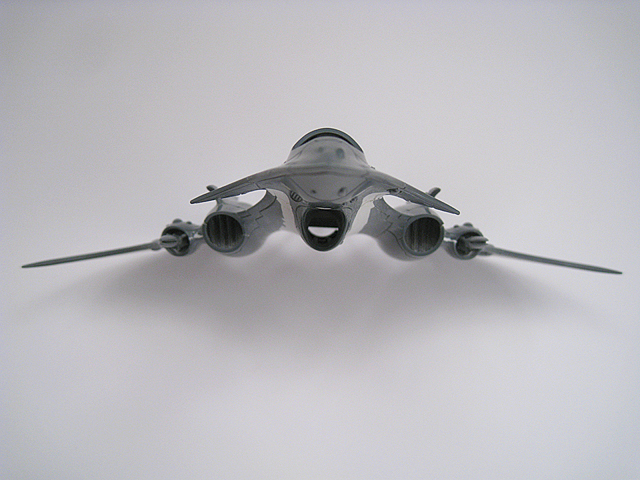
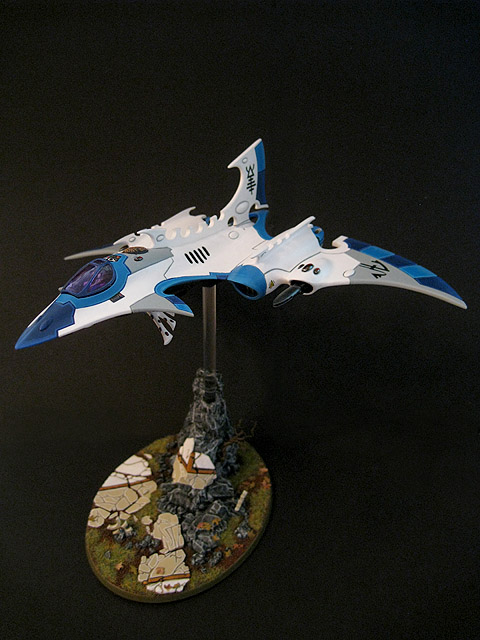
13. This head-on view of the Wraithfighter shows the new angle of the wings. This looks, to me at least, much better than the original. The downward sweep of the wings works fine for the Crimson Hunter because of the large dorsal fins; for the Hemlock, it just looks like the wings are drooping.
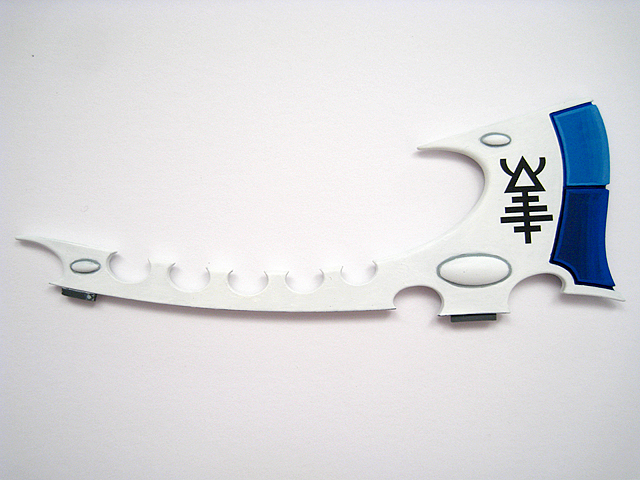
14. Several components were painted separately - I completed the central dorsal fin before I'd even finished assembling the Wraithfighter, as I was keen to test the colour scheme and apply the Wraithfighter transfers.
The main body of the Mindshock Pod was sanded down to create a smooth, sleek finish. It was then painted black and given a coat of gloss varnish. This echoes the colour scheme of the Spiritseer pilot's helmet.
Instead of the standard, thin vanes, I used a matching pair of Wraithguard warp vanes on the Mindshock Pod.
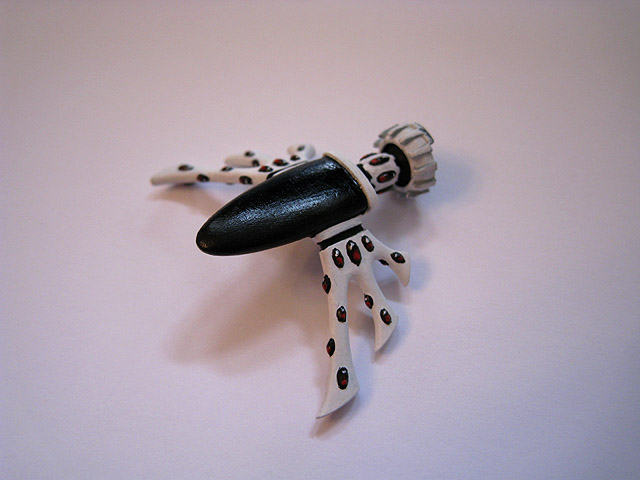
15. The Mindshock Pod was converted to incoporate design elements from the Spiritseer and Wraithguard.
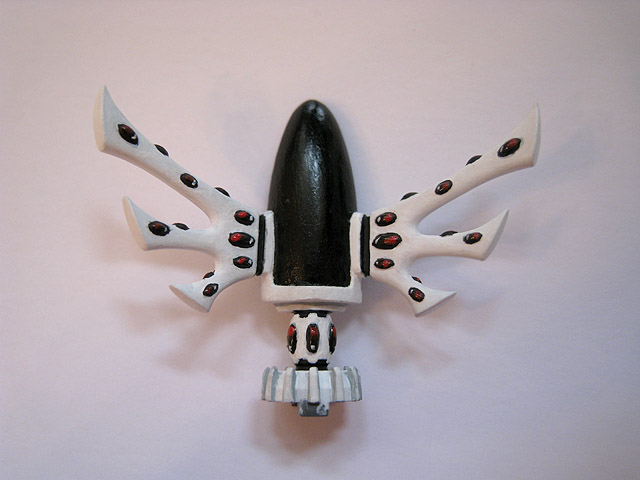
16. The underside of the converted Mindshock Pod weapon.
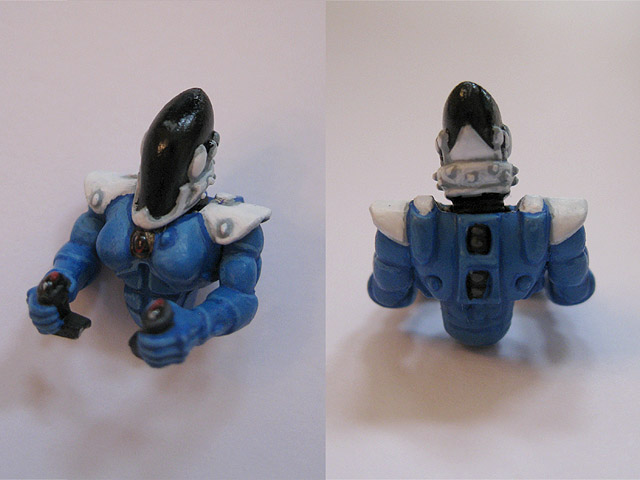
17. The Spiritseer pilot. A female Guardian torso was used in conjunction with the standard pilot's back.
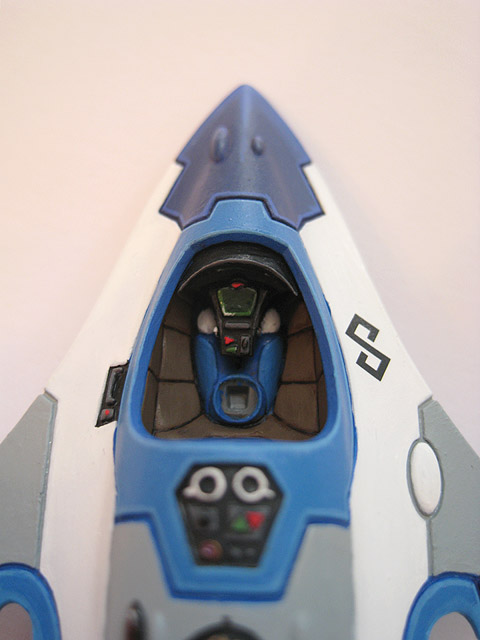
18. A close-up of the cockpit before the pilot was glued in place.
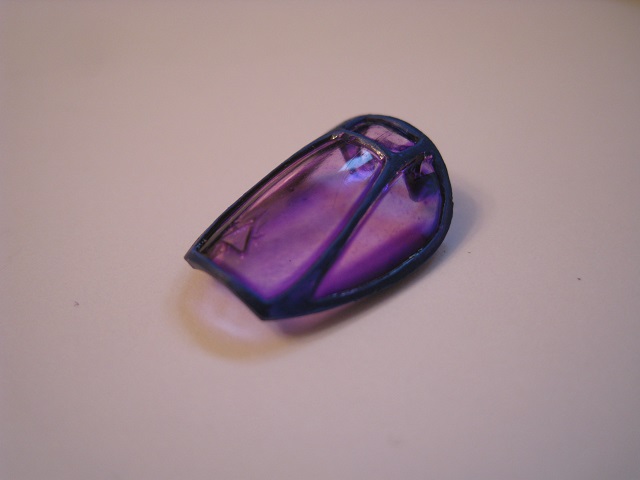
19. My first tinted cockpit canopy. The purple tint was achieved using mixture of an acrylic floor polish and Citadel Purple Ink.
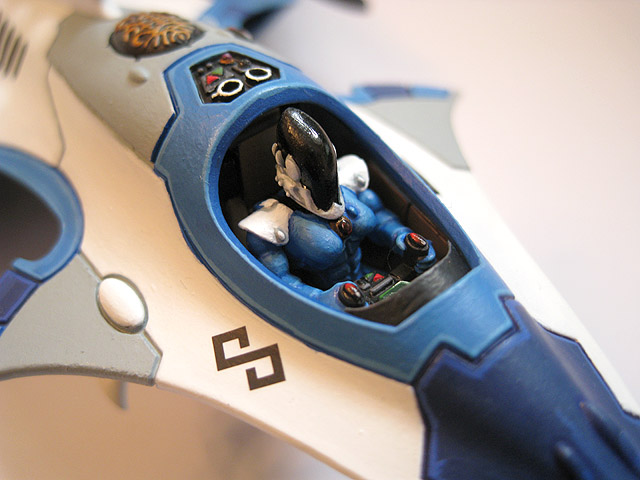
20. The Spiritseer pilot in the cockpit of the Wraithfighter. The canopy is removable - I couldn't magnetise it, so it just clips in place as per the standard assembly instructions.
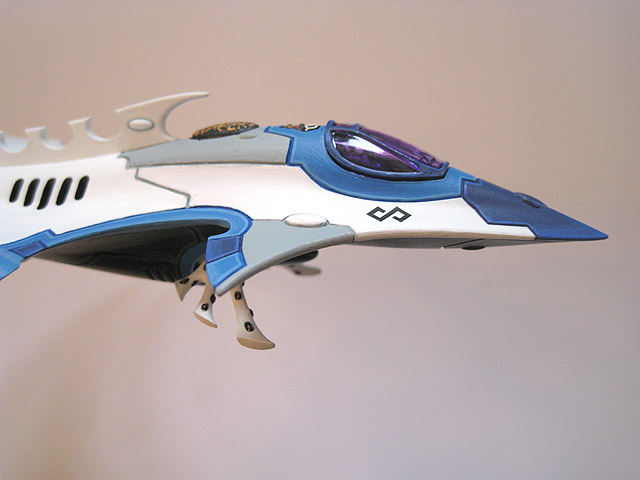
21. The nose of the Wraithfighter, with the Mindshock Pod and canopy in place.
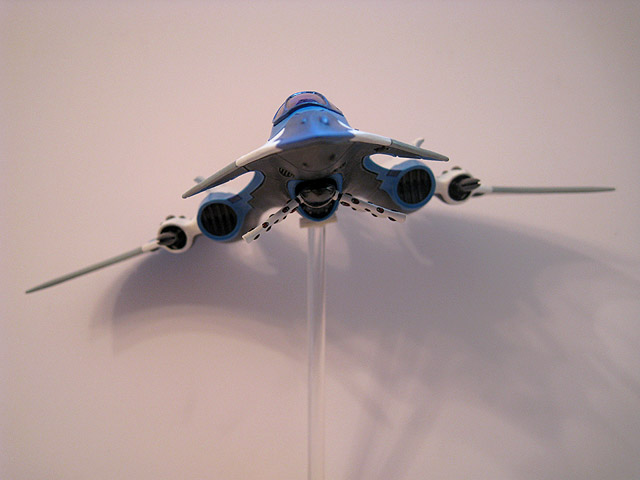
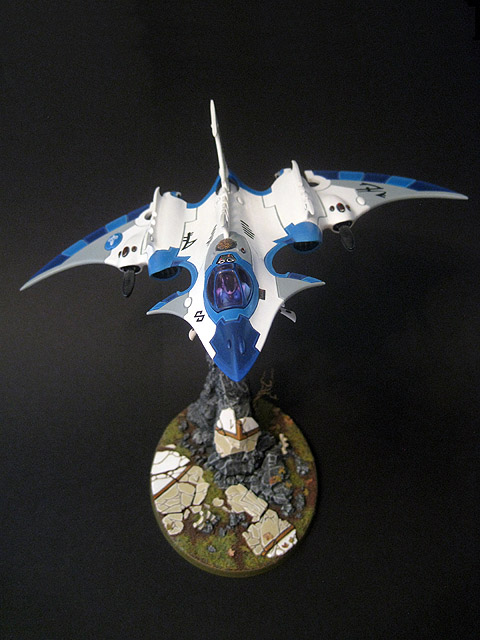
22. A head-on view of the completed Wraithfighter, highlighting the revised angle of the wings.
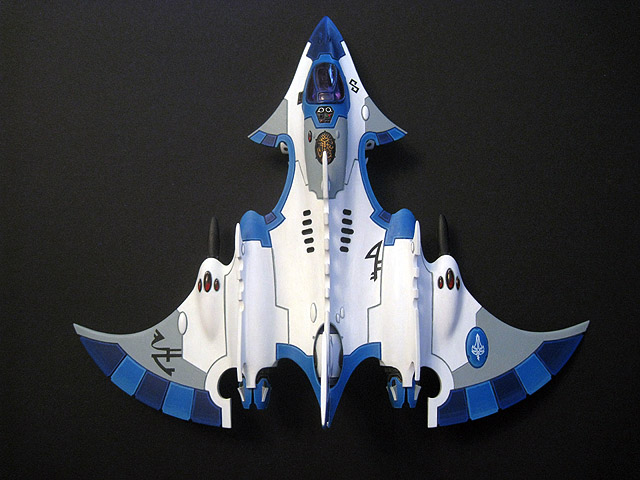
23. A dorsal view of the completed Wraithfighter. I have used several transfers to complete its design, including some from the Forge World Eldar transfer sheet and one of the custom Miruaun transfers that I had printed for my craftworld.
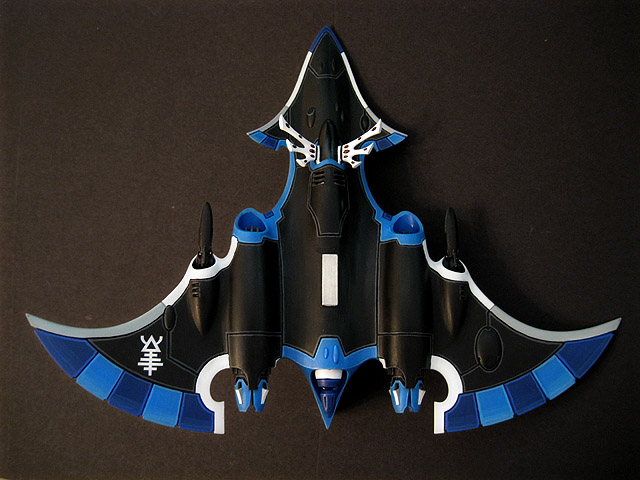
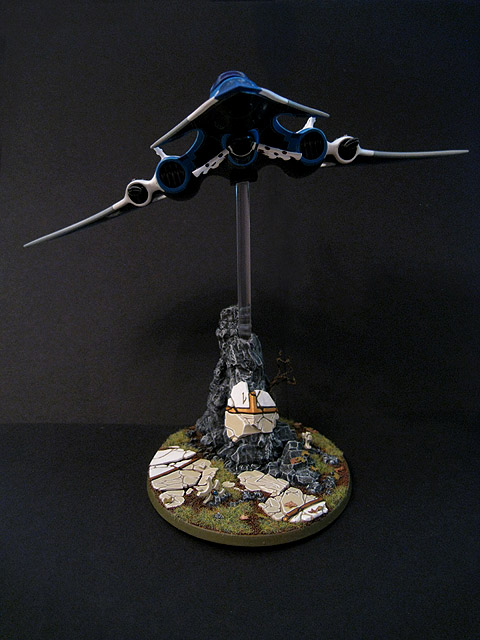
24. A ventral view of the completed Wraithfigther.

25. In-flight shot of the Wraithfighter.
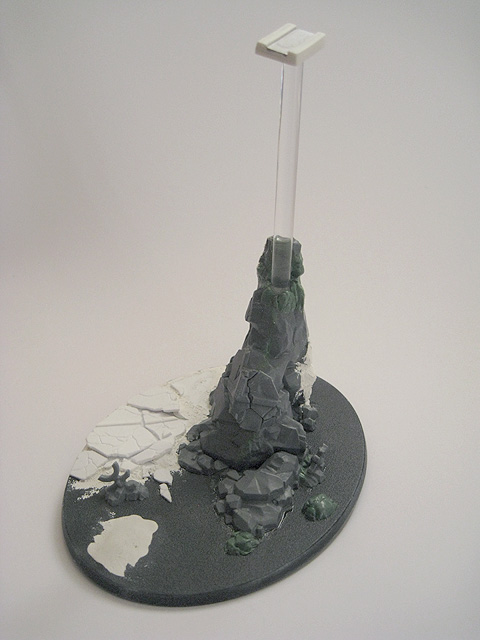
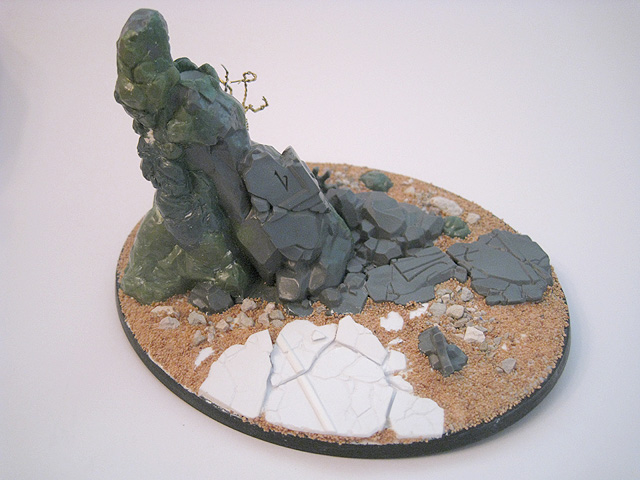
26. The scenic base begins to take shape.
The transparent acrylic rod slides into this styrene tubing. I have left it removable so that the base can be easily undercoated. It will be glued in place once the base has been painted.
I used plasticard to create additional sections of ruined architecture.
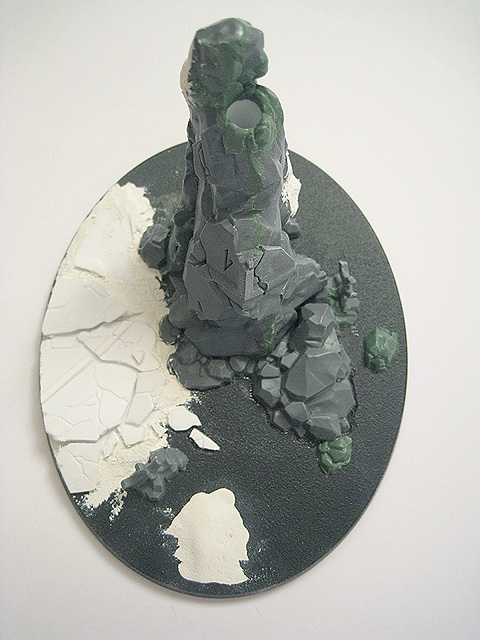
27. Aerial view of the base.
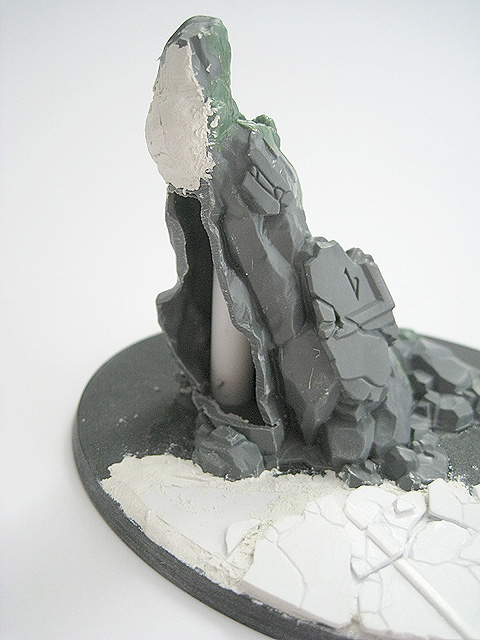
28. Part of the rock was cut away - this area originally featured more ruined architecture, but its position makes no logical sense as it would have to be defying gravity to stay attached to the rock at that angle. The resulting hole will be filled in and Green Stuff will be used to sculpt some rocks over it.
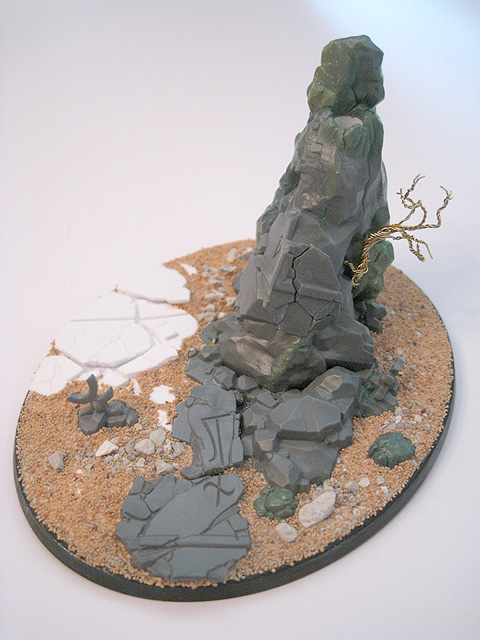
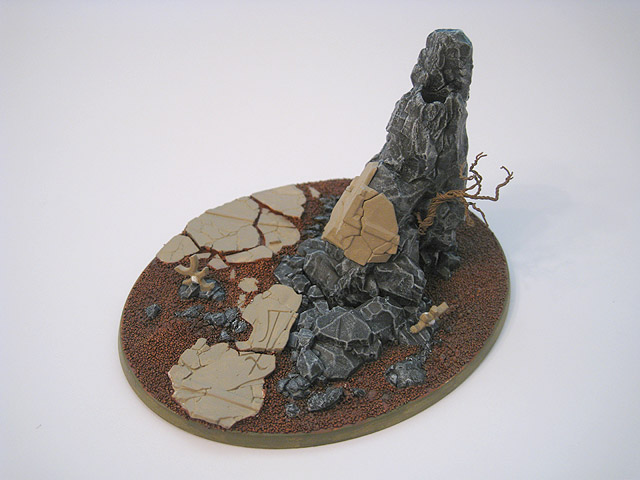
29. The completed scenic base.
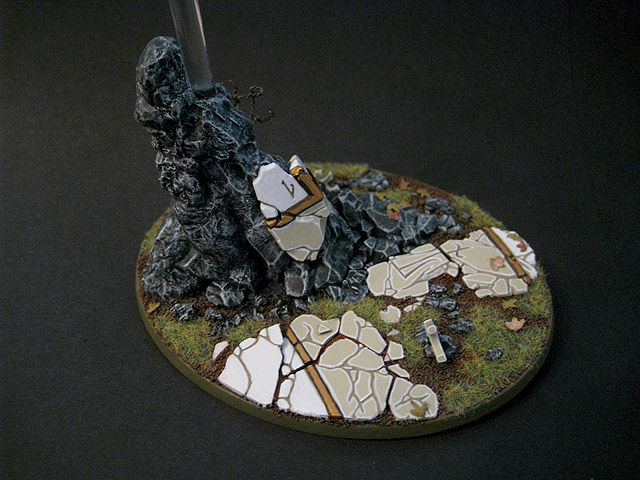
30. A side view of the scenic base.
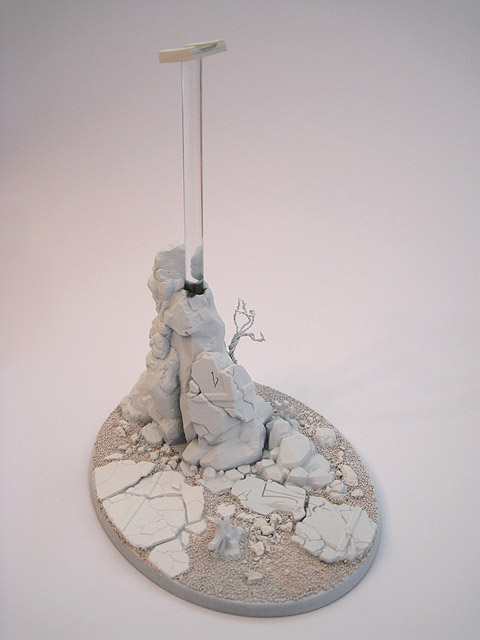
31. The scenic base, undercoated.
32. A work-in-progress photo of the painting of the scenic base.
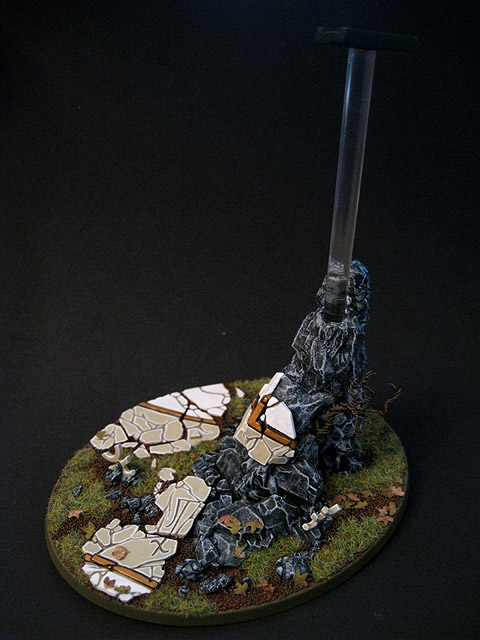
33. The completed scenic base, with the transparent stem glued in place.
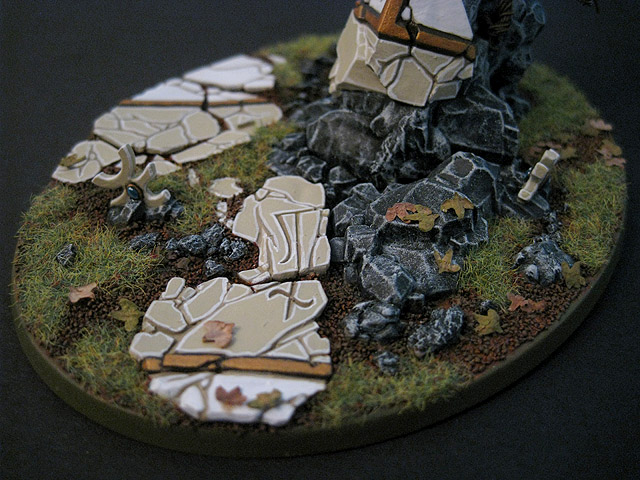
34. A close-up of the detail on the base.
35. Alternate view of the painted base.
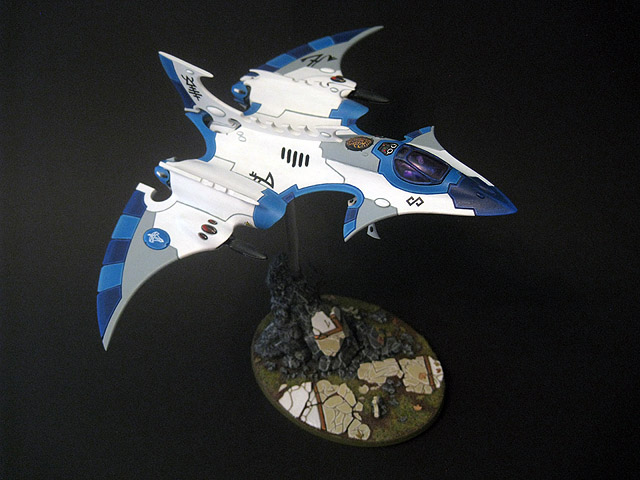
36. The completed Hemlock Wraithfighter.
37. Alternate view of the completed Hemlock Wraithfighter.

38. Side view of the Hemlock.
39. A head-on view of the complete flyer.
40. The Hemlock Wraithfigher was the first of my flyers to be fully assembled and painted.
comments powered by Disqus